Travel photographer guide to the Philippines
Philippines Photography Tour Blog — Street, Portrait & Landscape Photography Adventure
Philippines Photography Tour | Street Photography Philippines | Travel Photography Workshop
If you’re searching for an authentic photography experience that goes far beyond tourist hotspots, my recent journey through the Philippines delivered exactly that. Guided by professional photographer and tour leader Alfonso Calero from Alfonso Photo Tours, this trip combined street photography, portraits, and landscapes into one unforgettable adventure across multiple islands.
This wasn’t just a photography tour — it was a cultural immersion.
Starting in Manila and travelling through several islands via short domestic flights and ferries, we captured everything from chaotic urban energy to peaceful coastal landscapes. The diversity of locations meant every day offered completely new photographic opportunities.
Why This Philippines Photography Tour Was Different
One of the biggest advantages of travelling with Alfonso was his deep connection to the country. Being fluent in the local language and having grown up there meant he could communicate directly with locals, build trust quickly, and open doors that most tourists never experience.
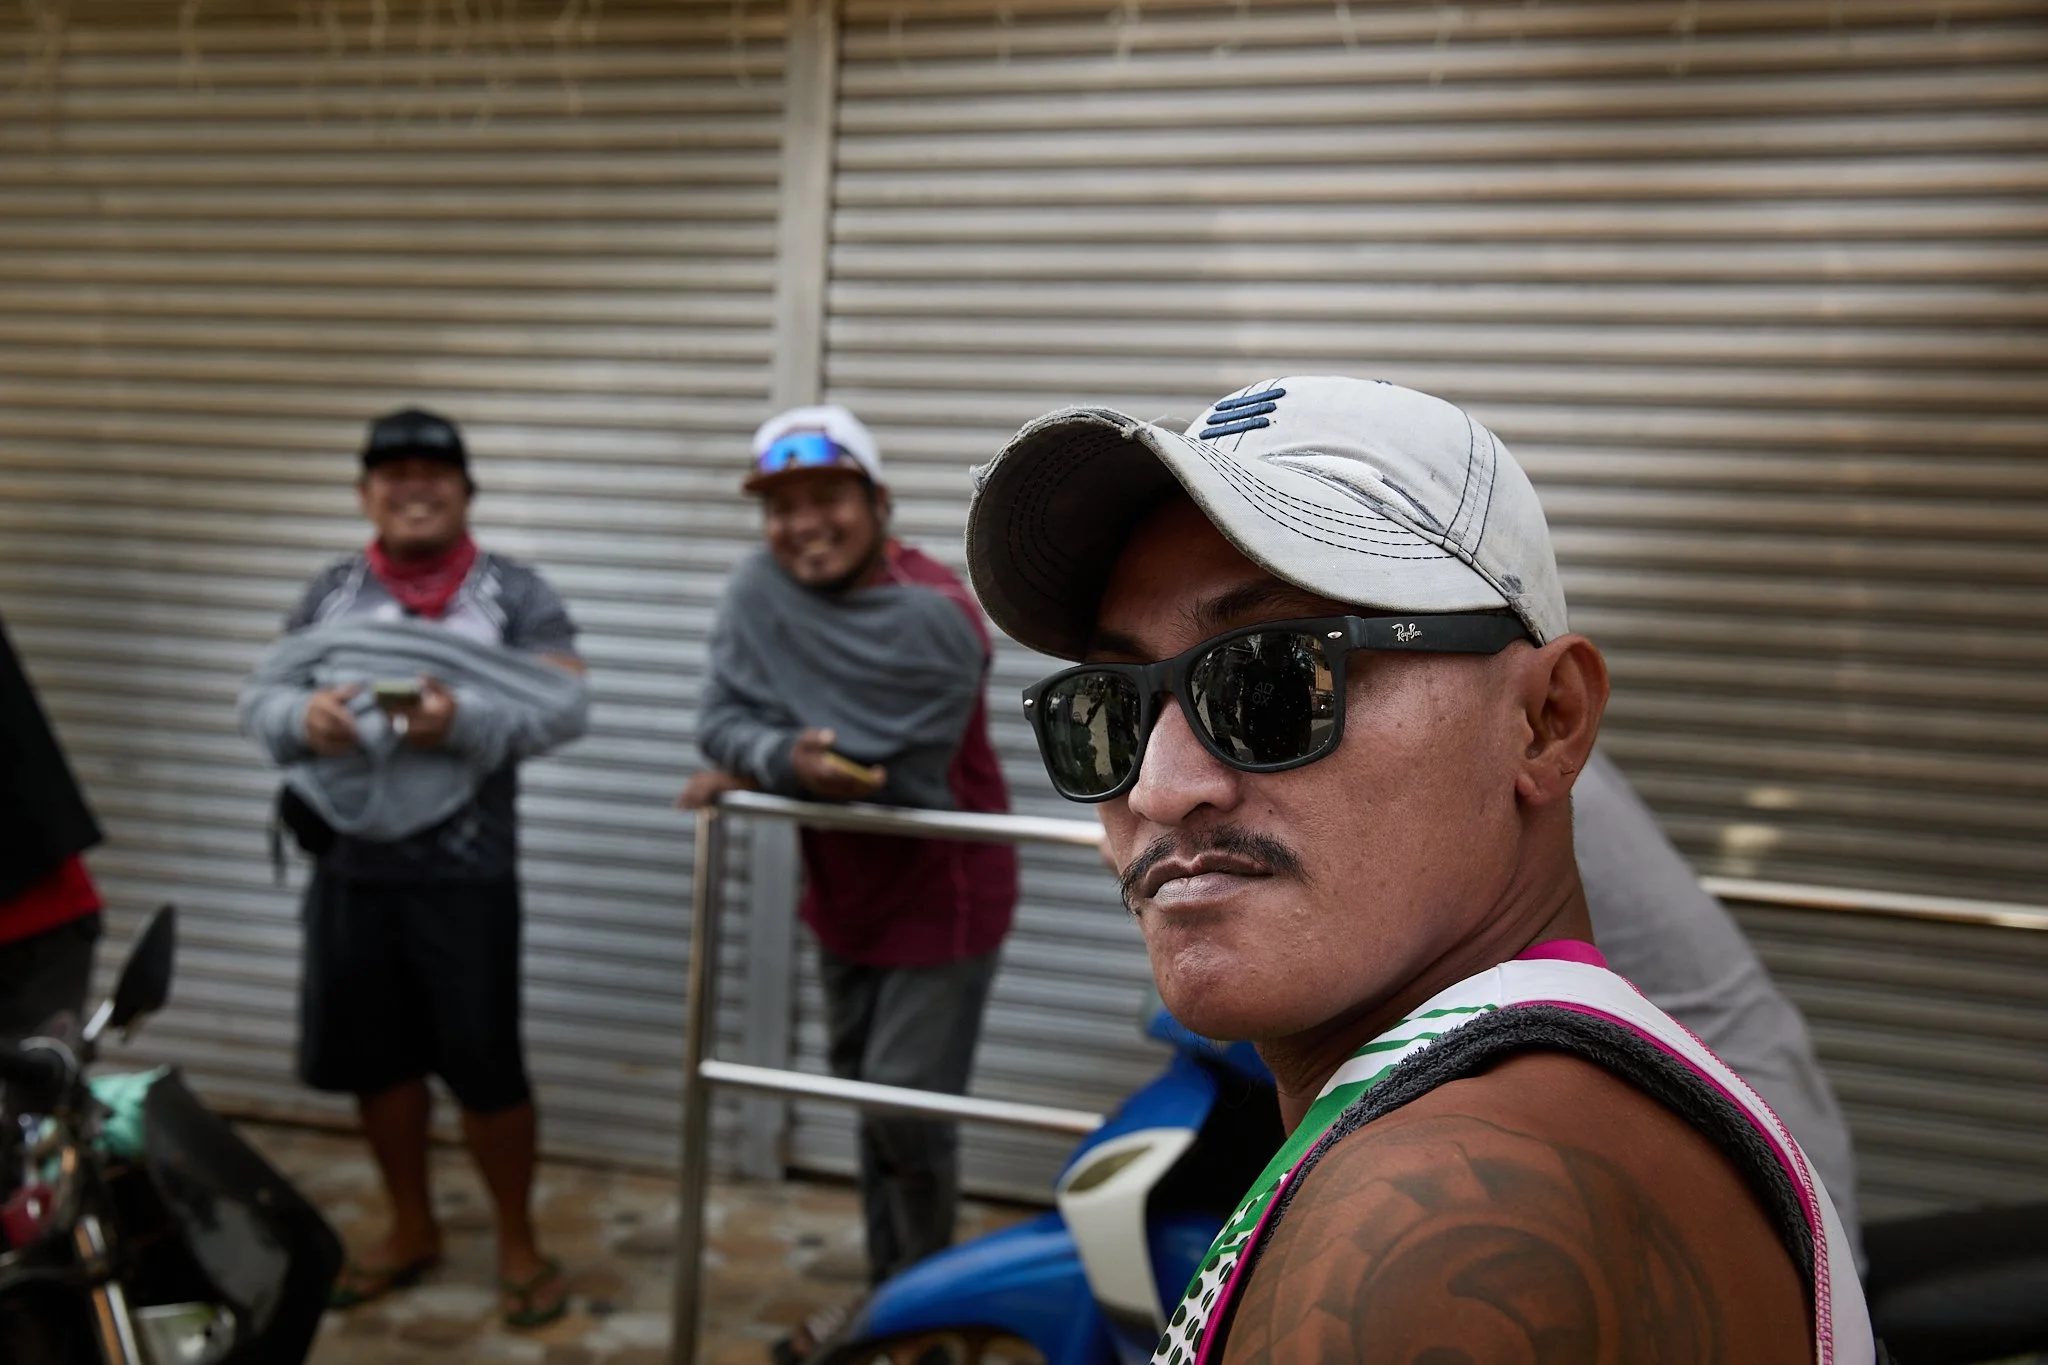
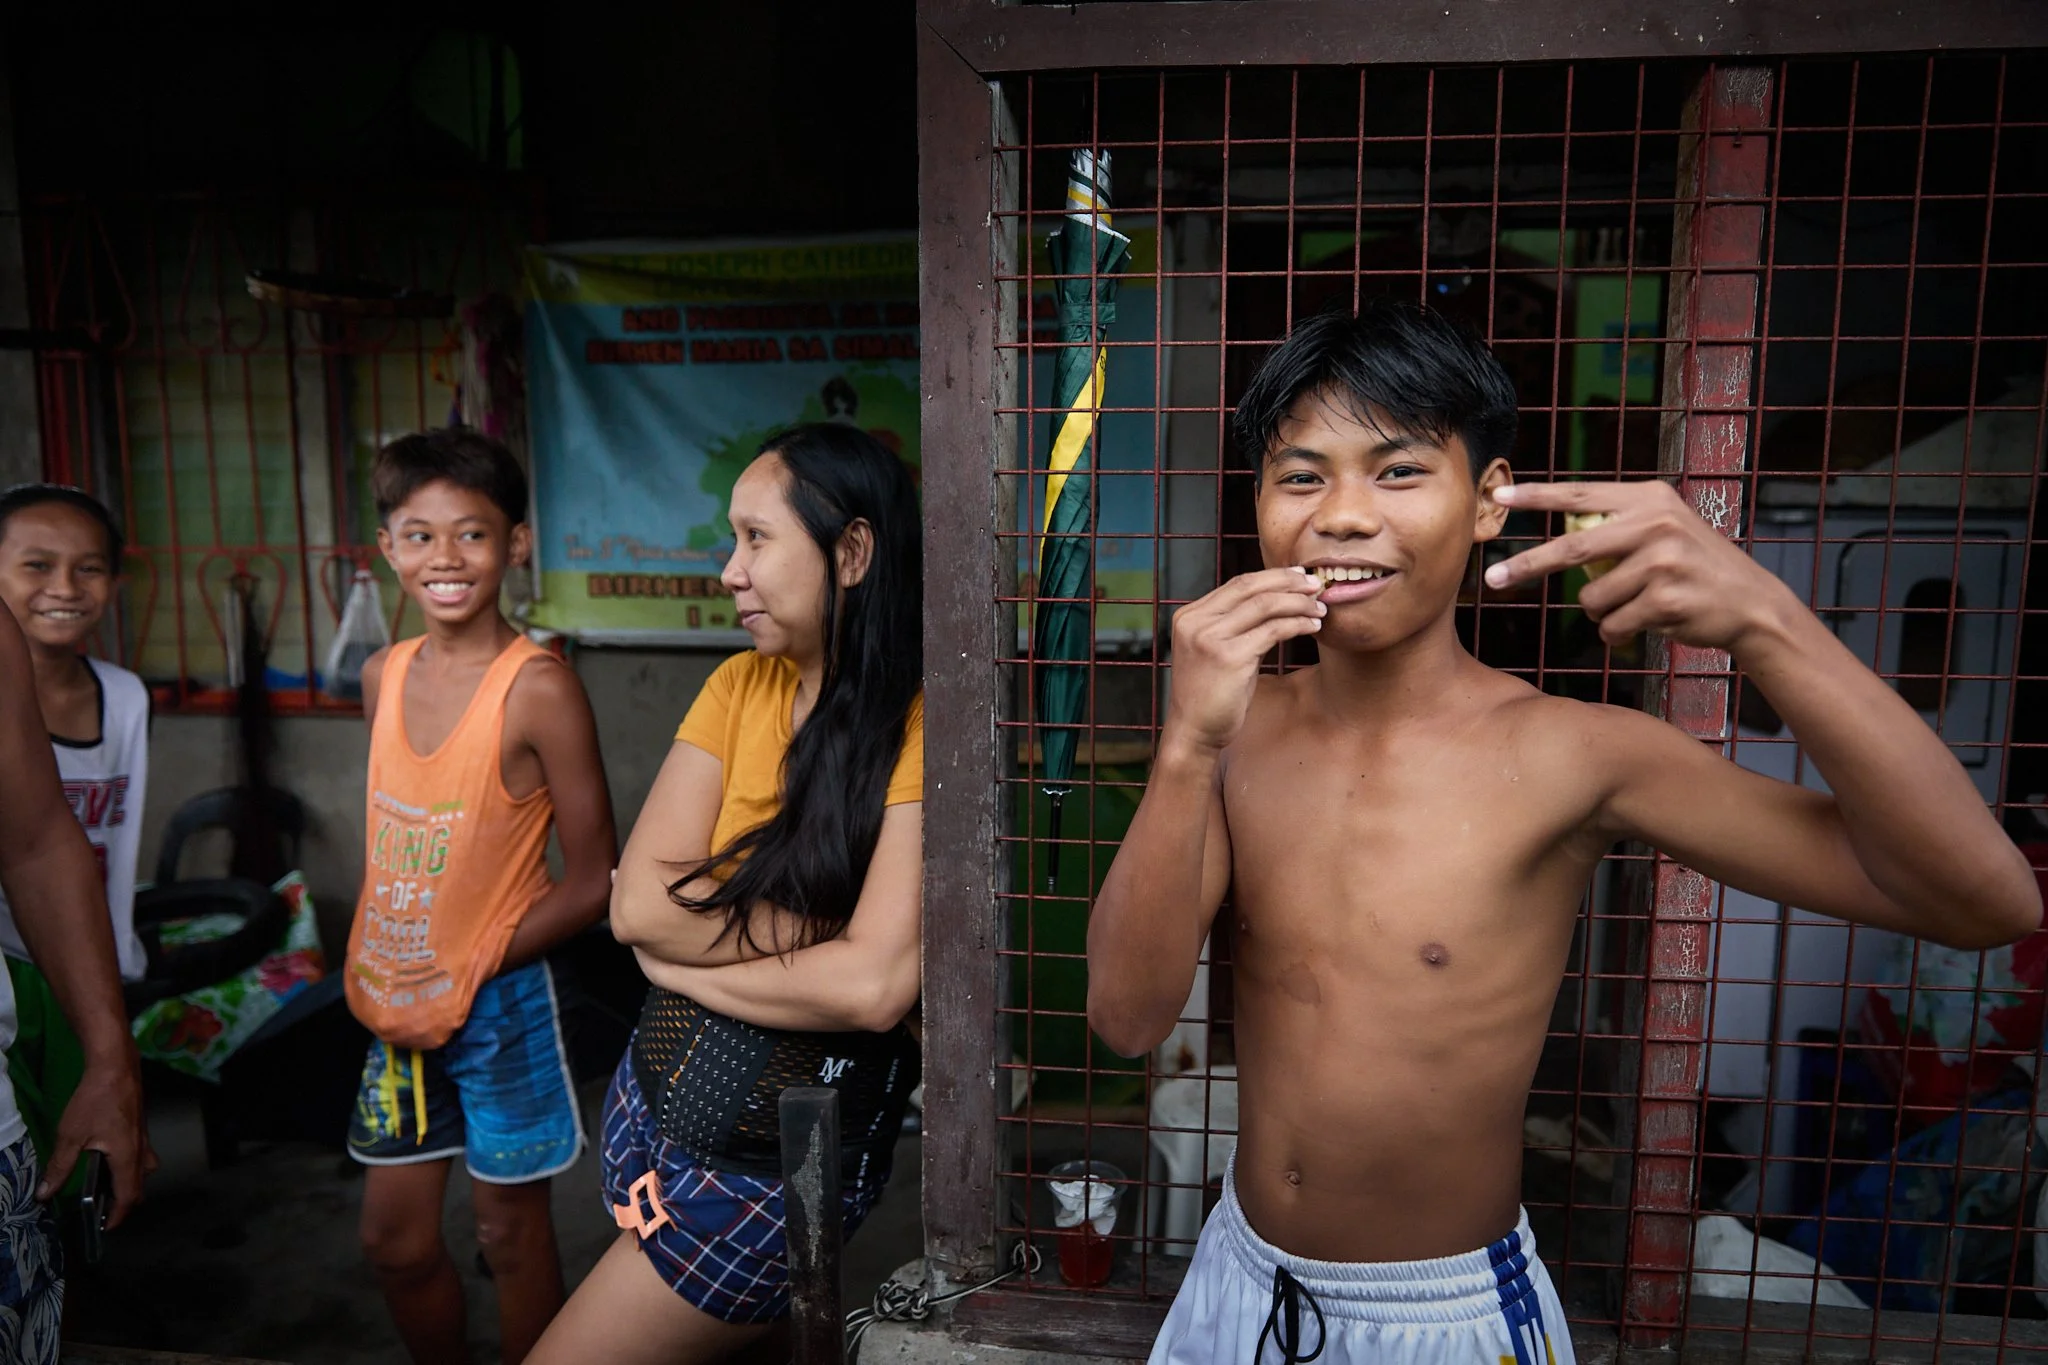
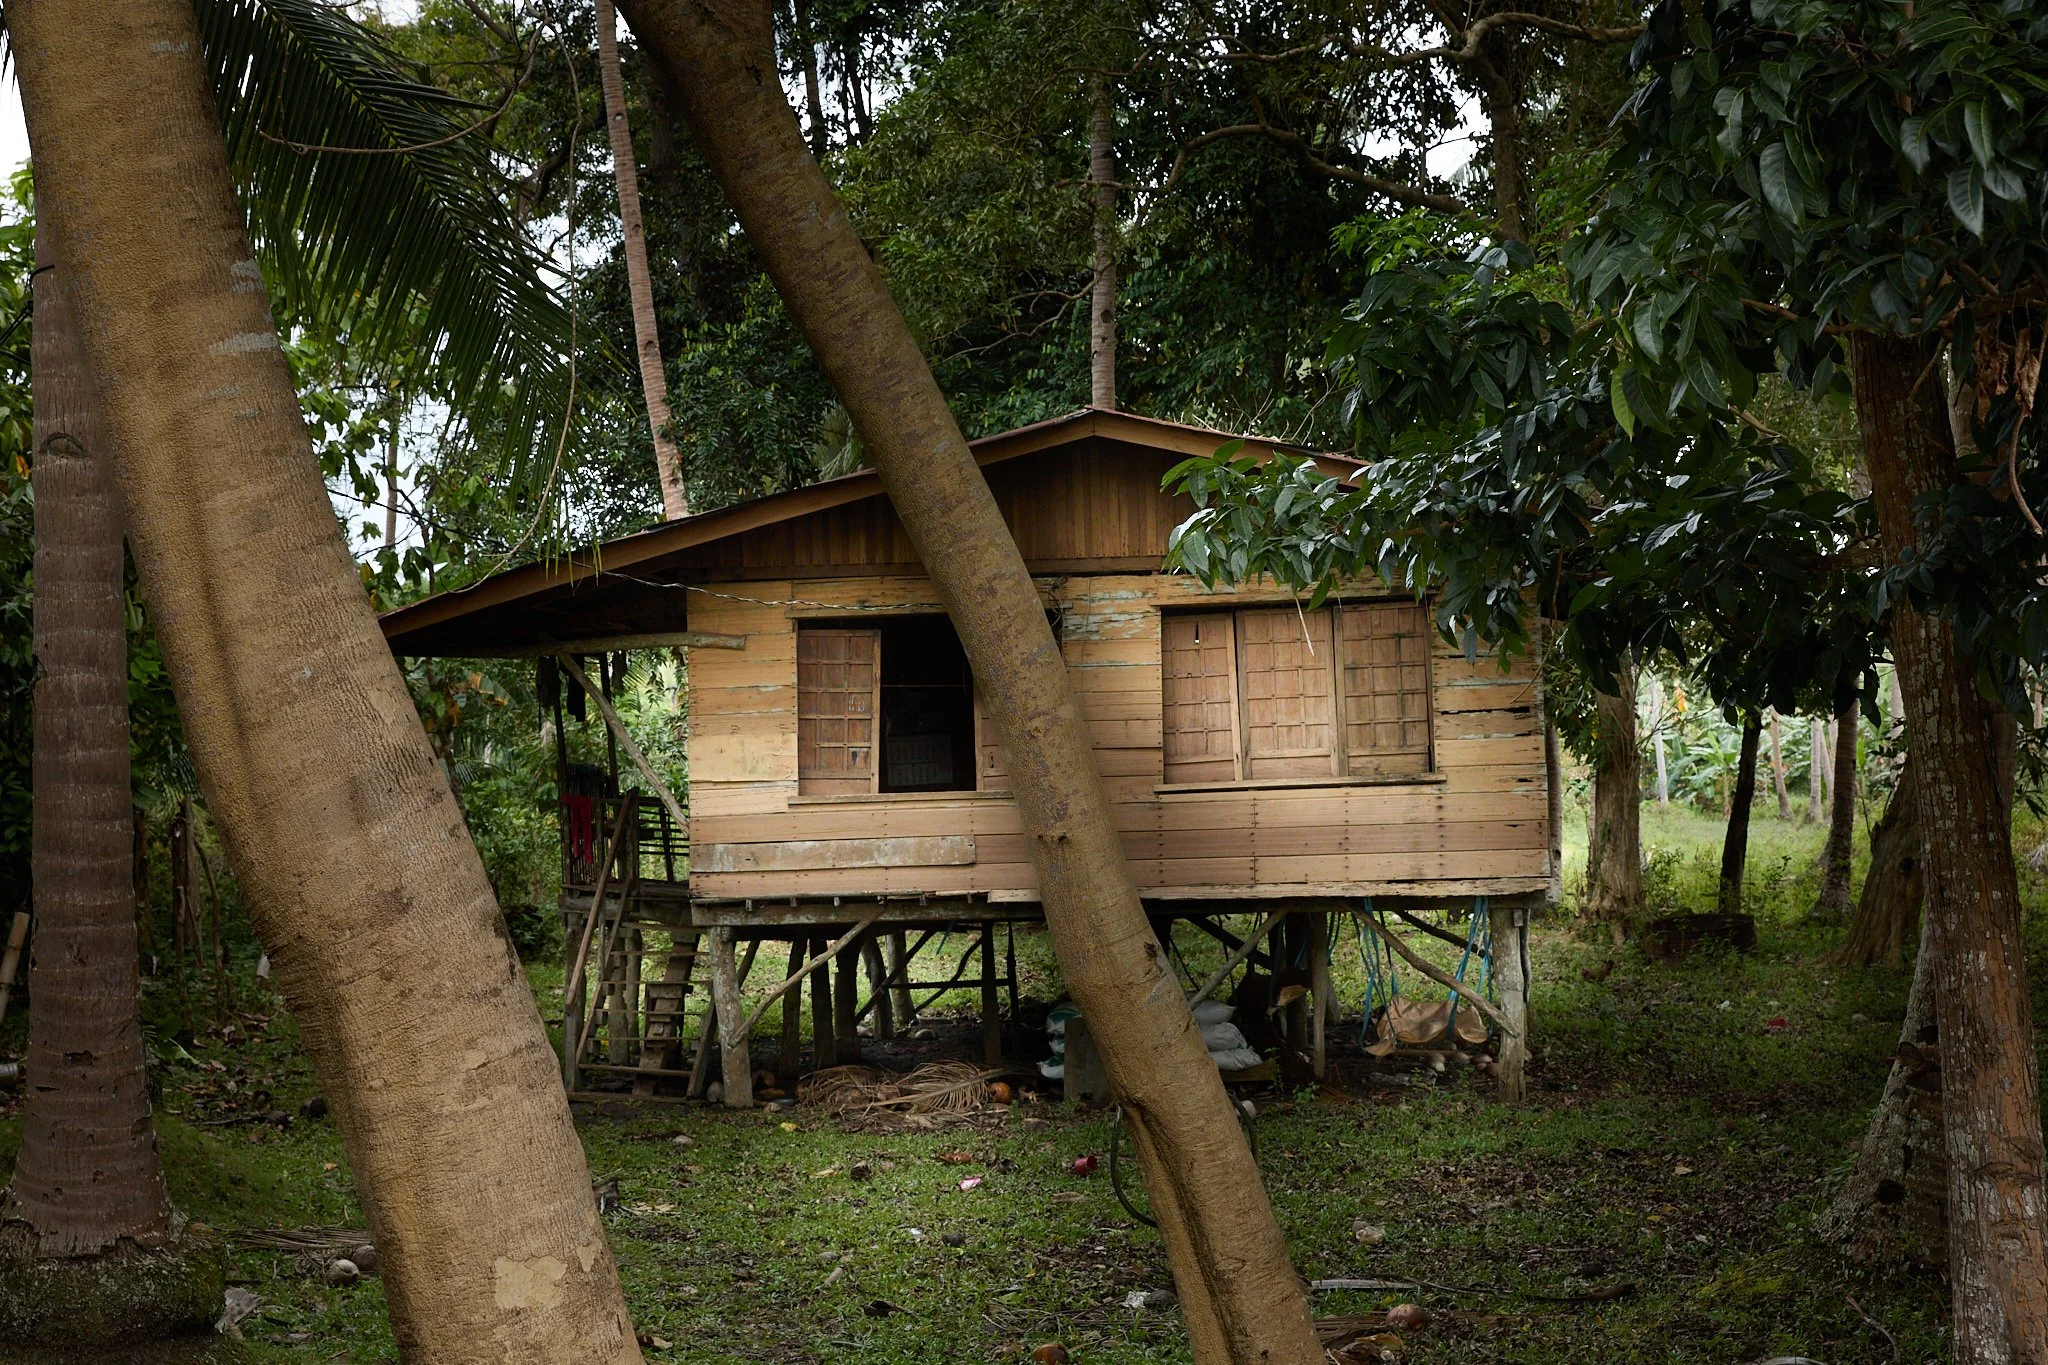
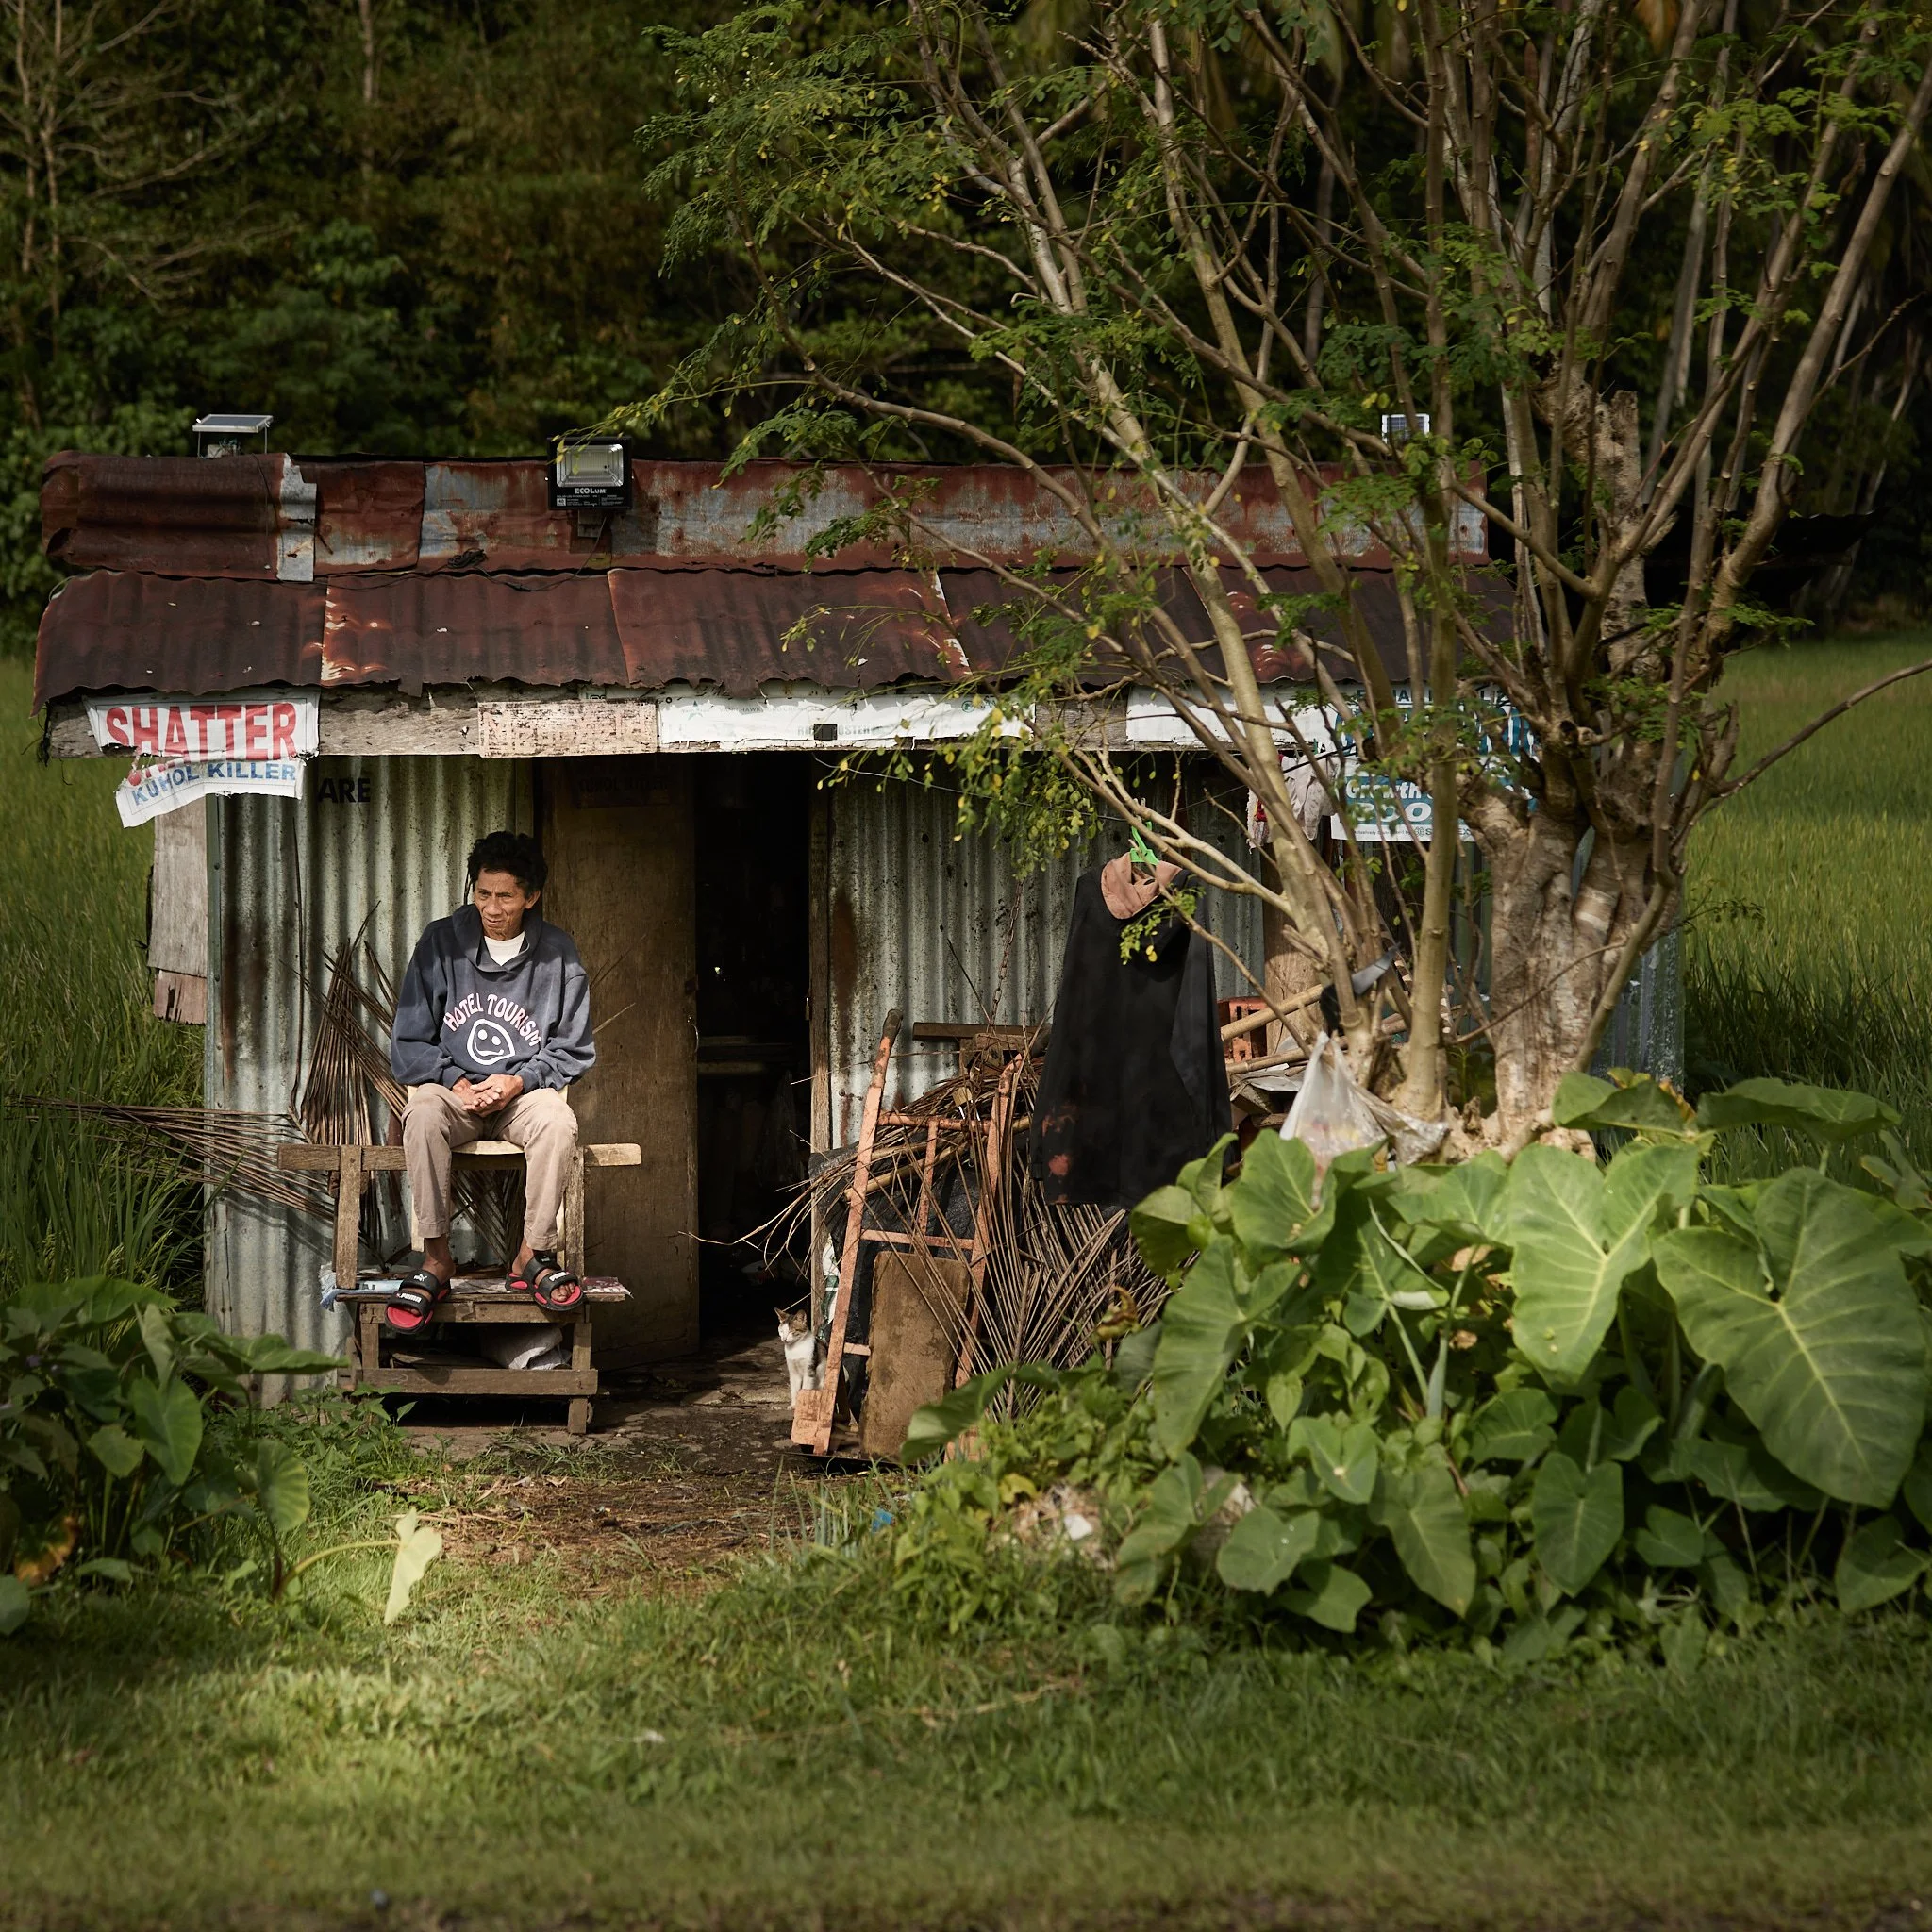
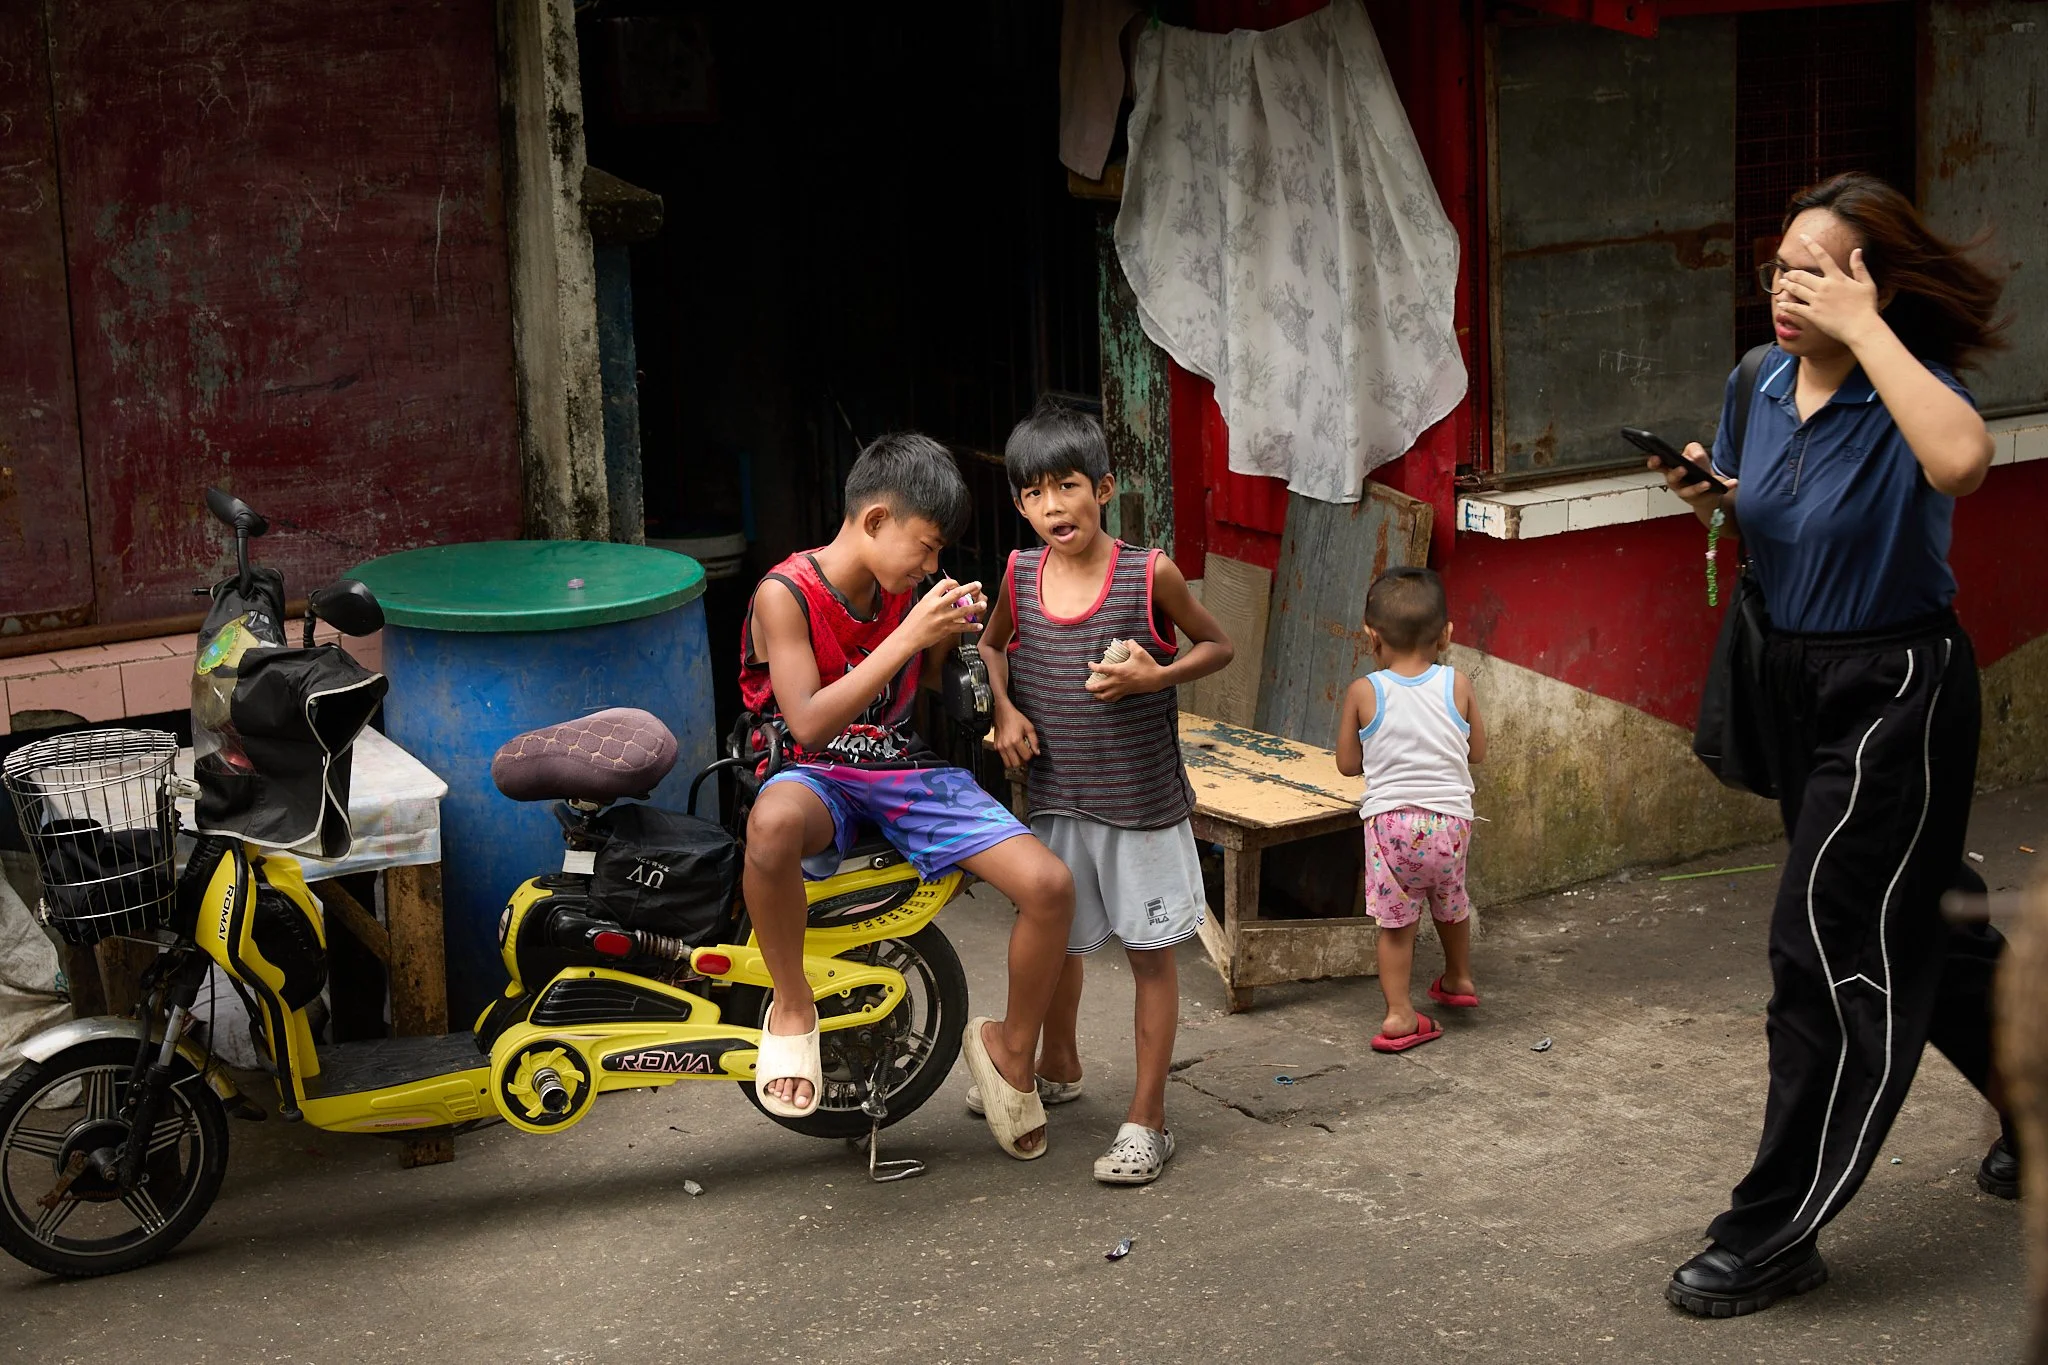
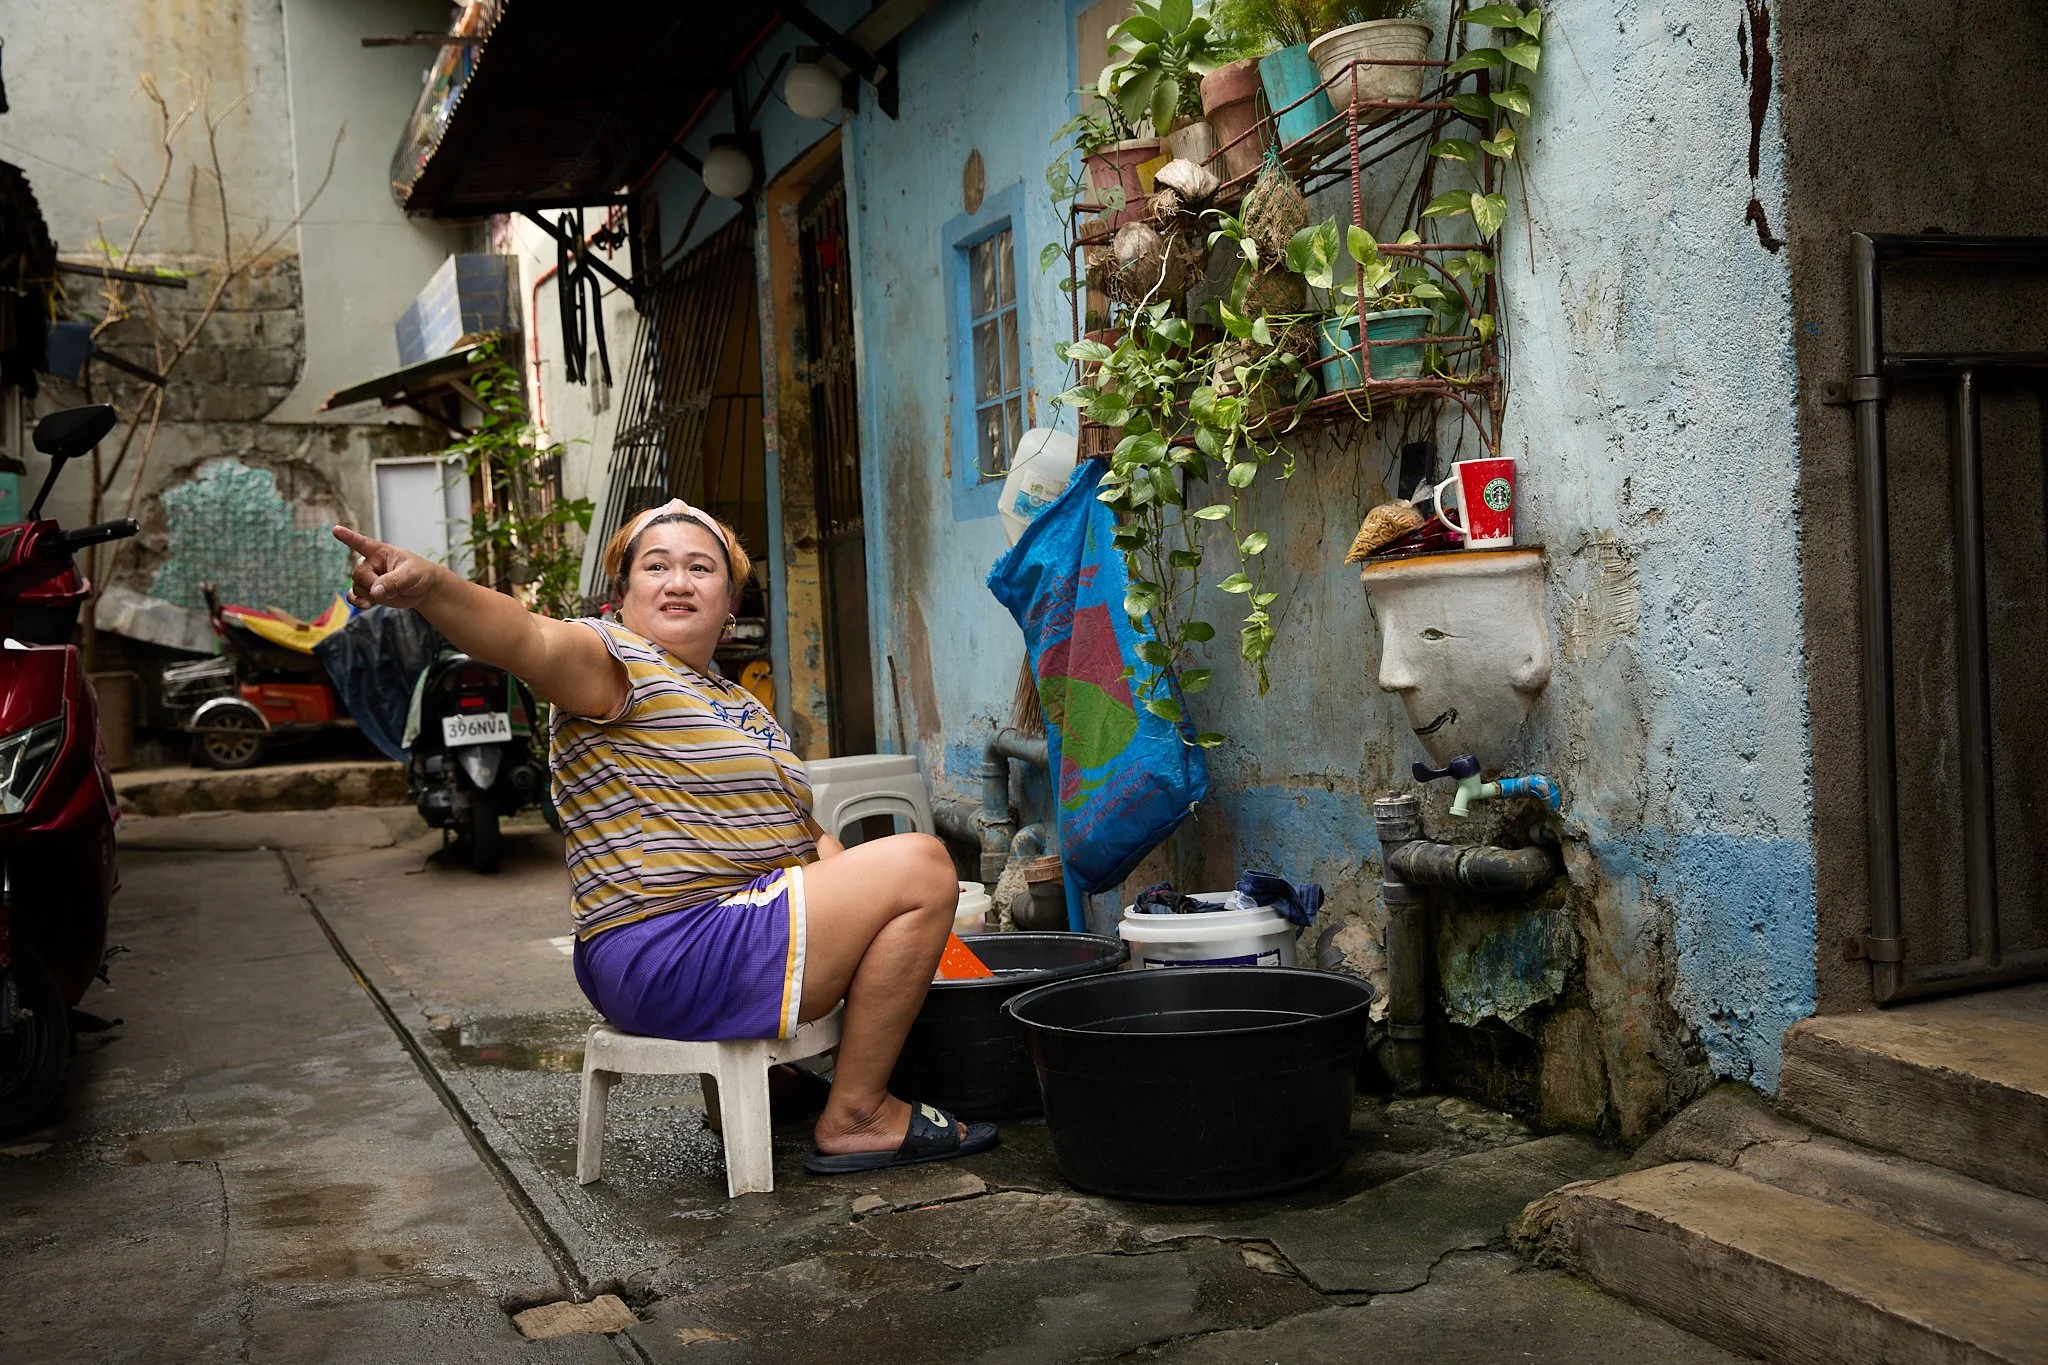
We were welcomed into neighbourhoods, small shops, family homes, fishing villages, and even communities in less-visited urban areas. This access allowed us to create portraits that felt natural, respectful, and authentic — not staged.
For street photographers, this is gold.
Alfonso would often speak with people first, explain our intentions, share a joke, and suddenly the camera became invisible. Expressions relaxed. Moments became real. That human connection translated directly into stronger images.
What We Photographed
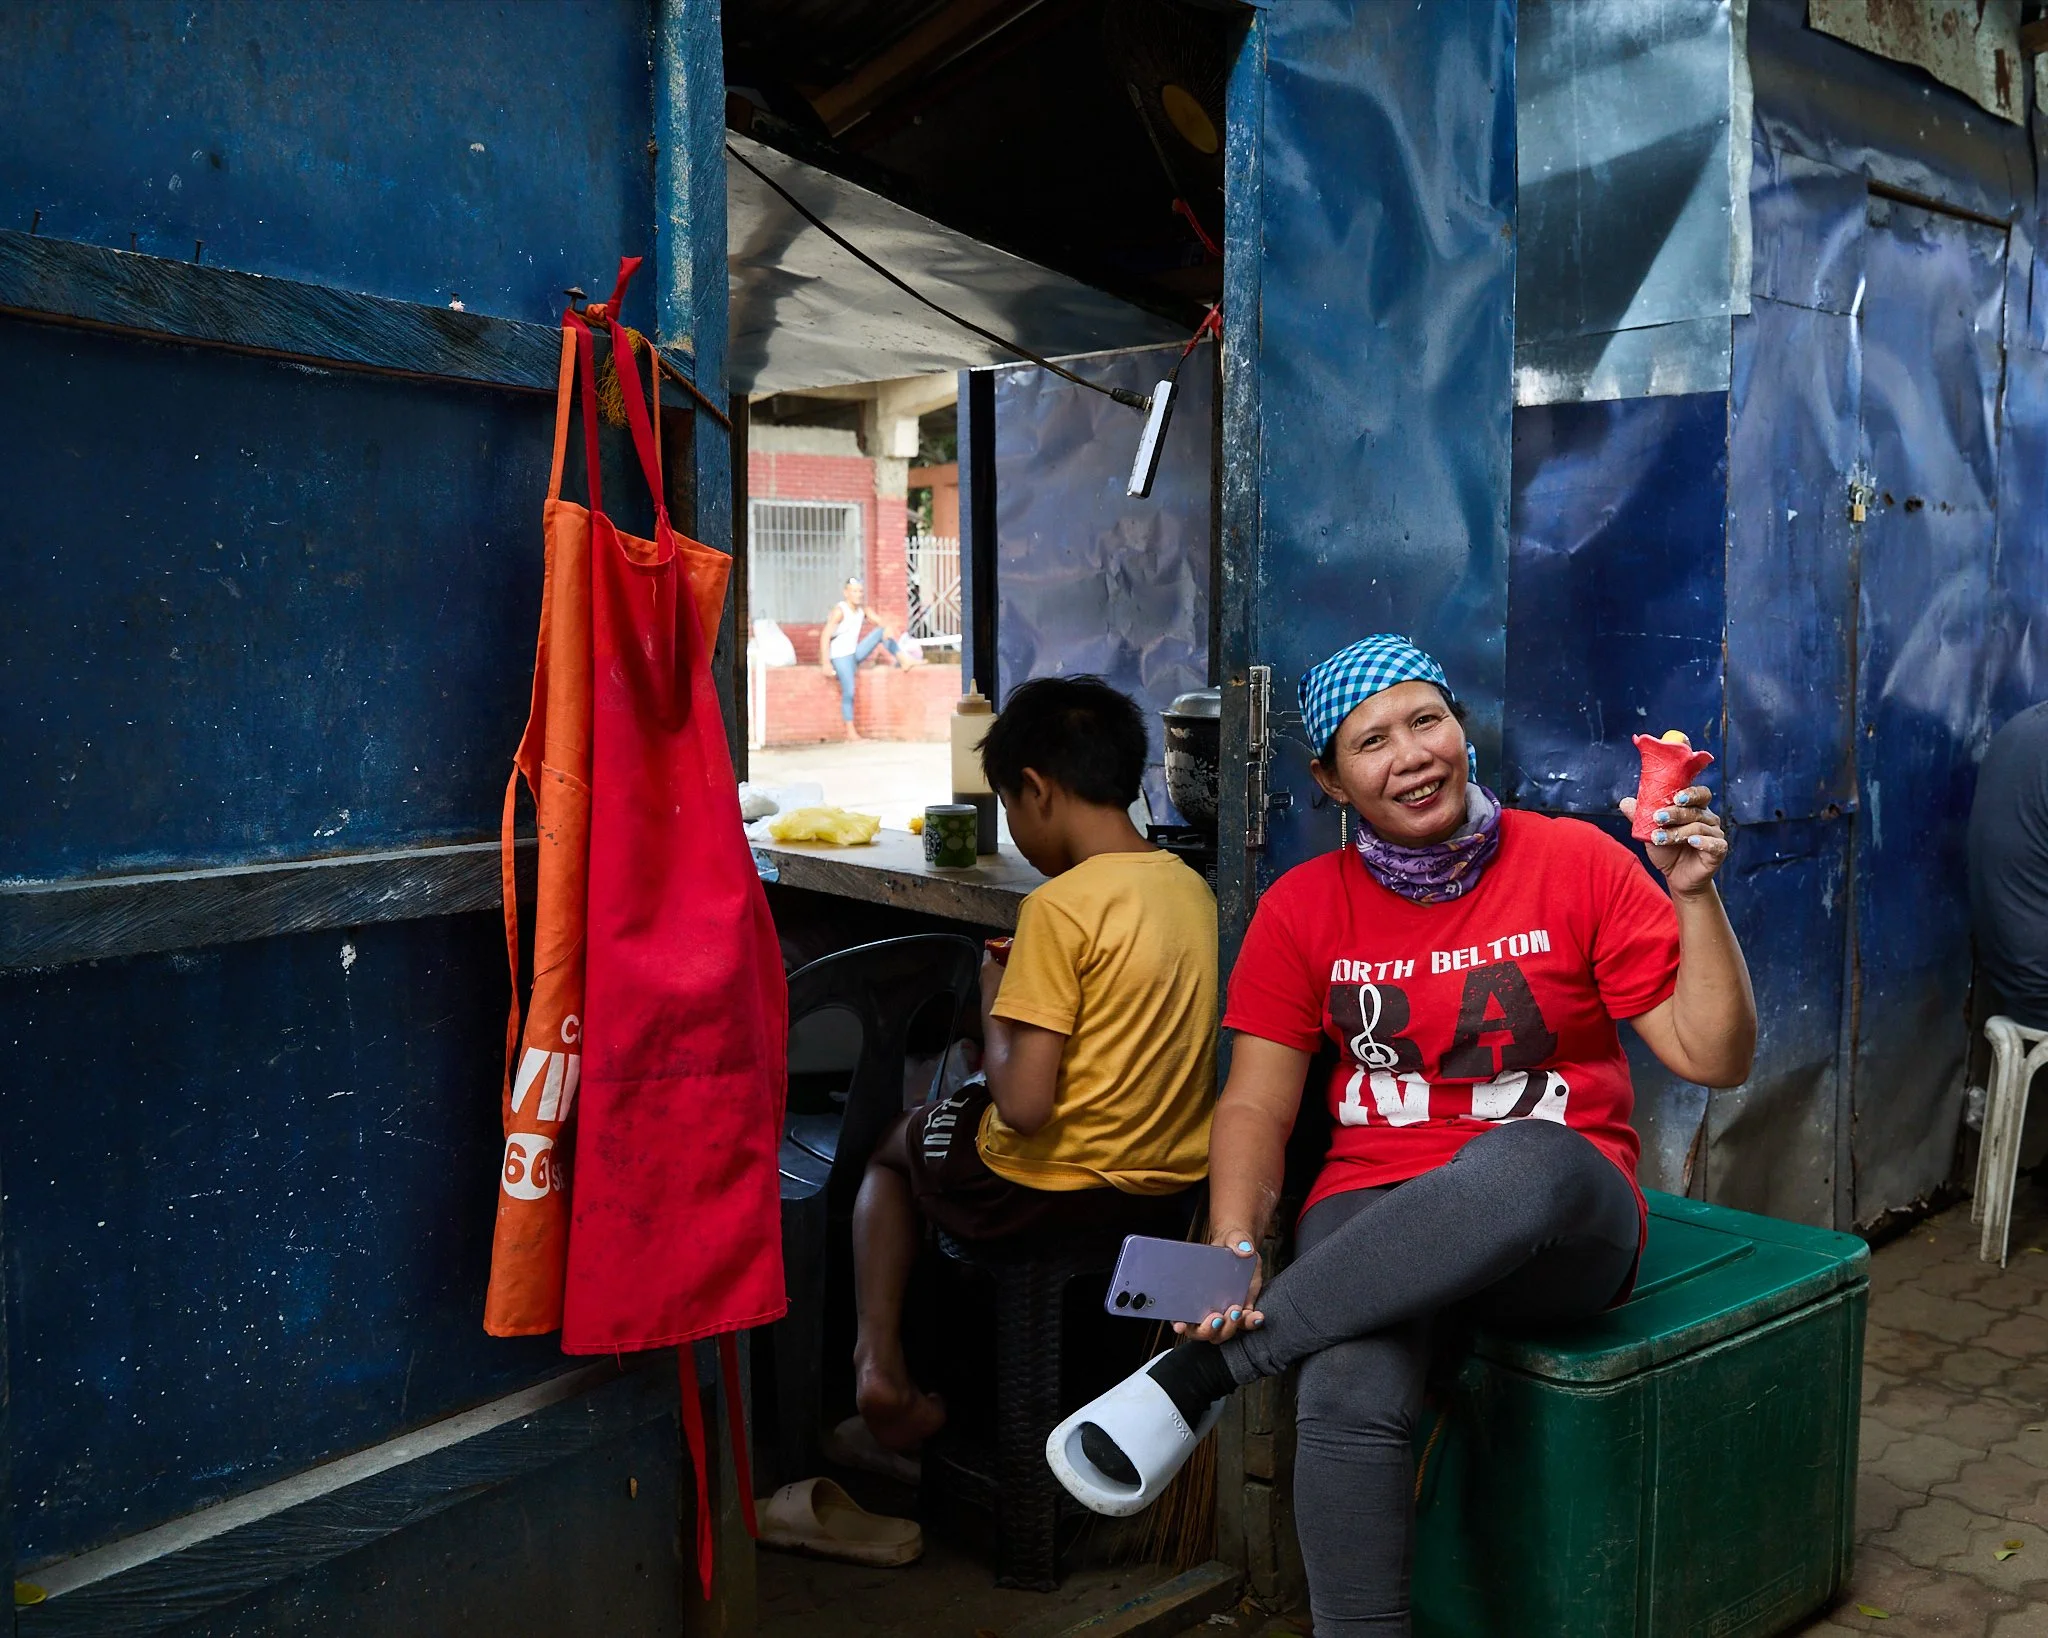
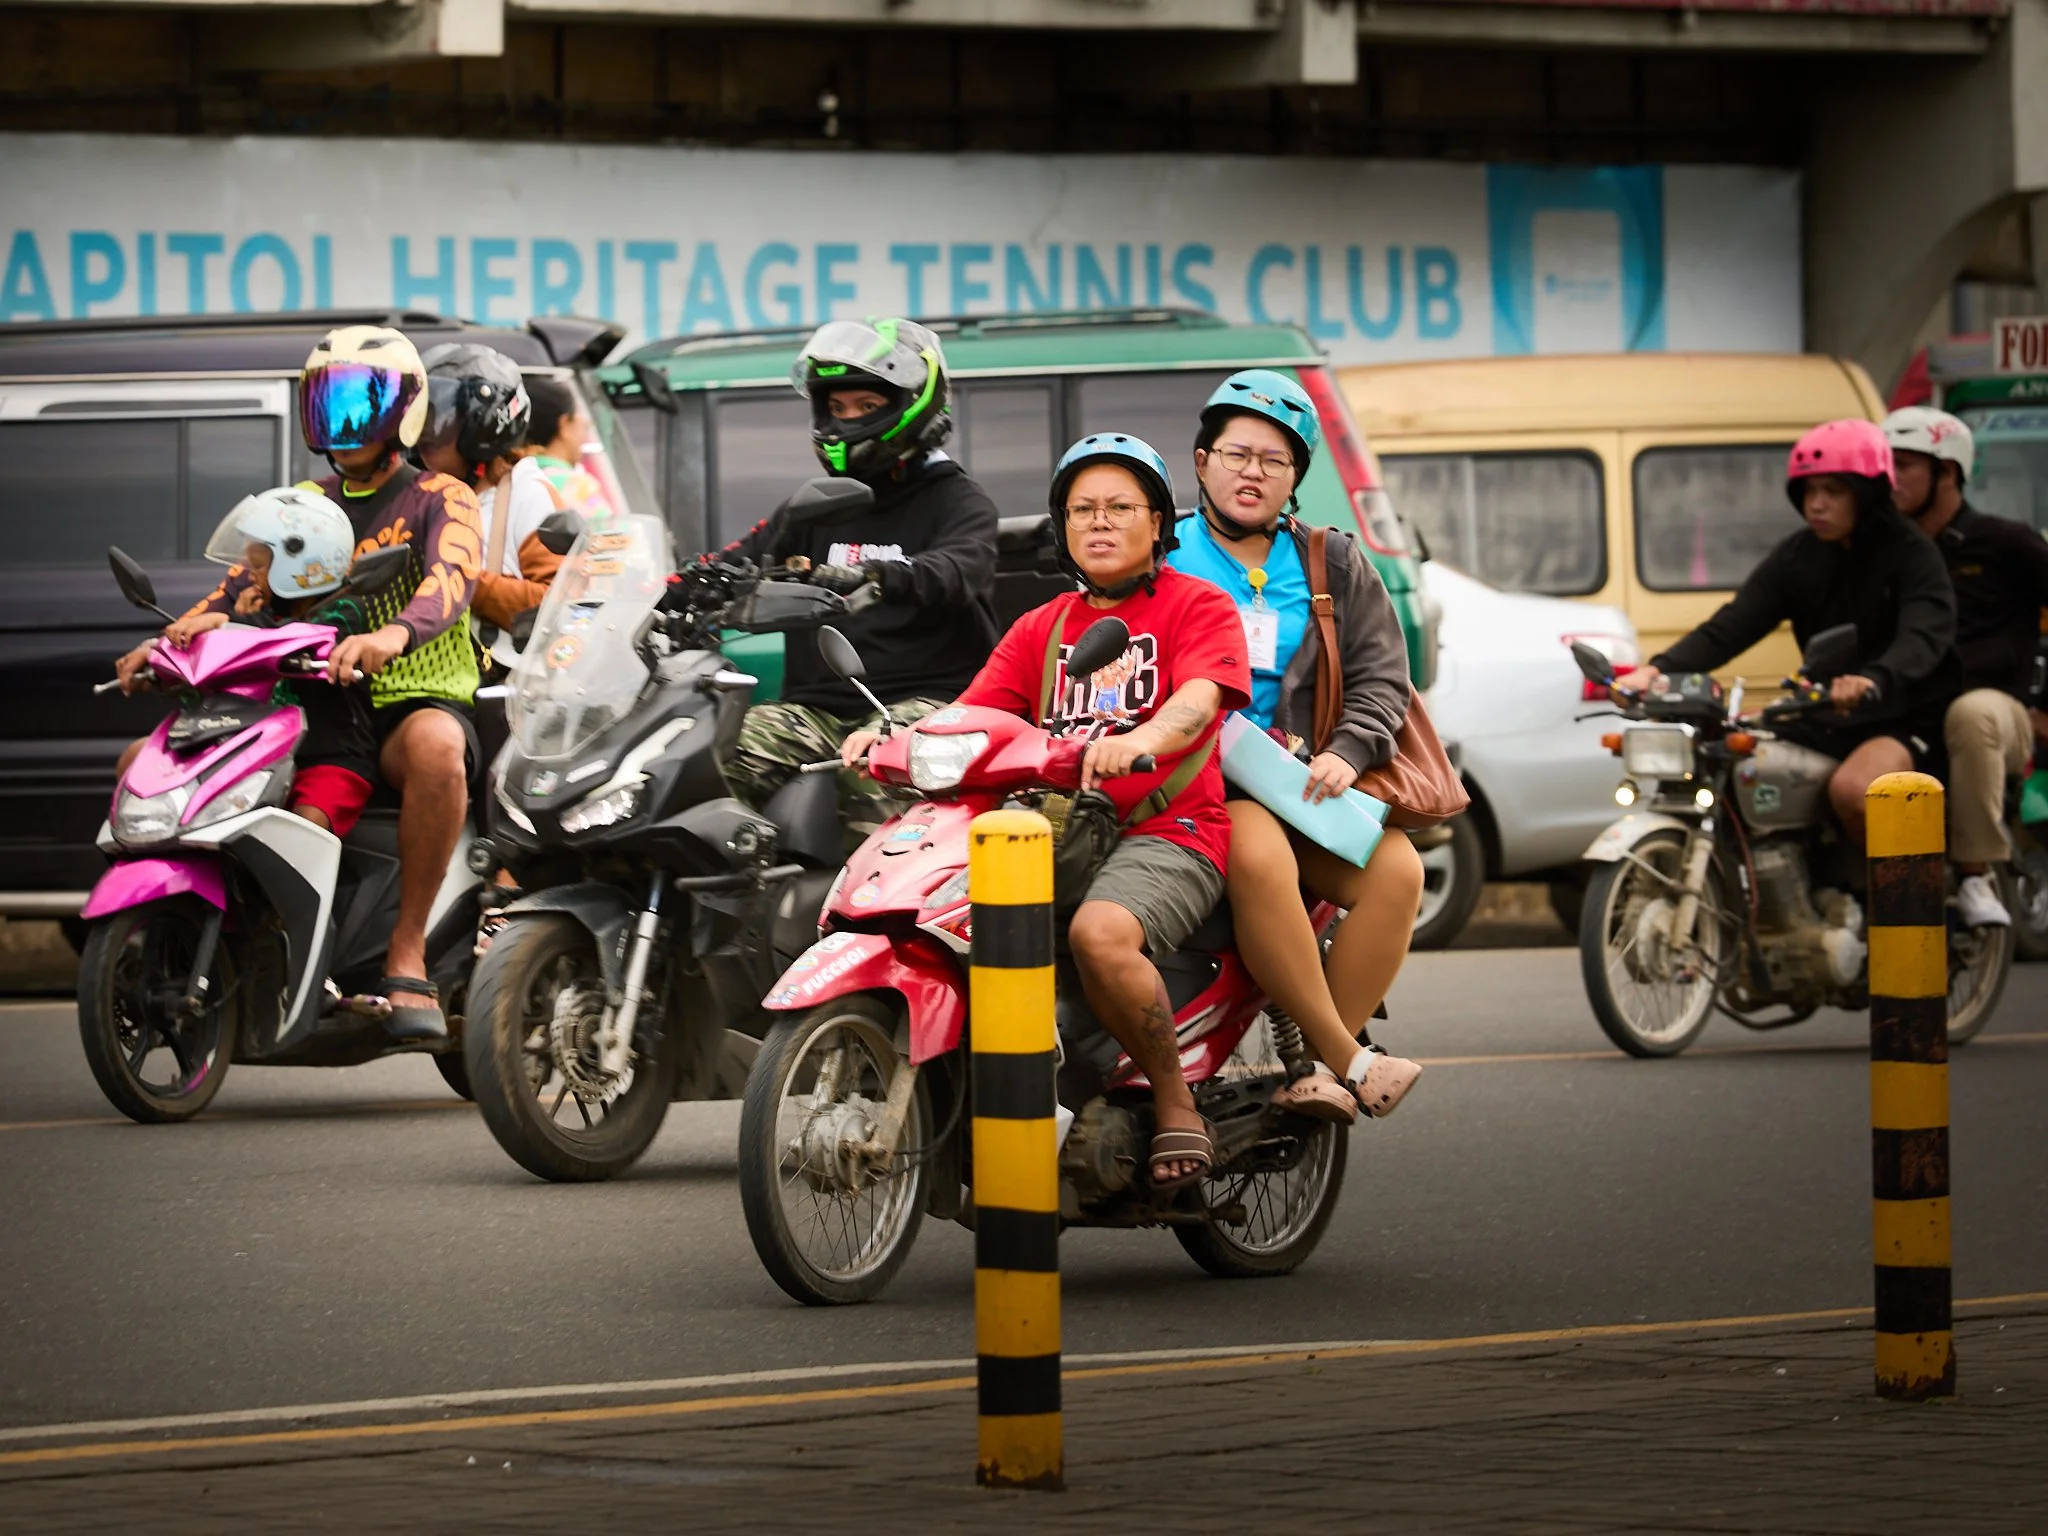
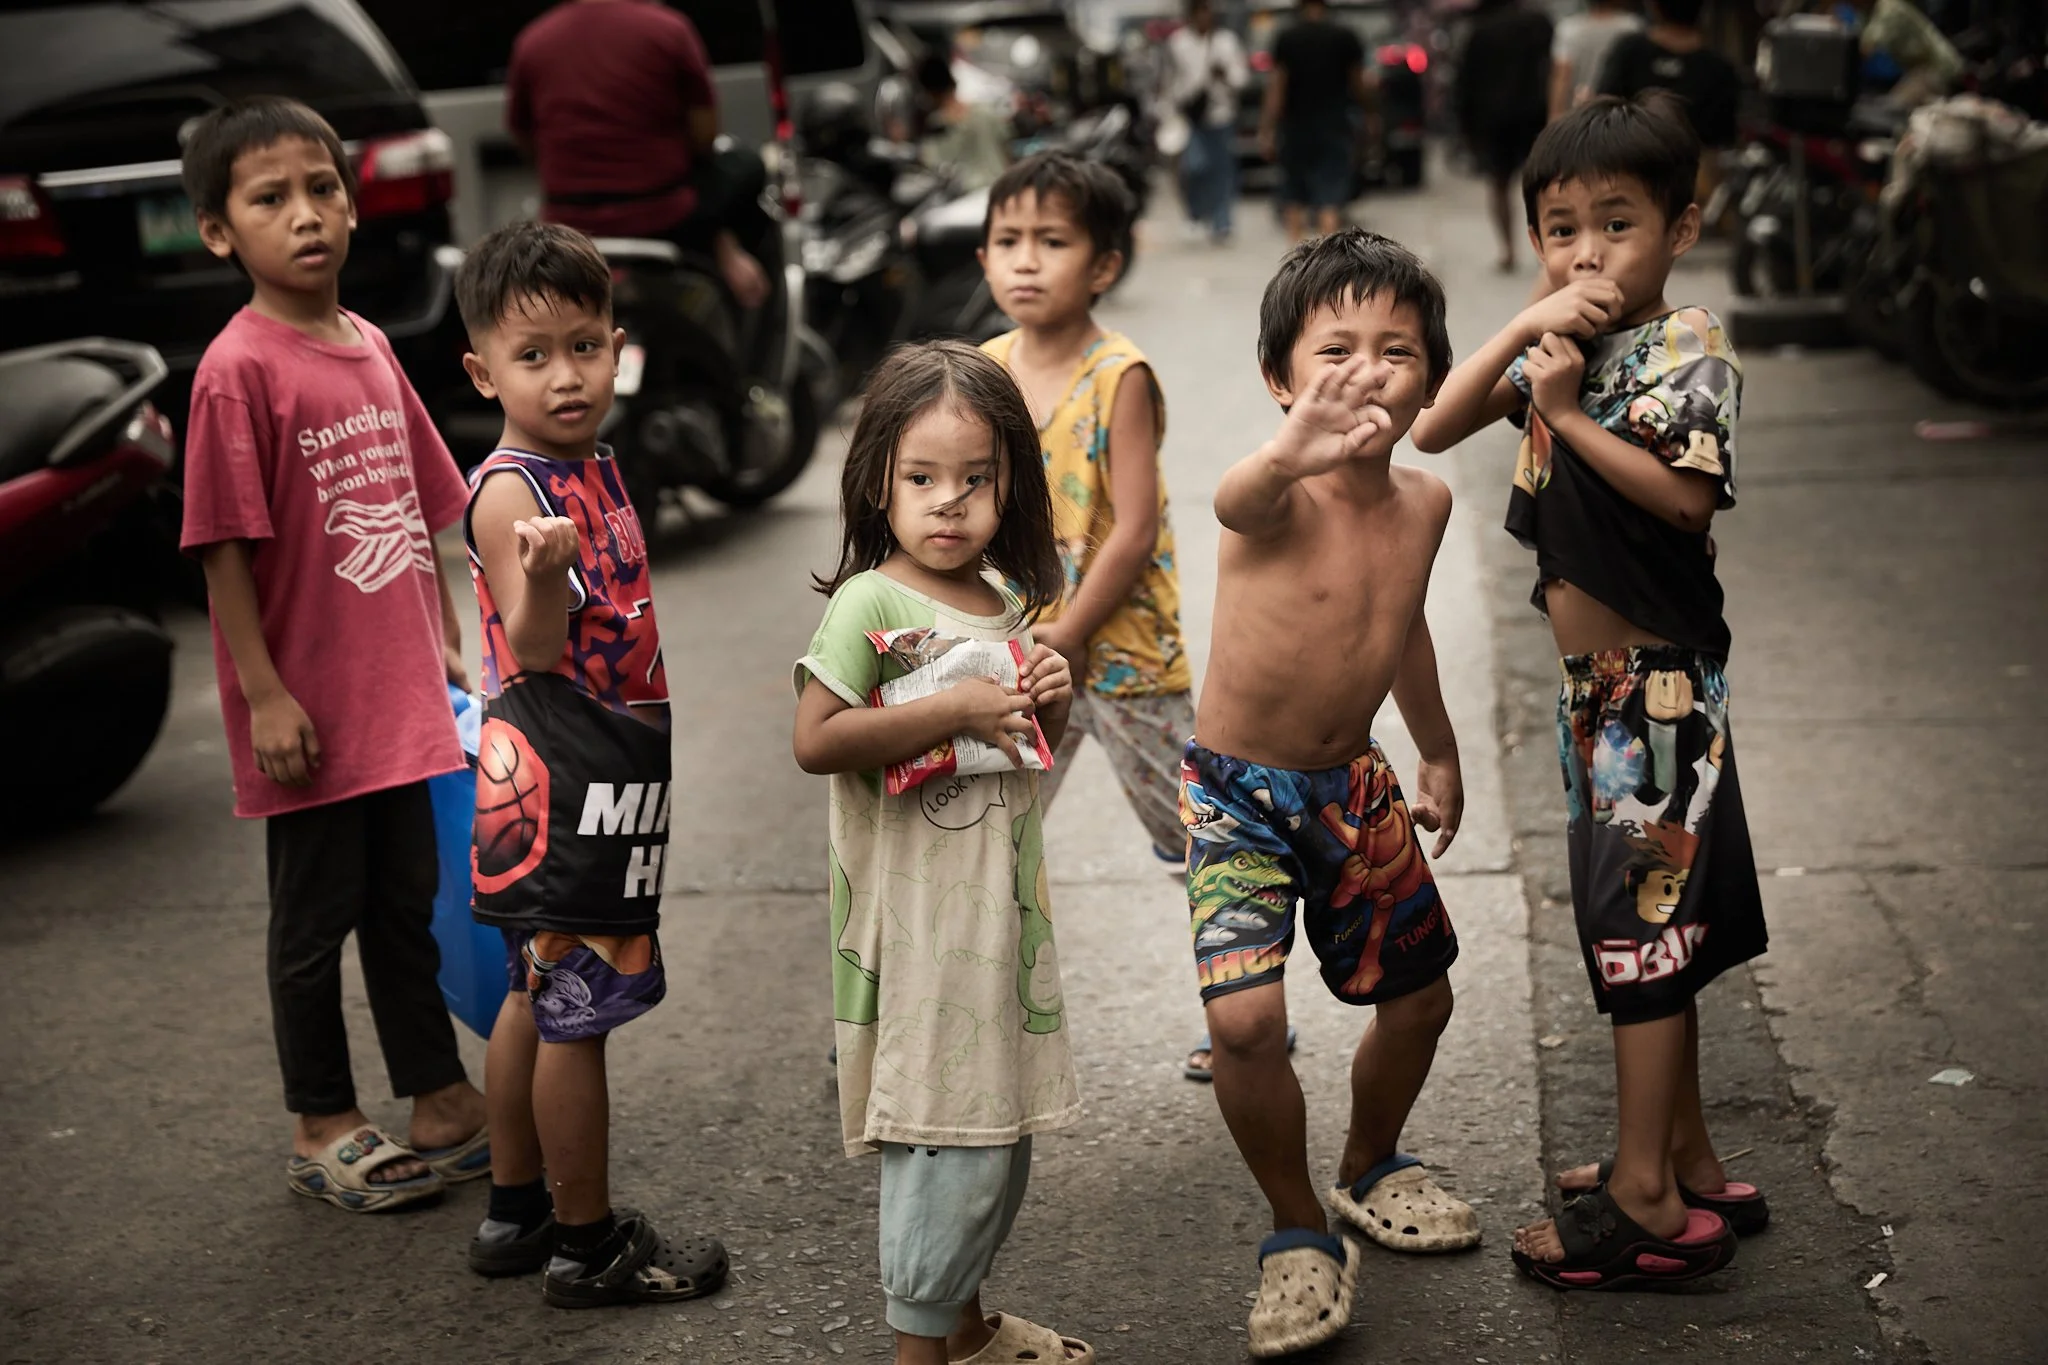
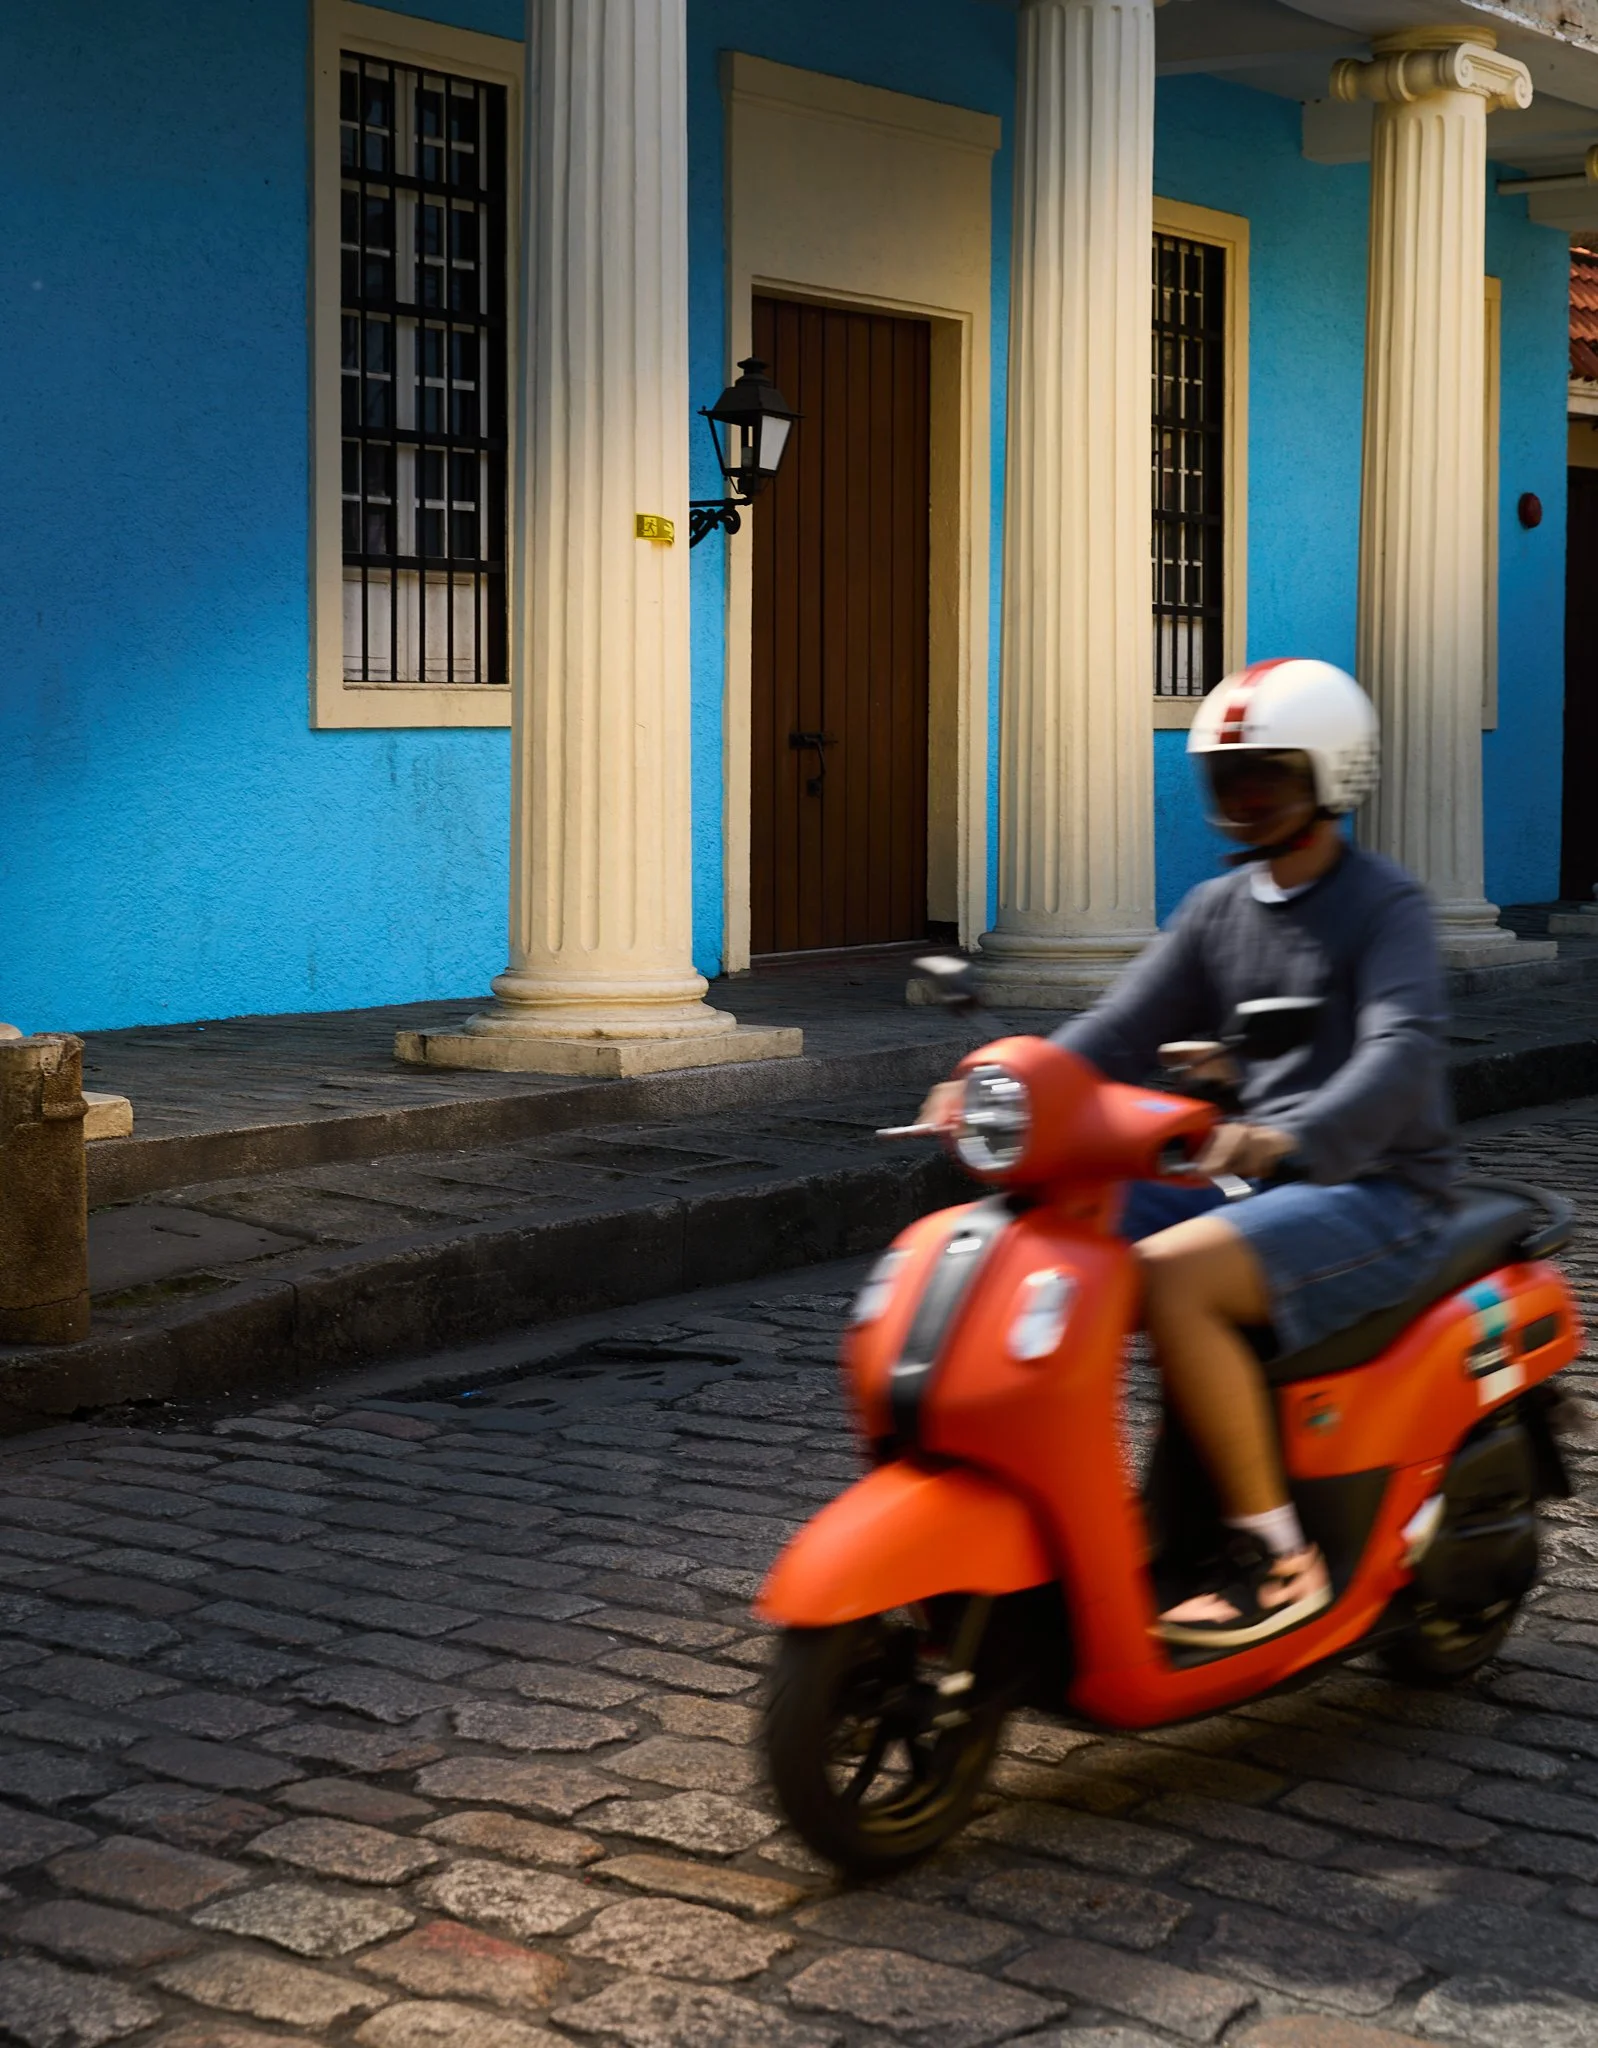
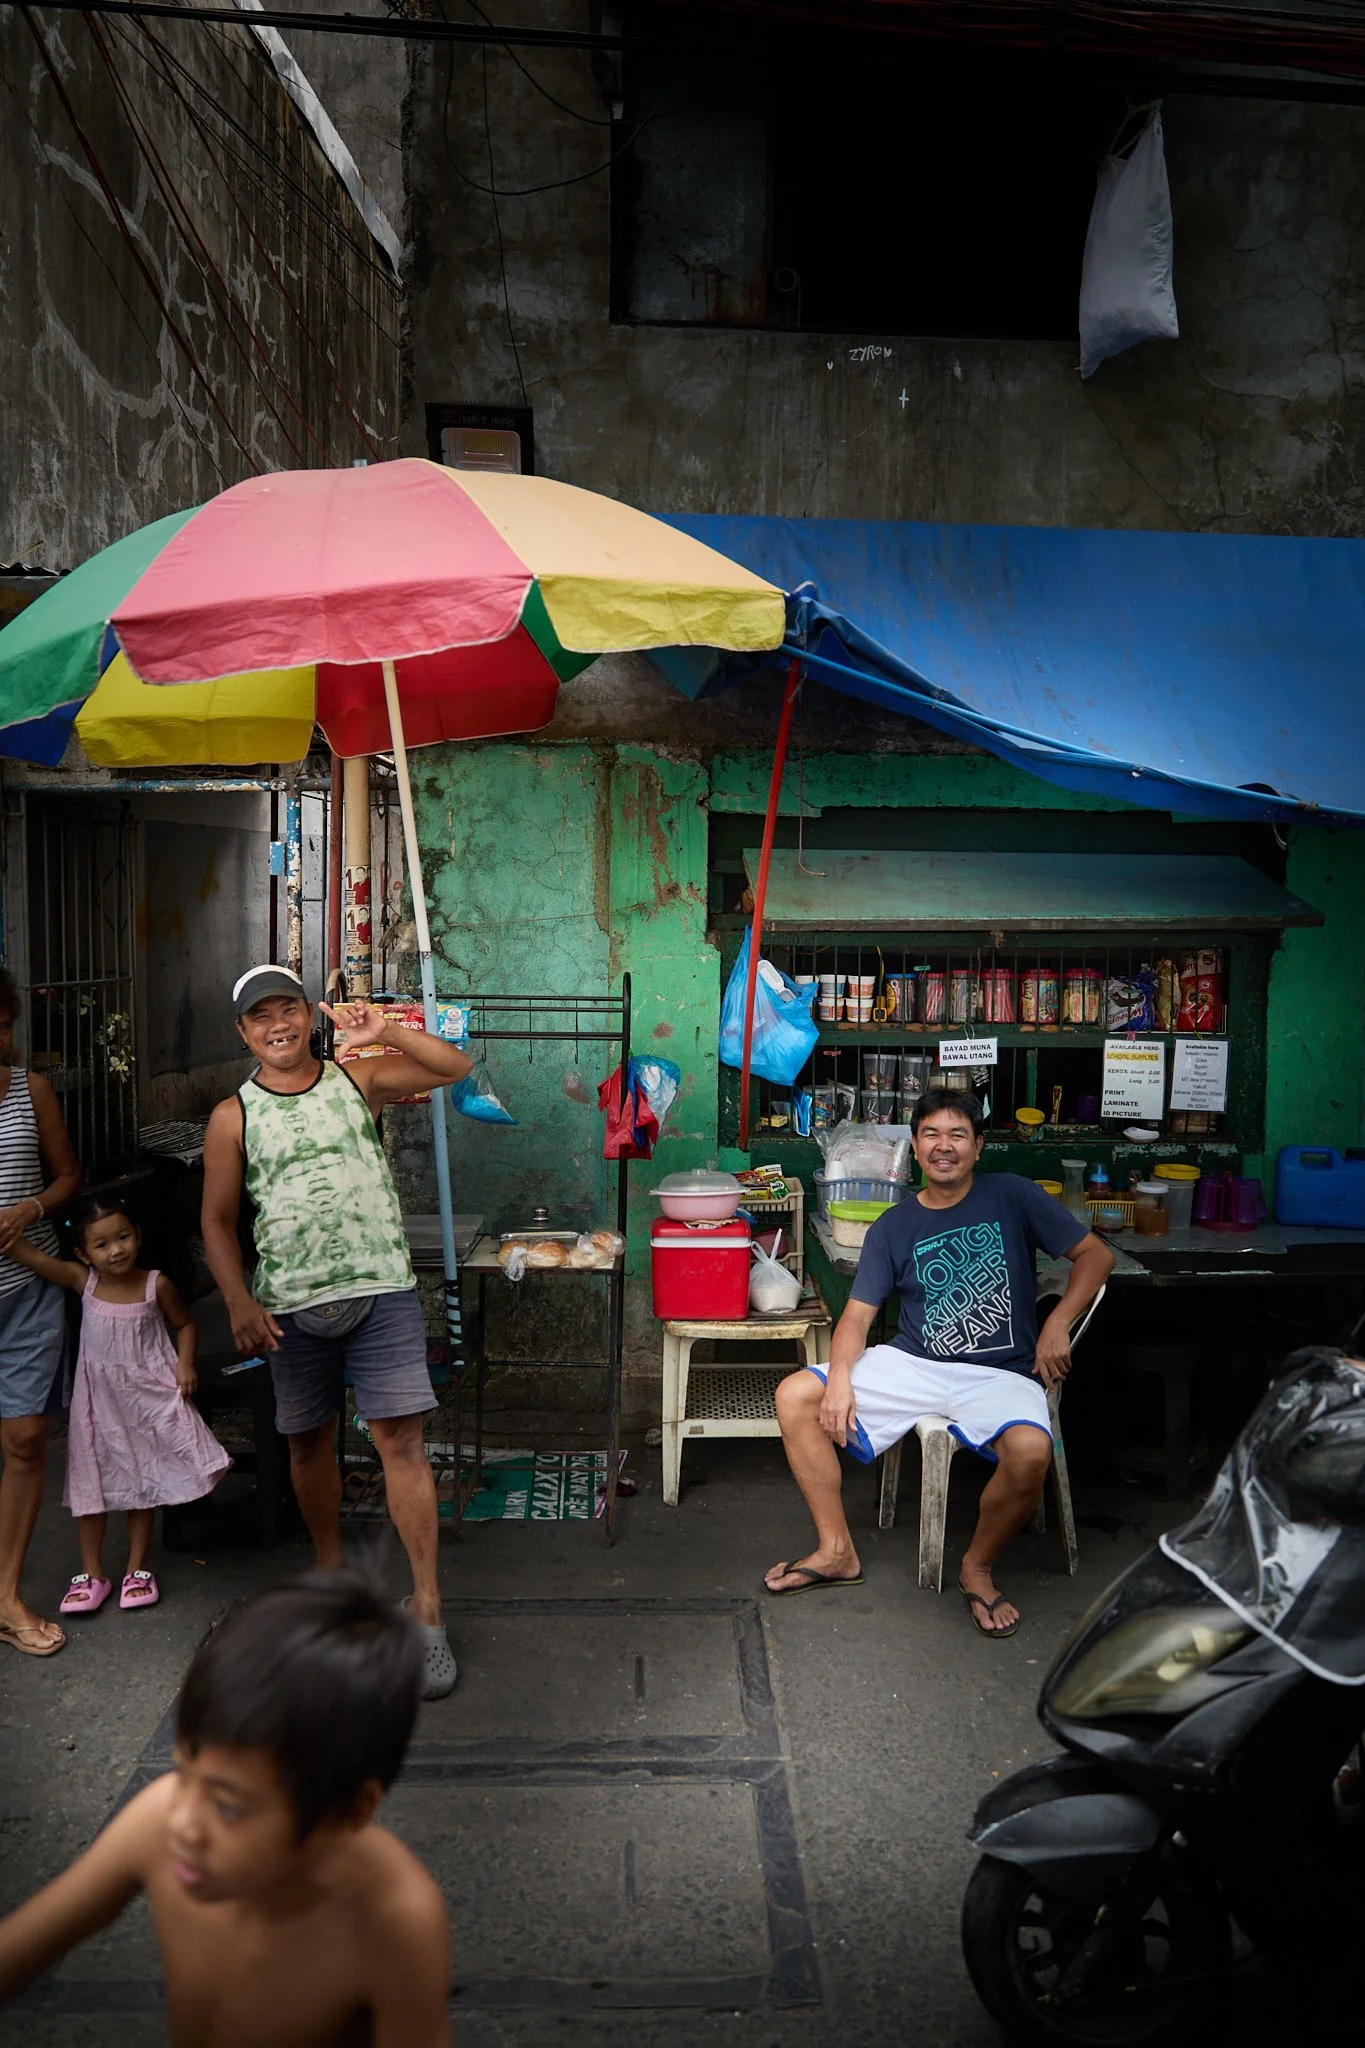
Street Photography
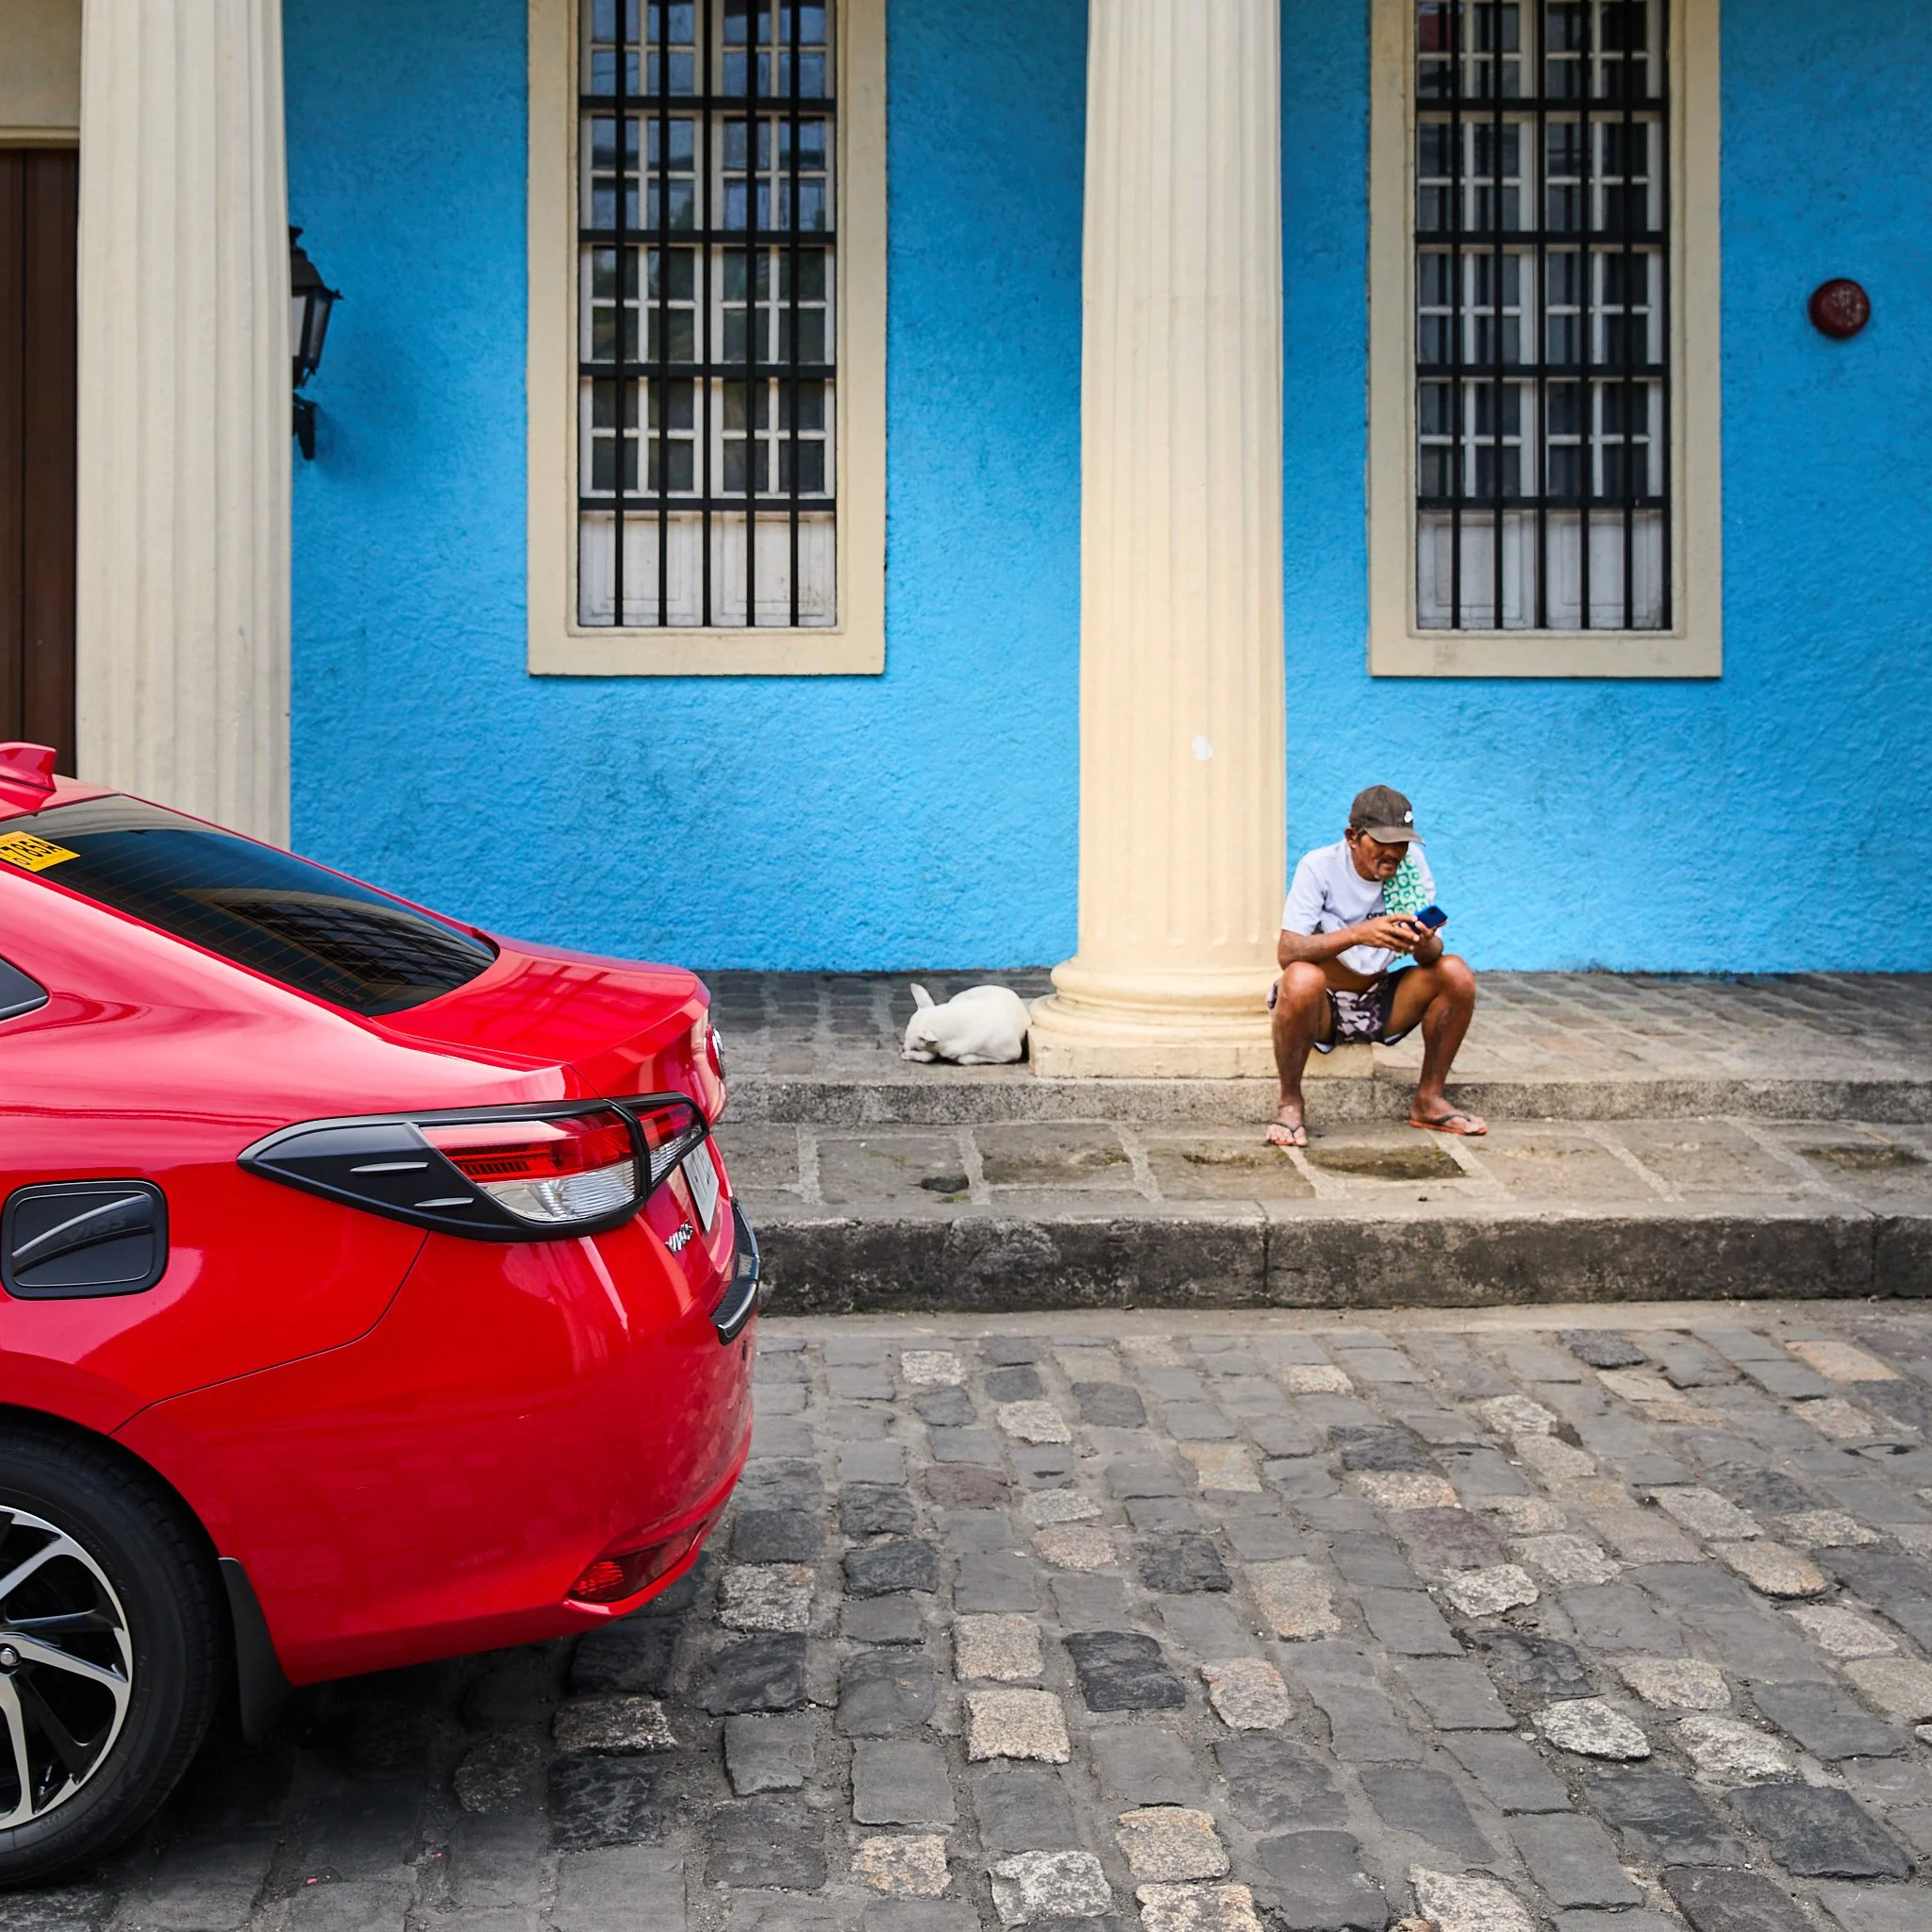
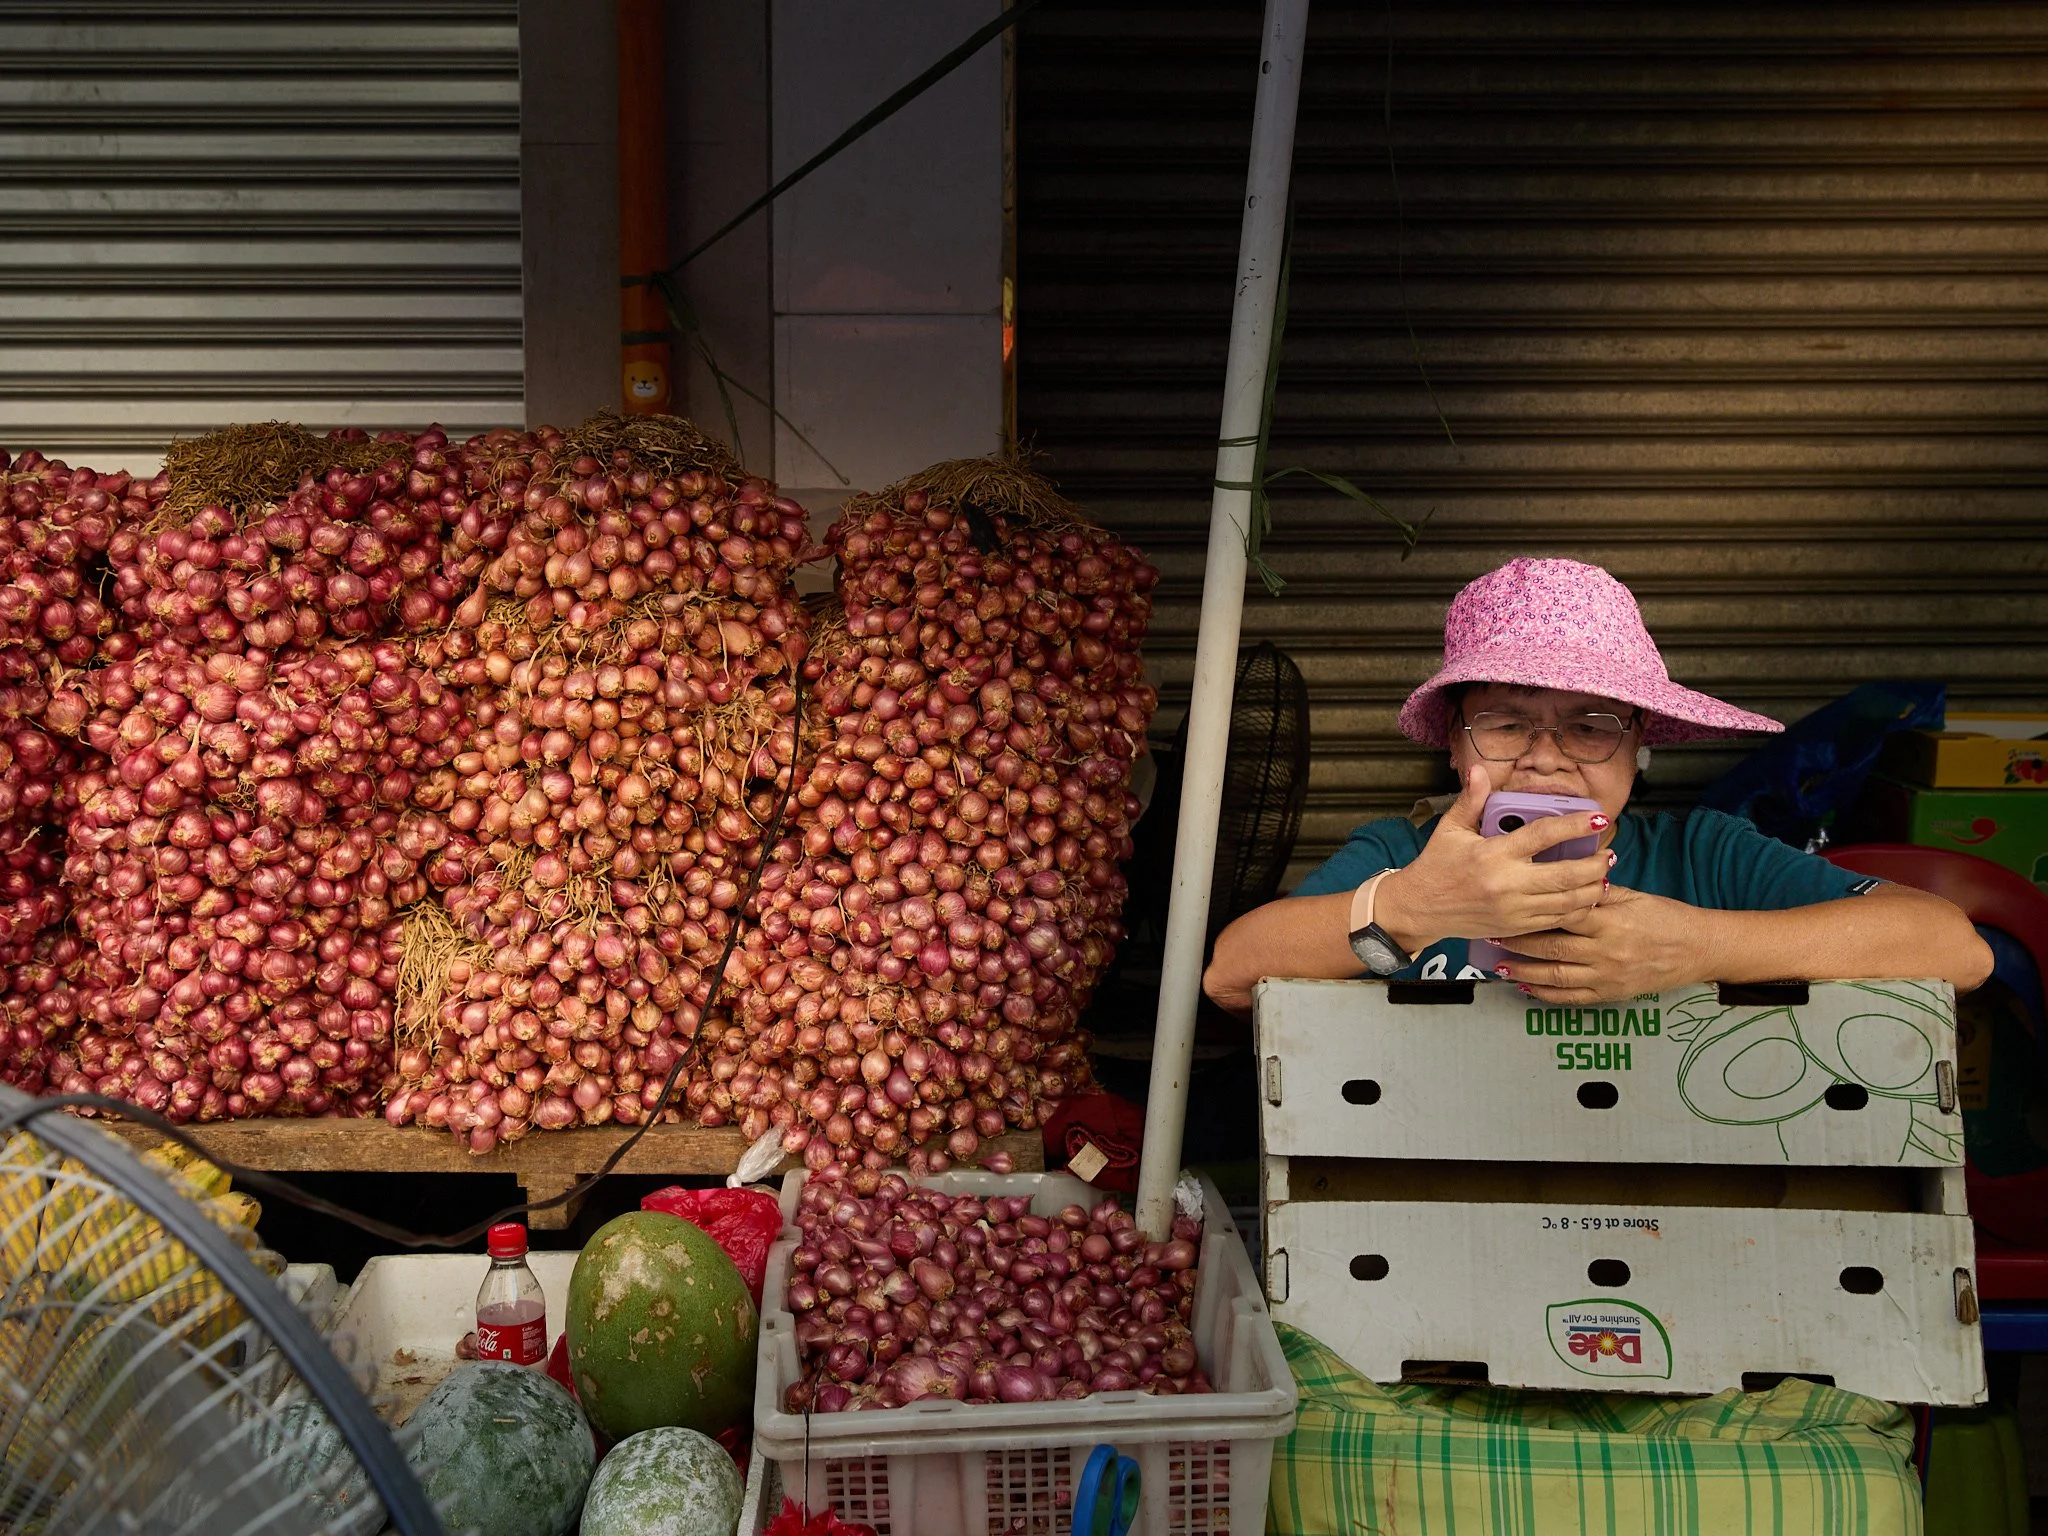
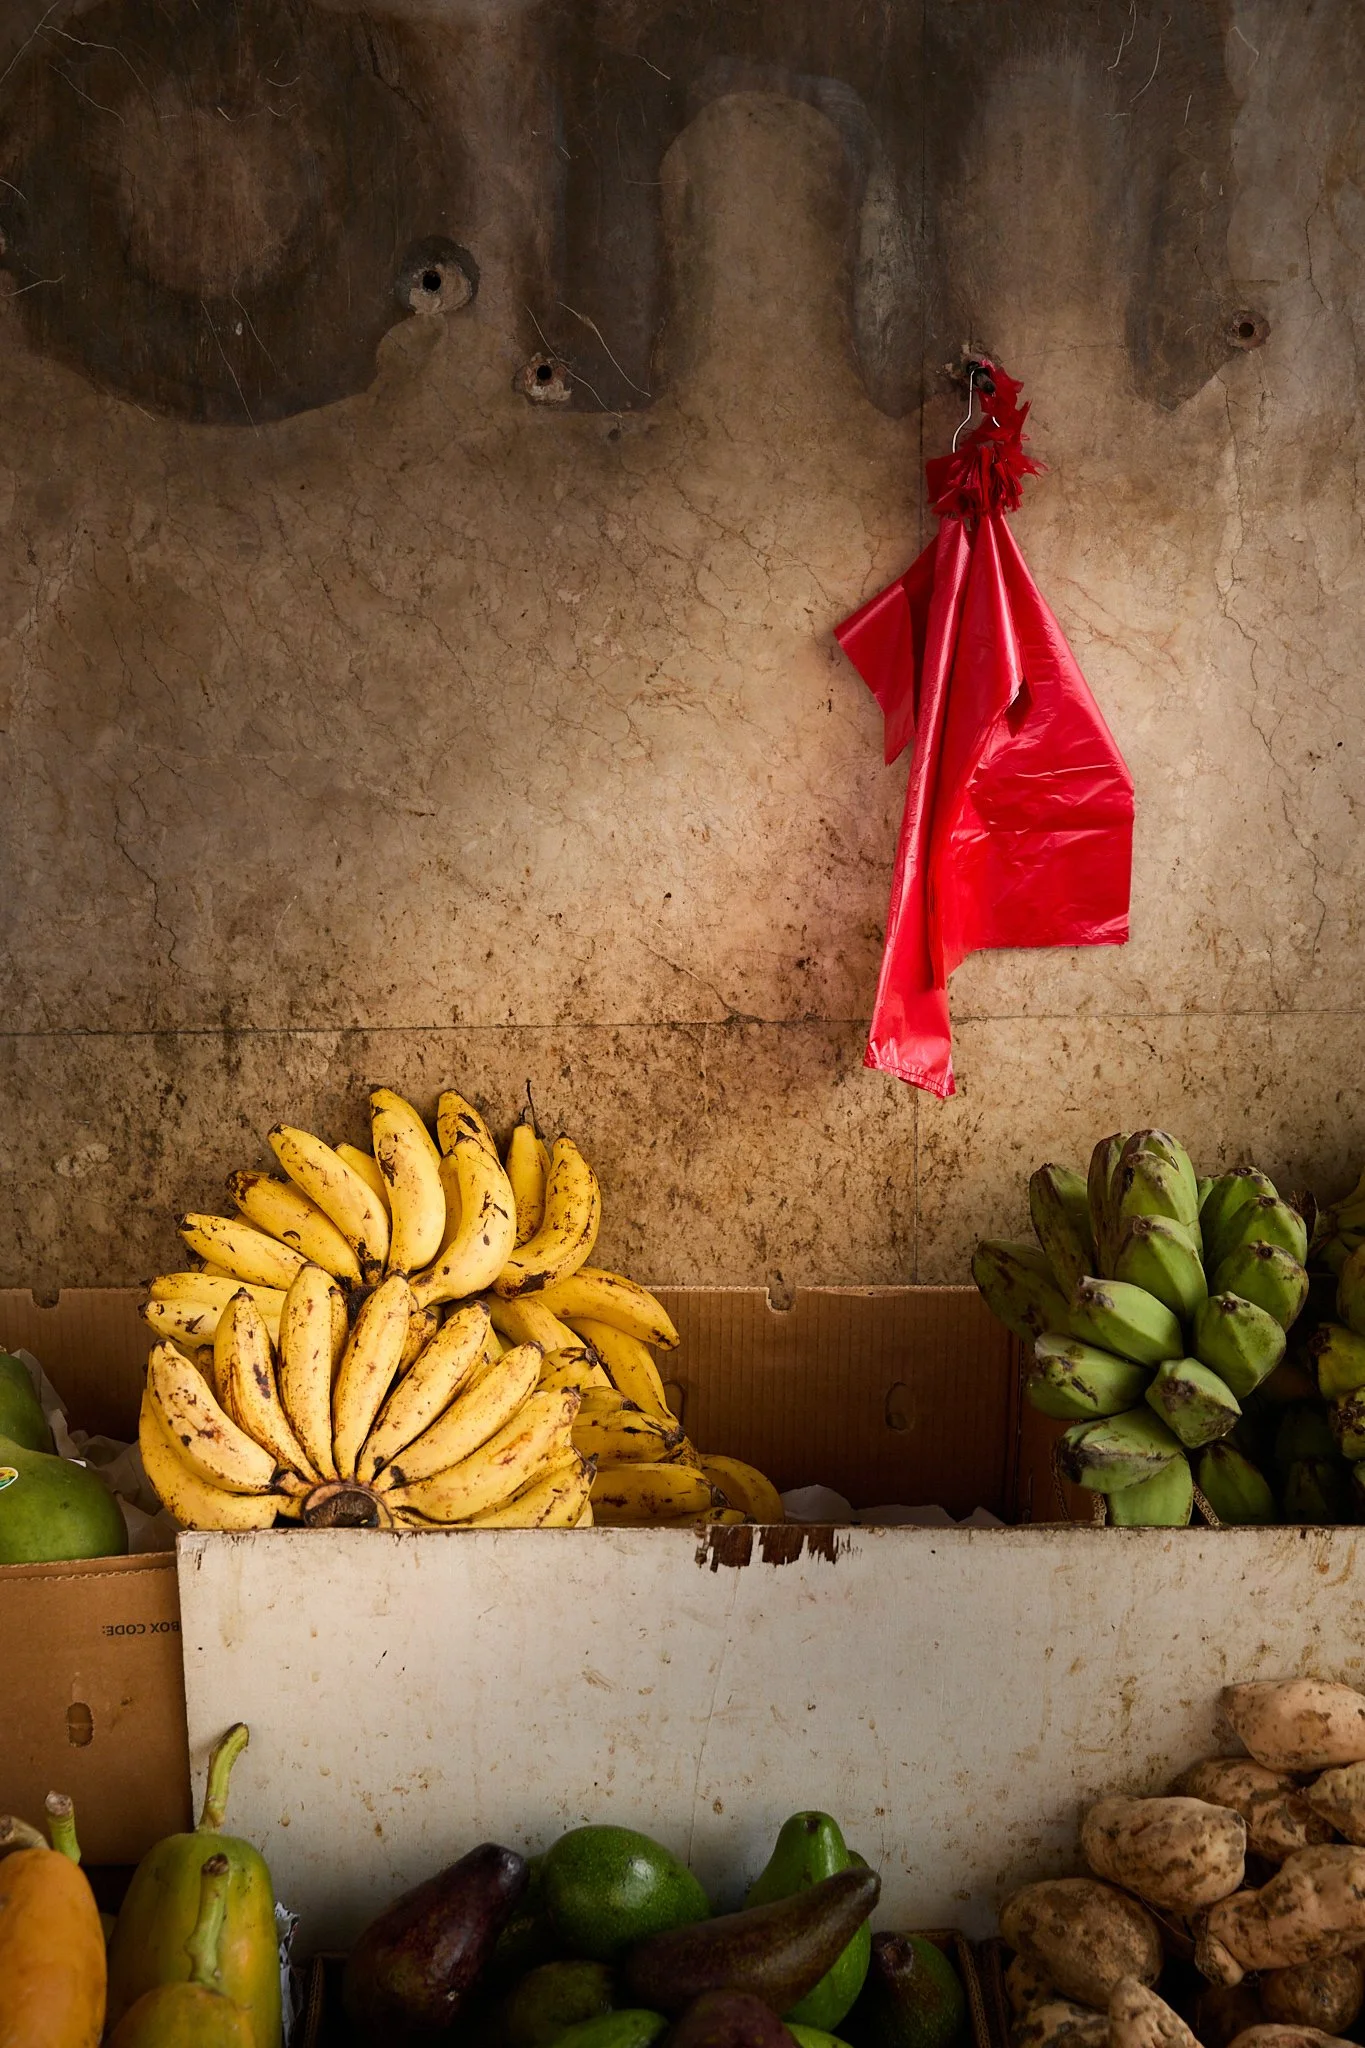
Bustling markets, alleyways, street vendors, mechanics, and everyday life scenes full of colour and movement. The Philippines is an incredible destination for documentary-style photography with endless candid moments.
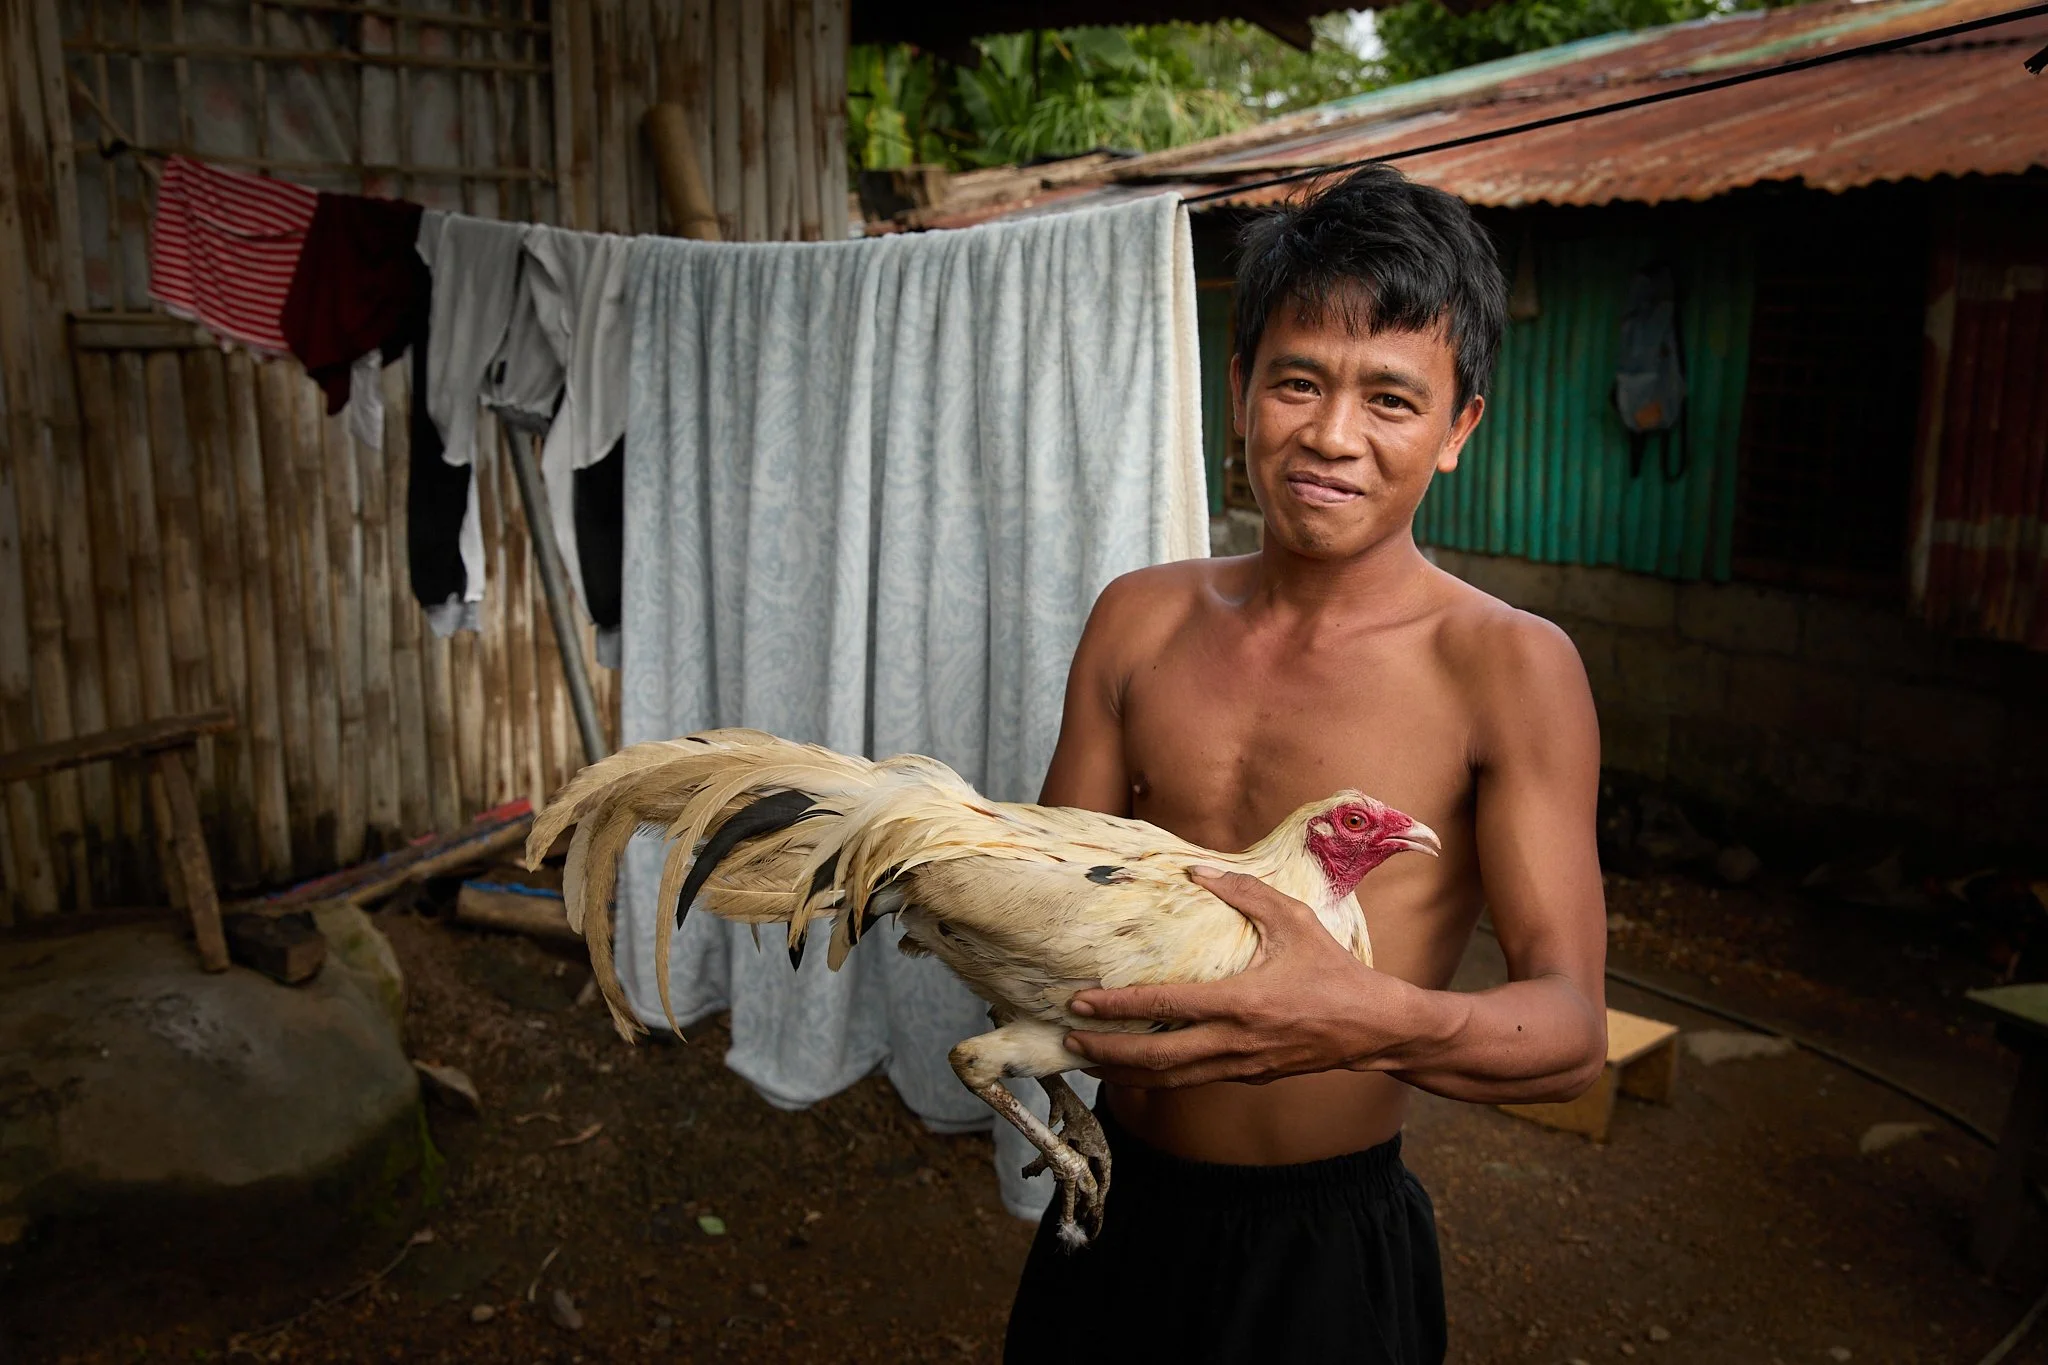
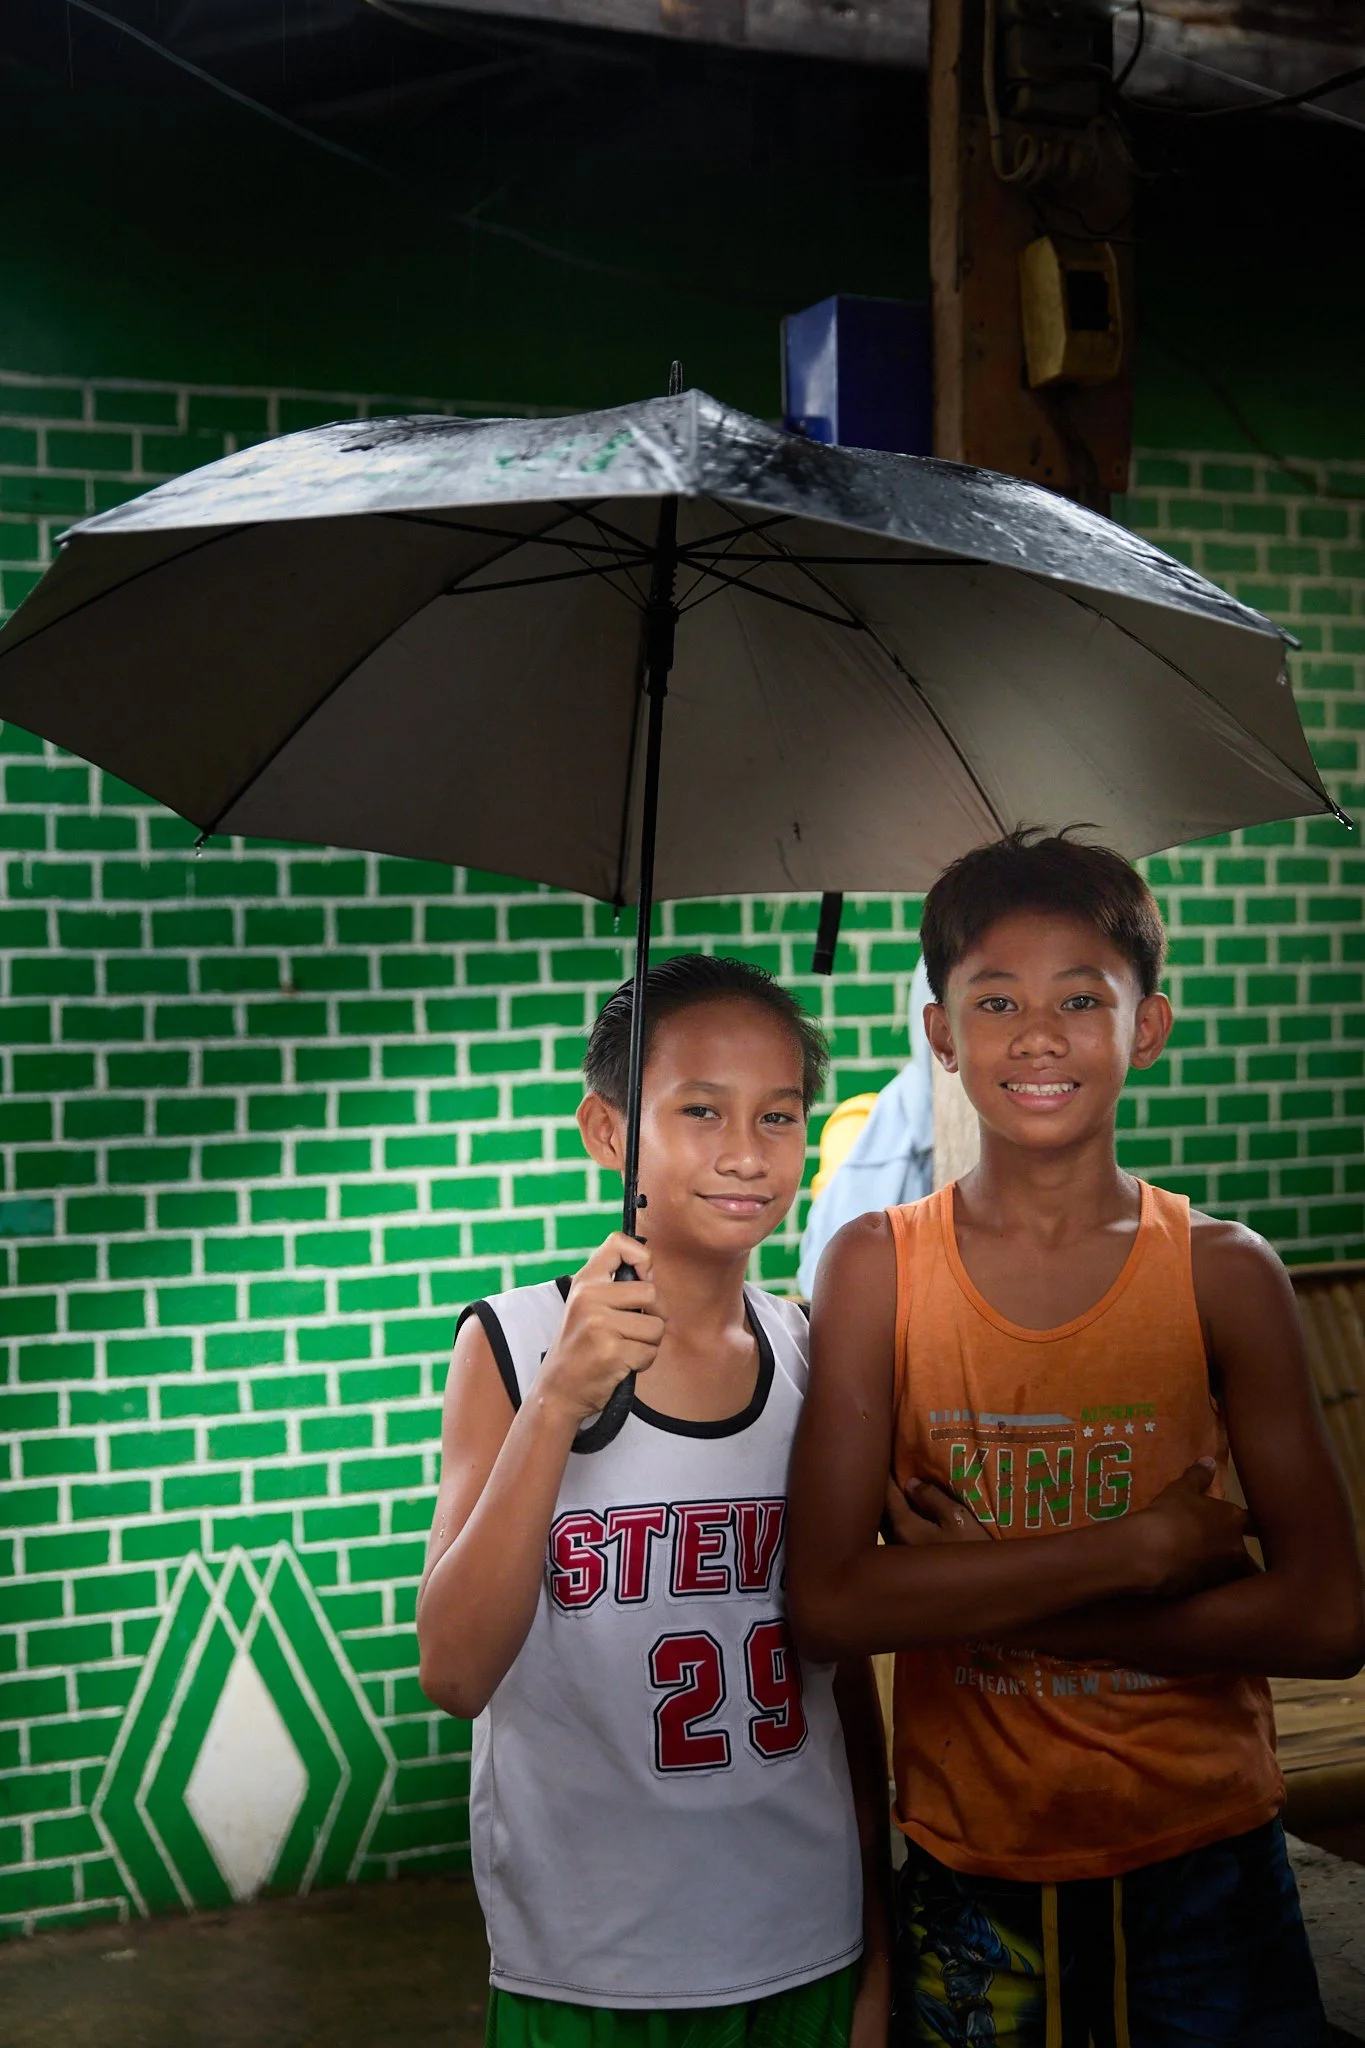
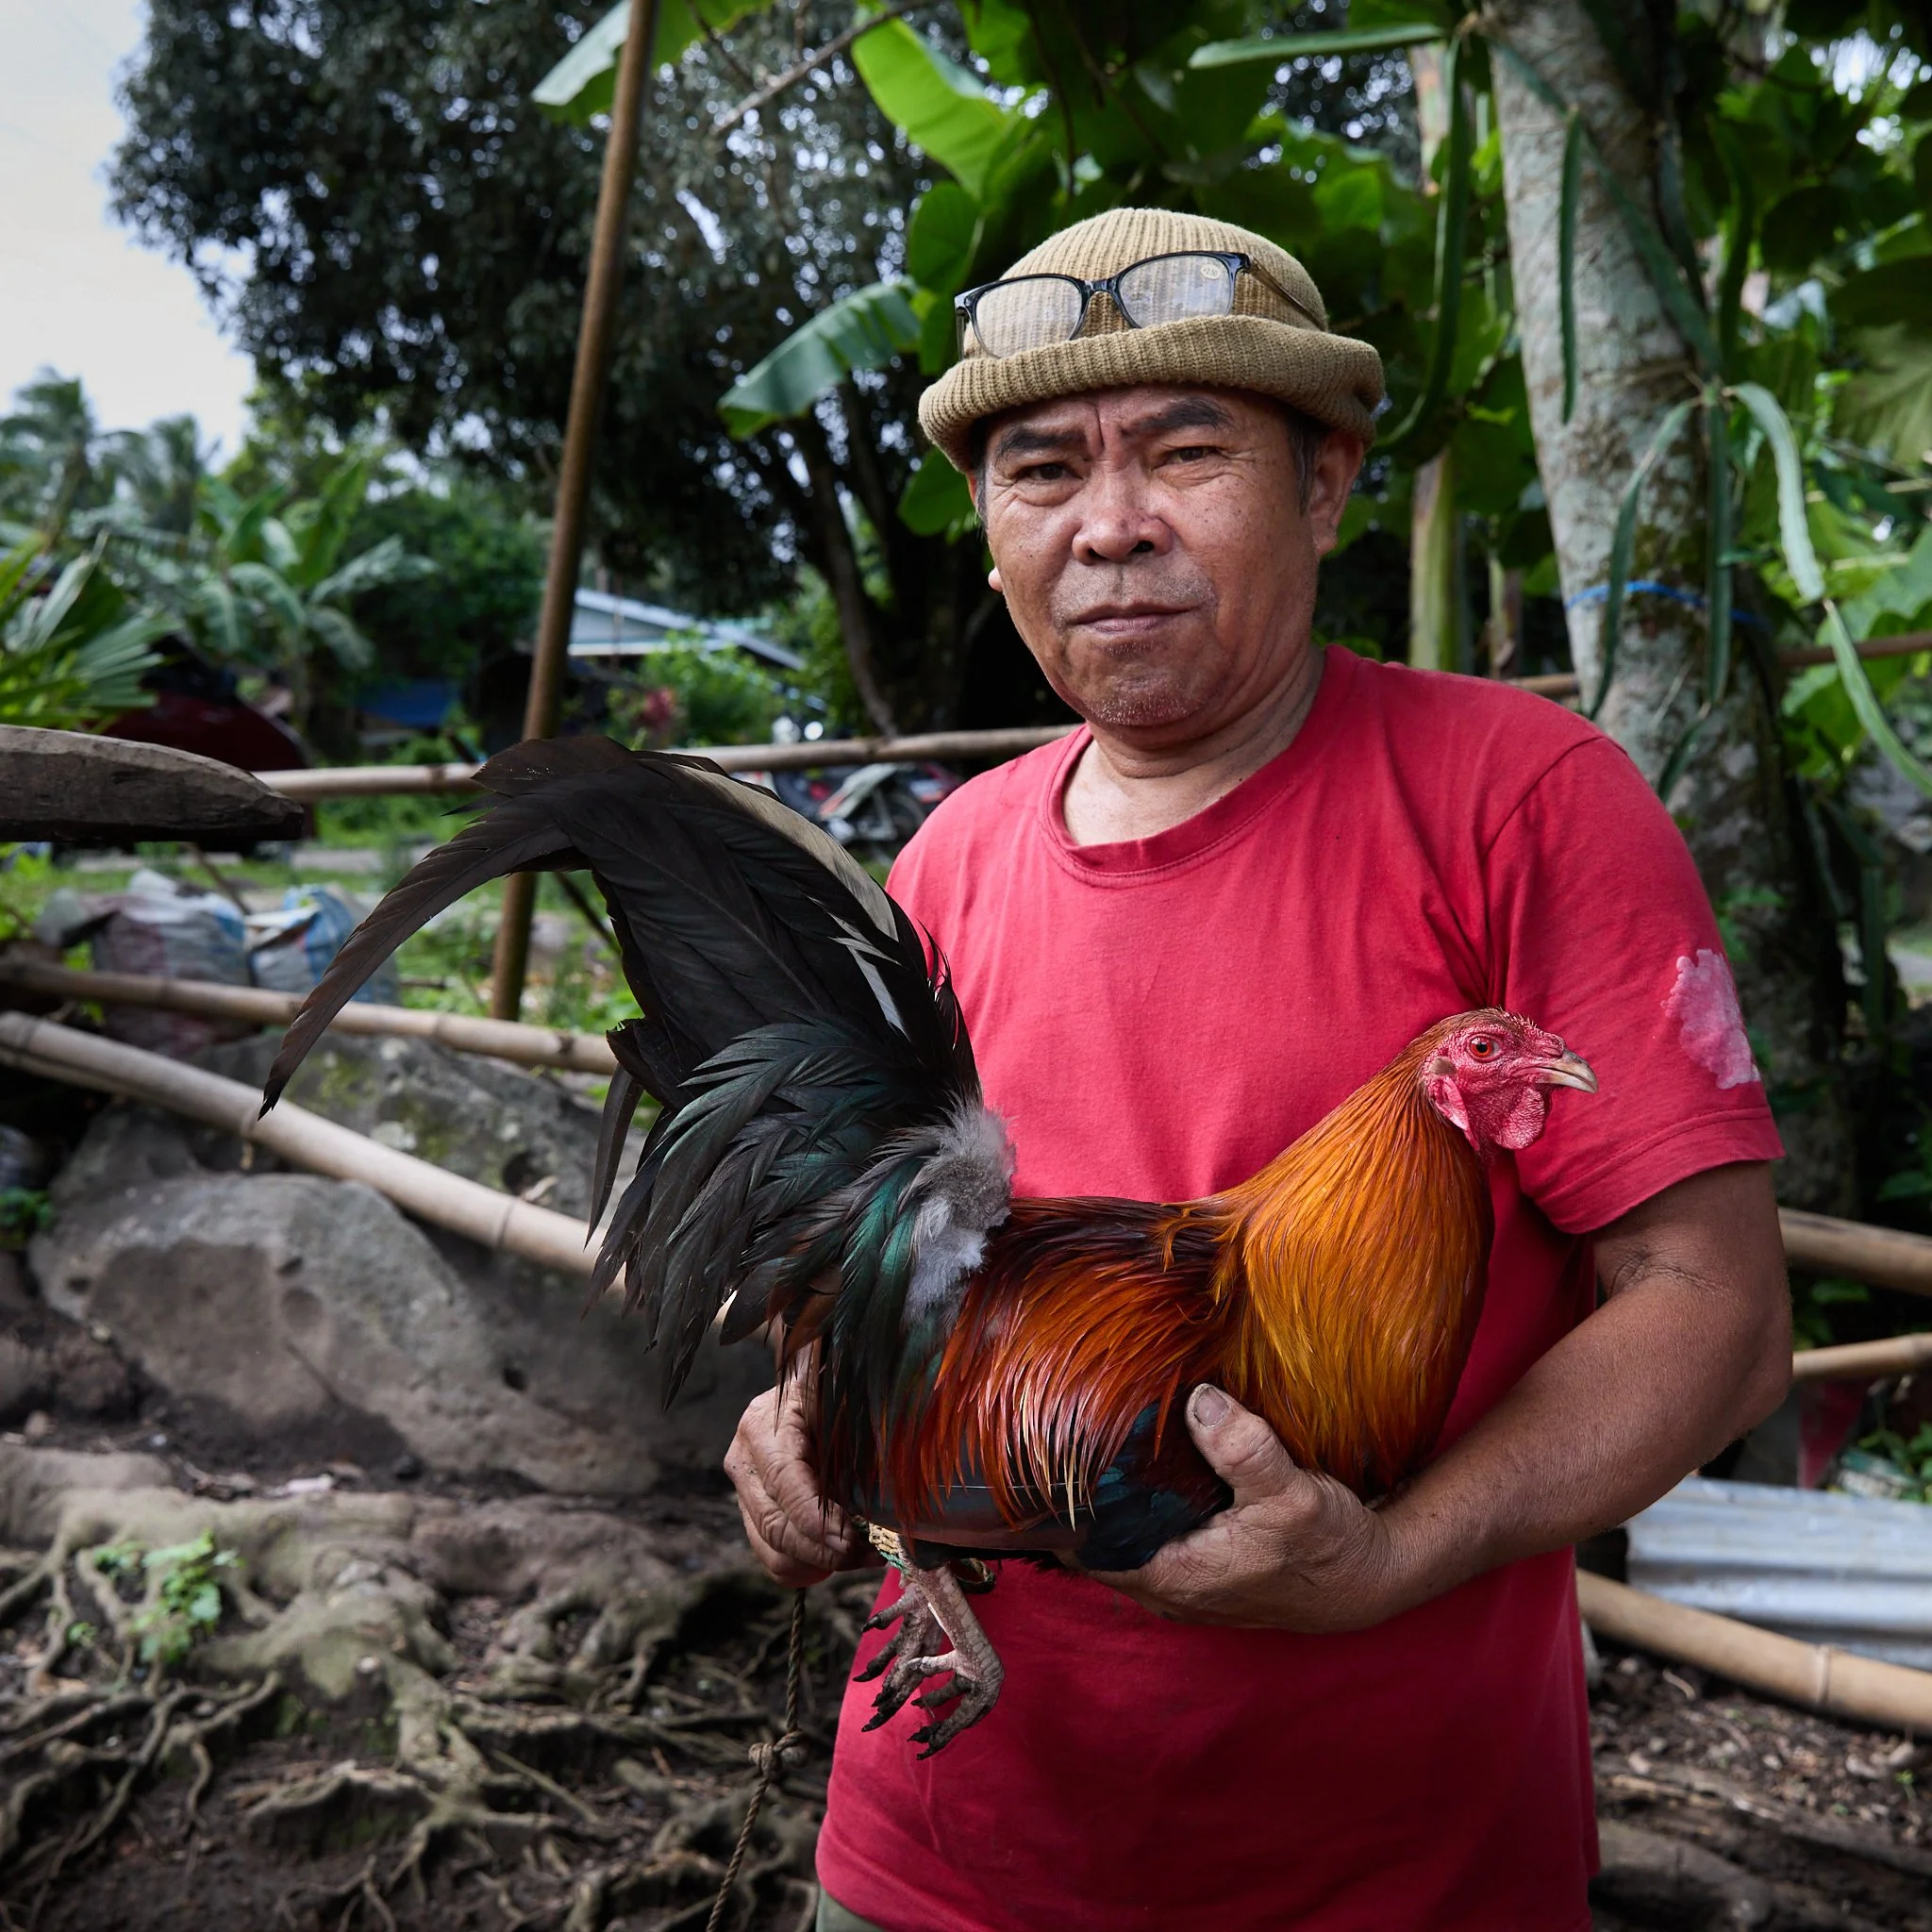
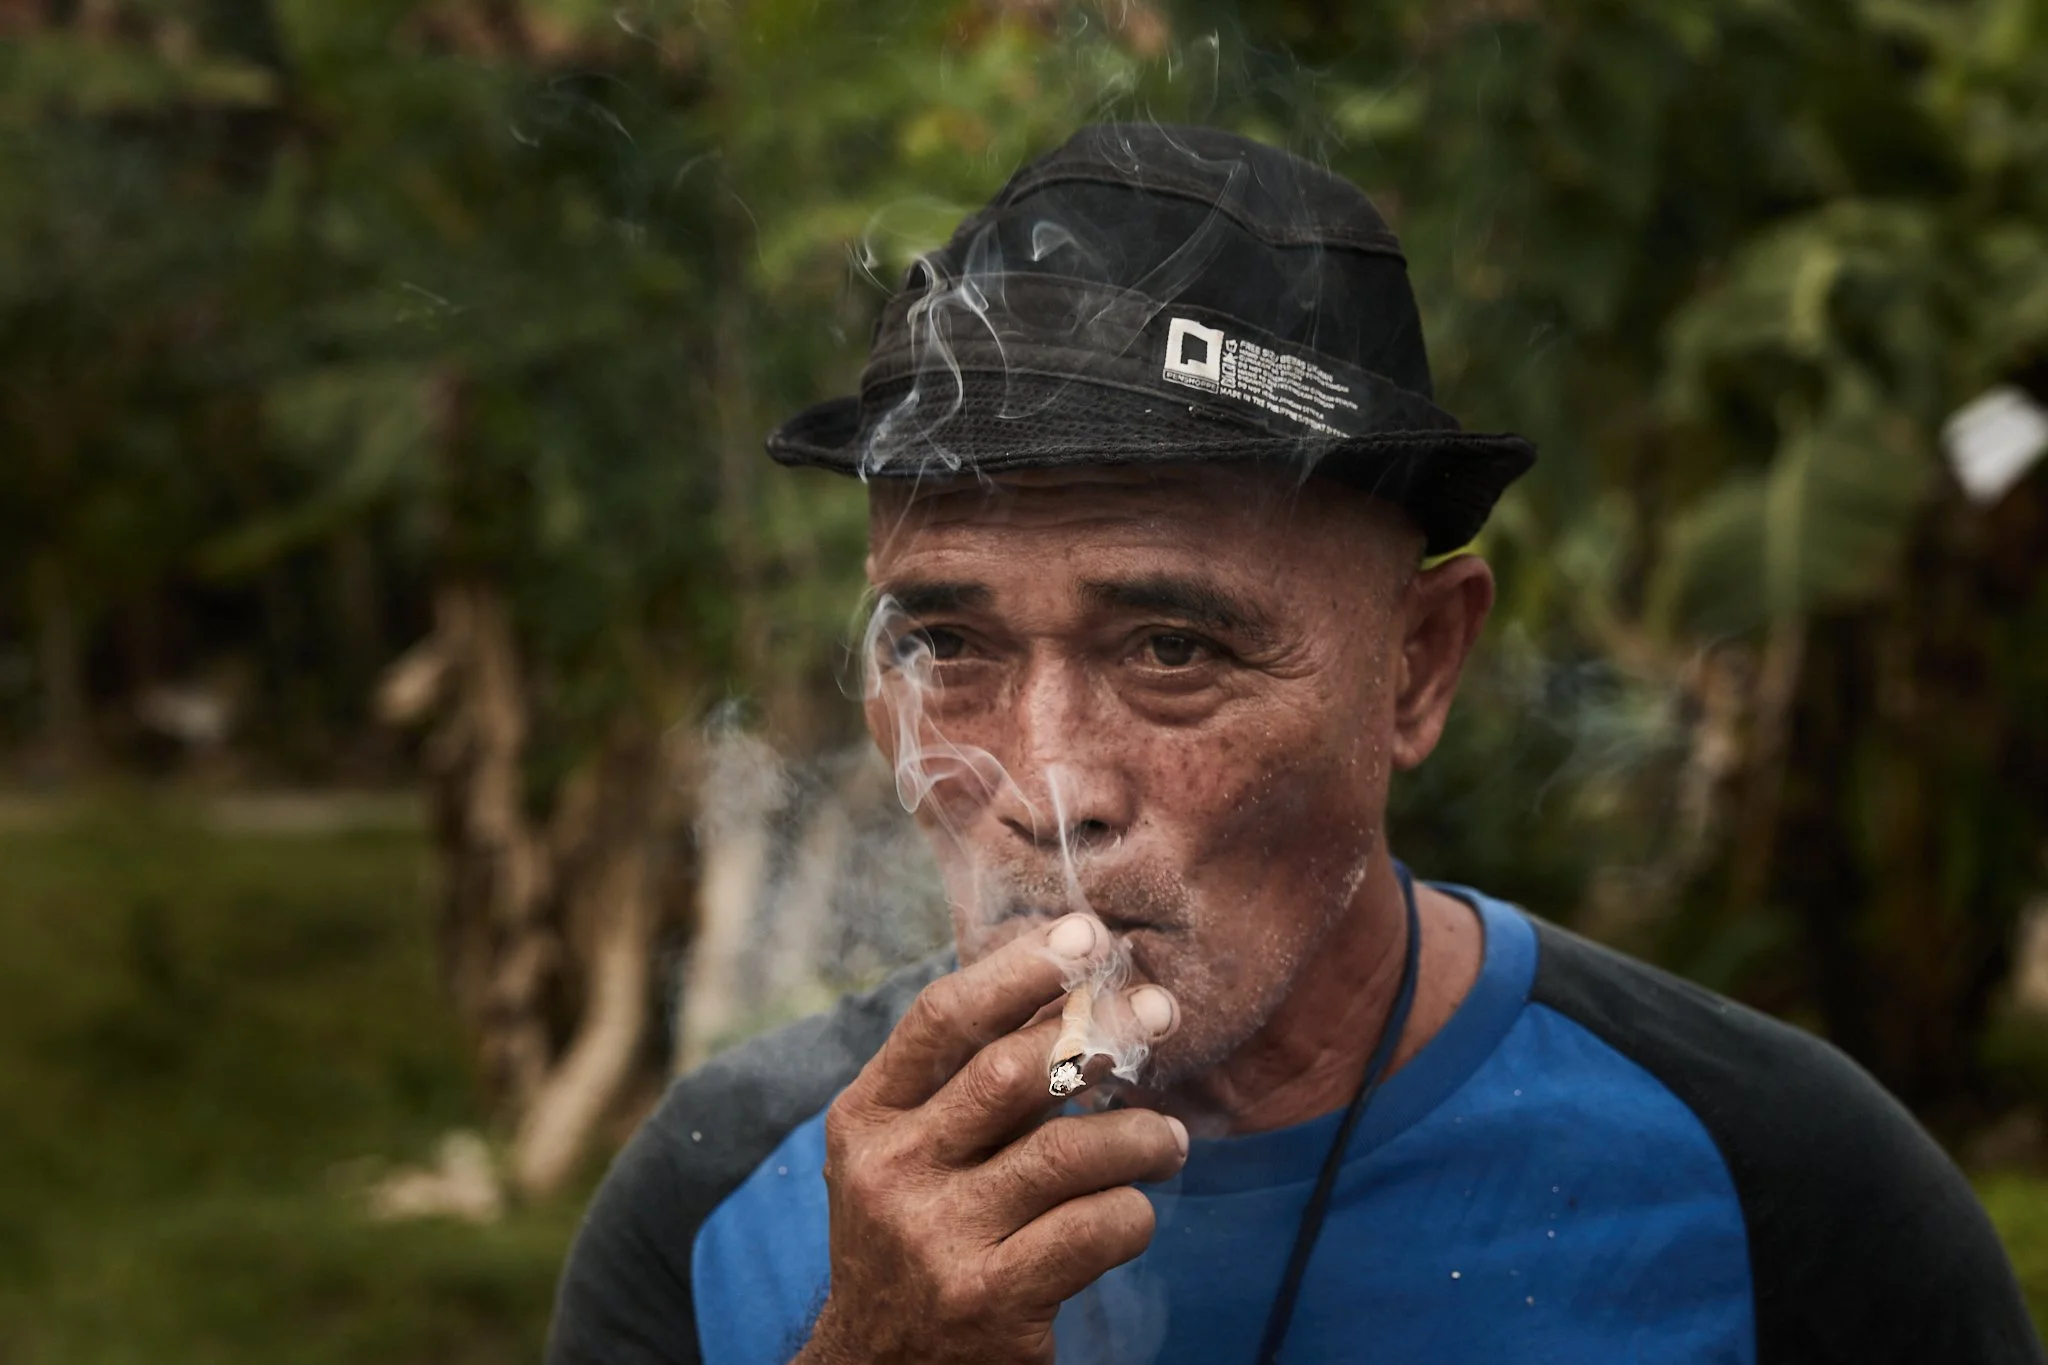
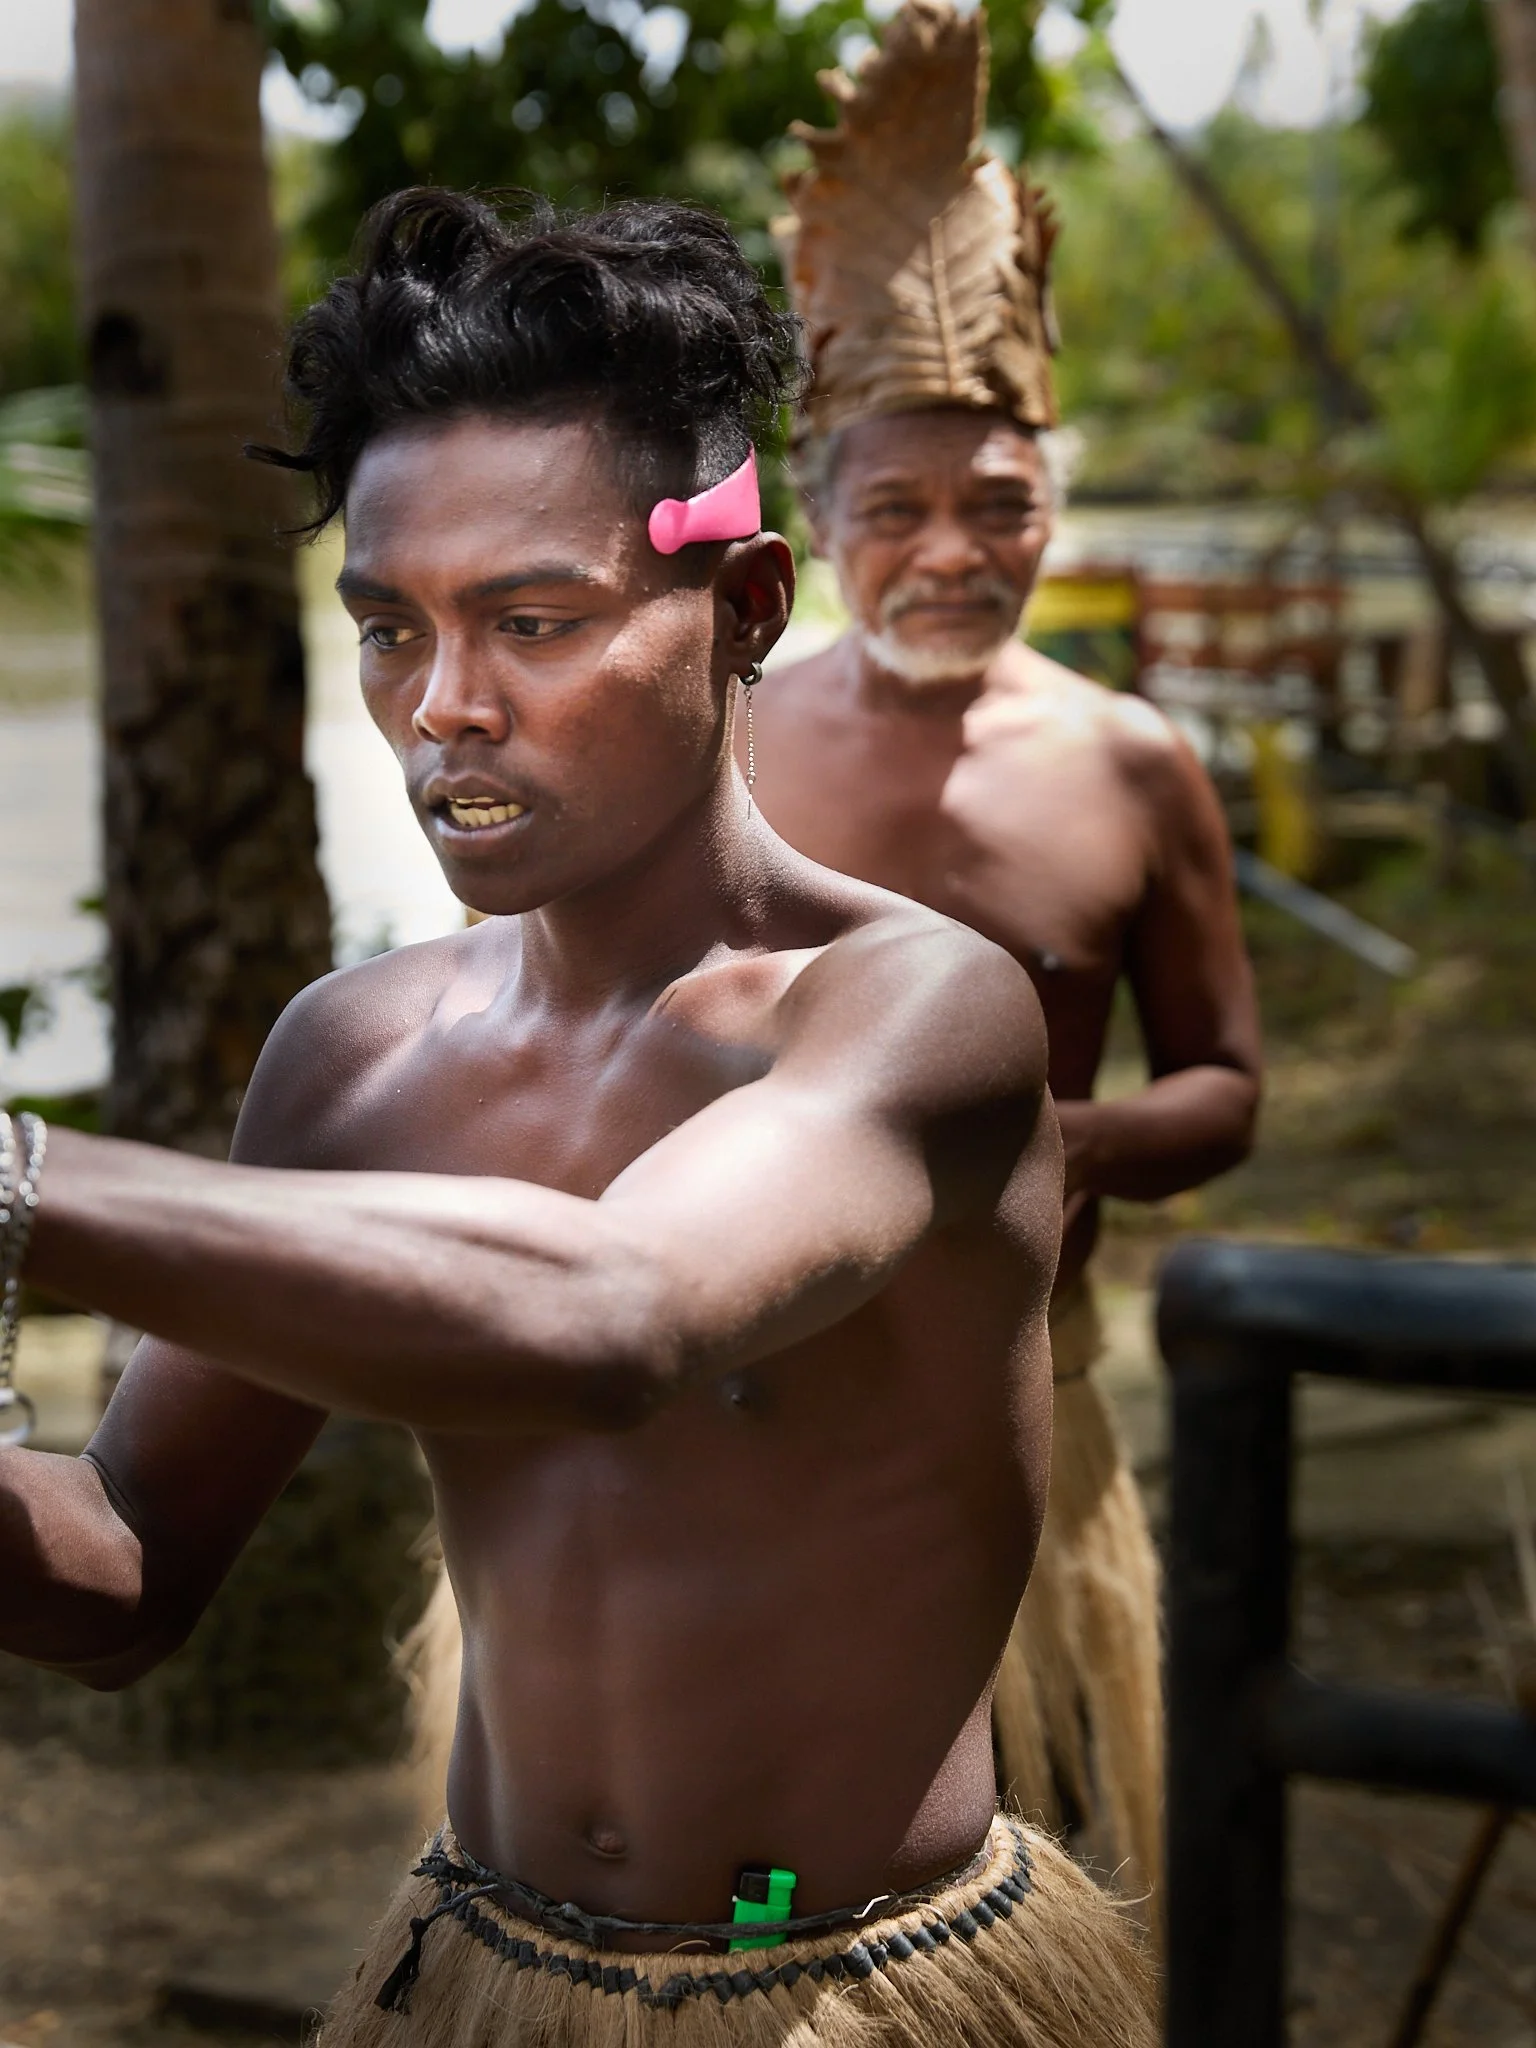
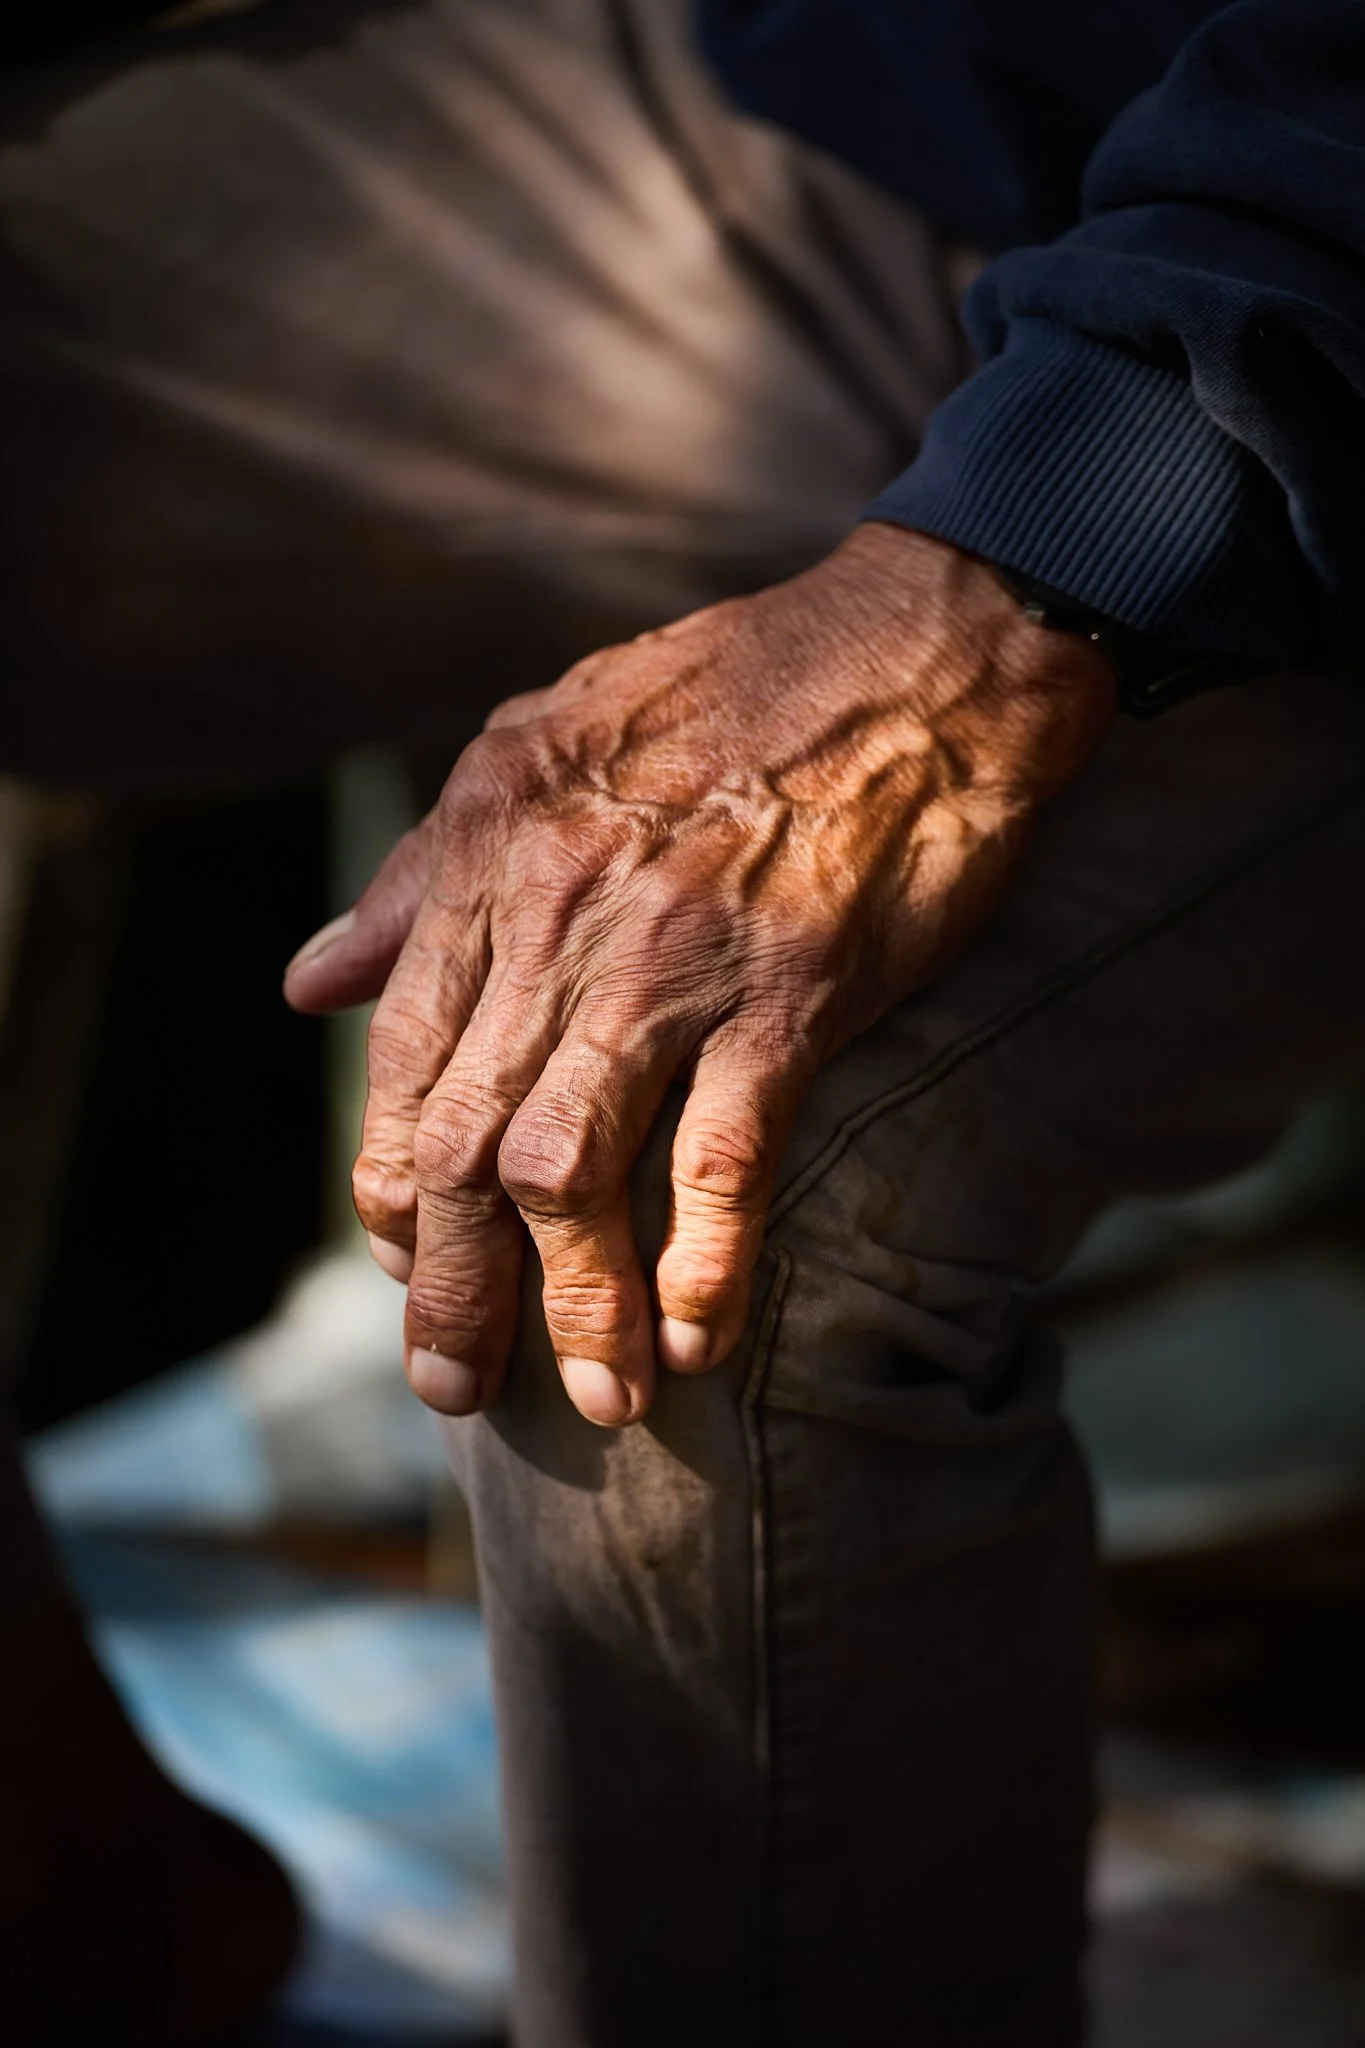
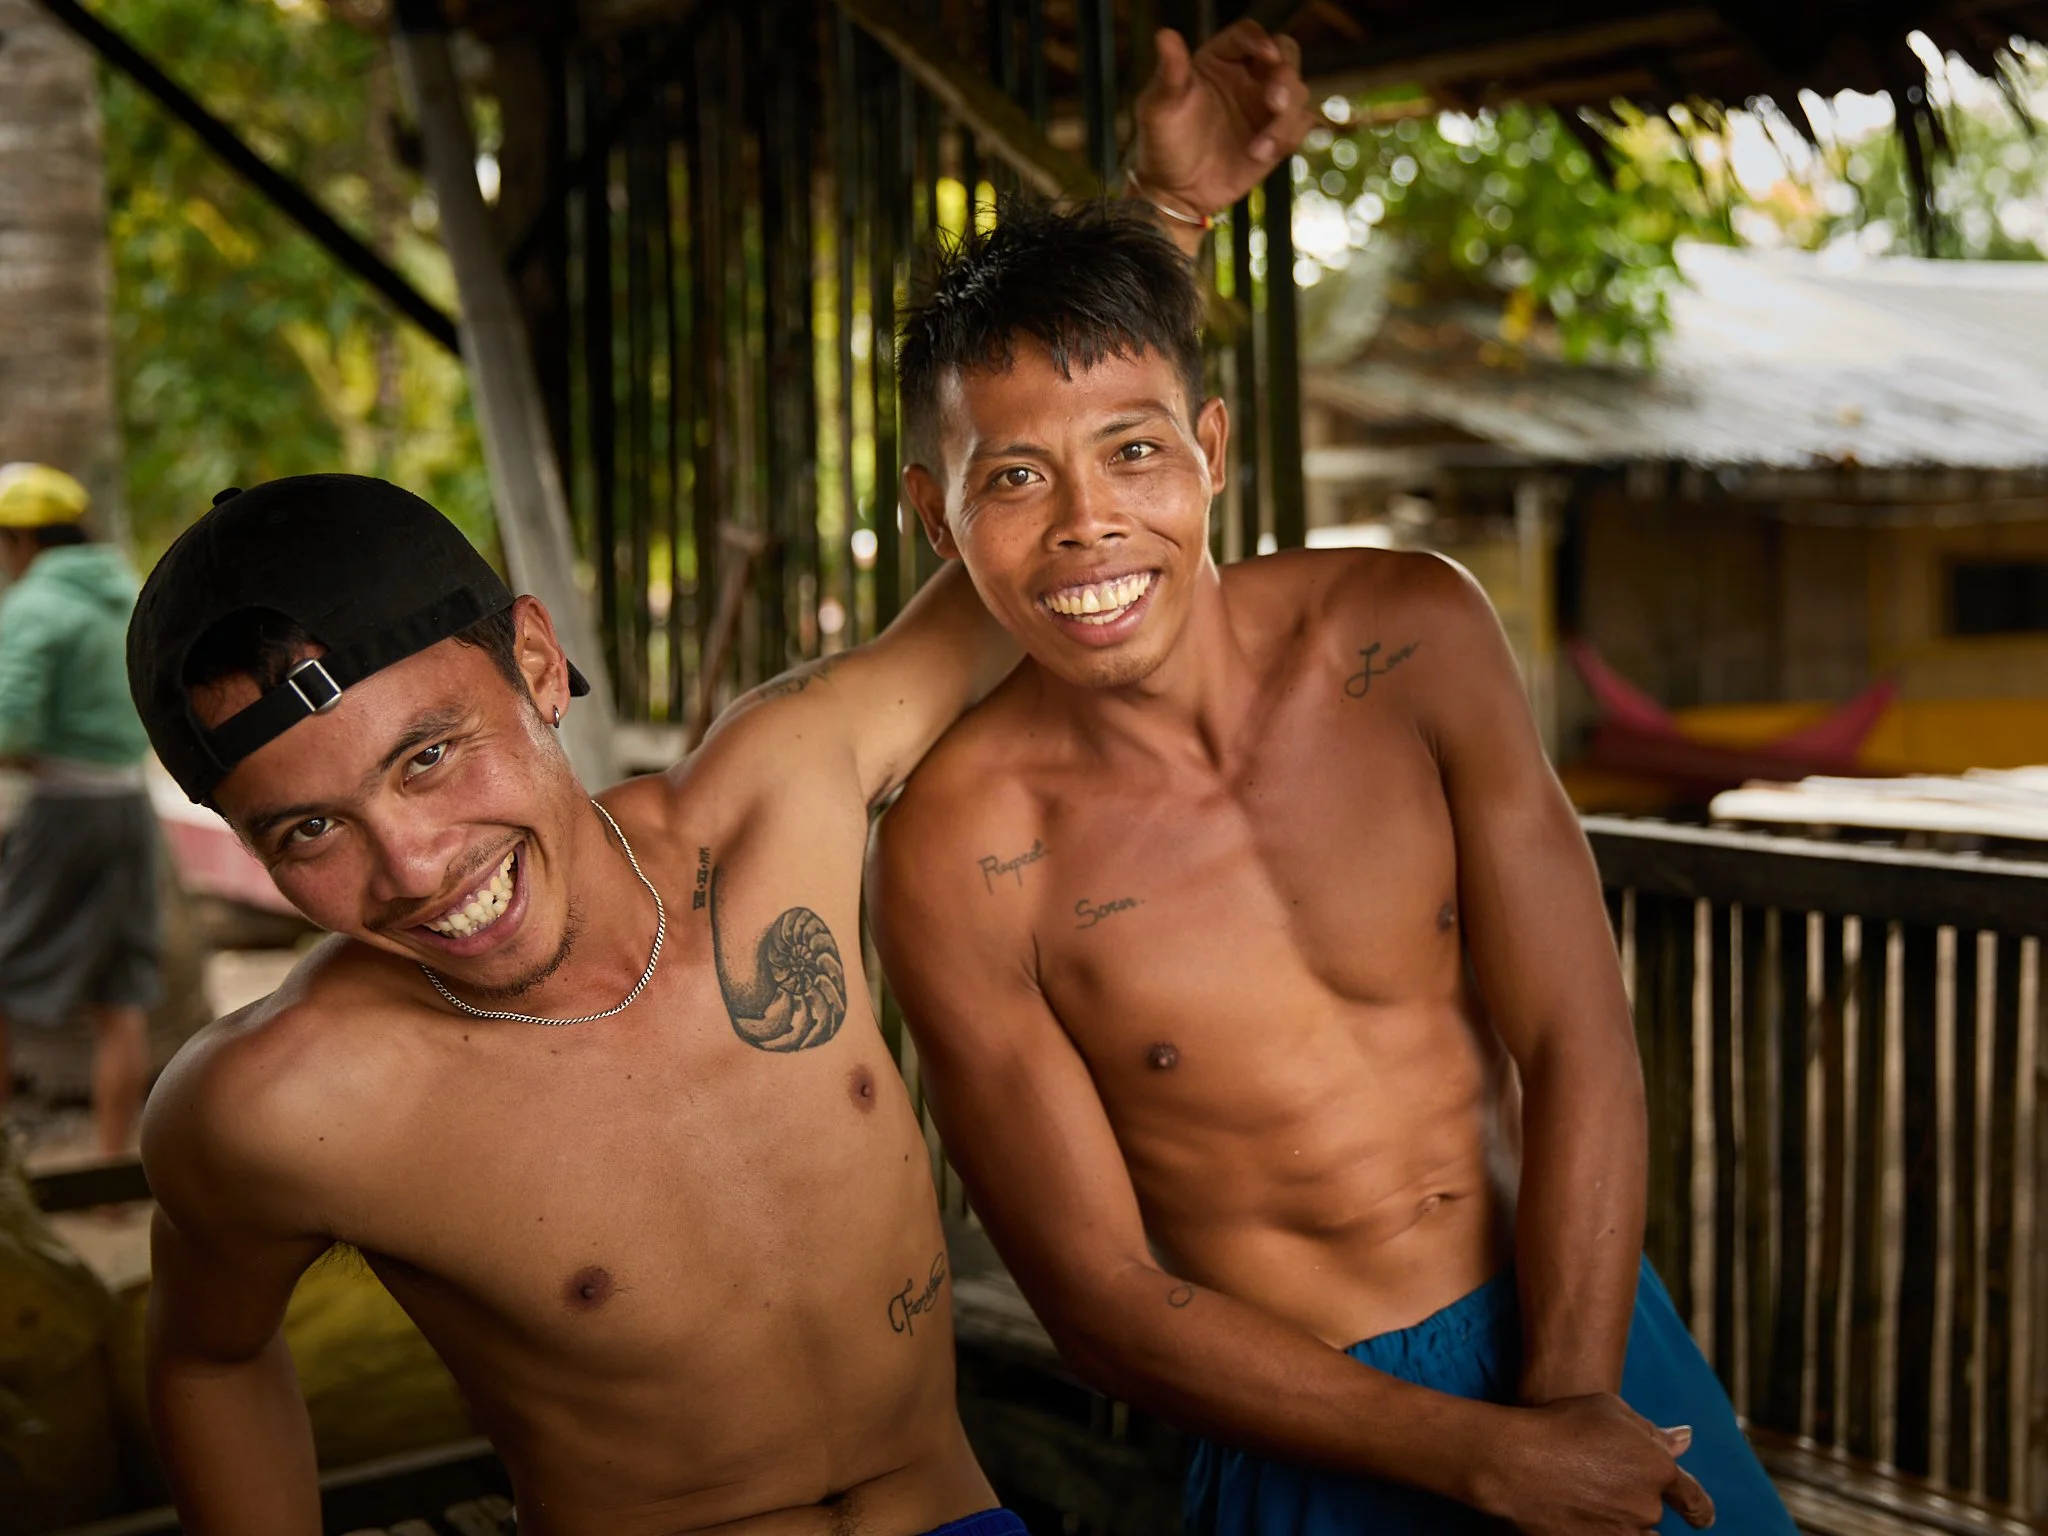
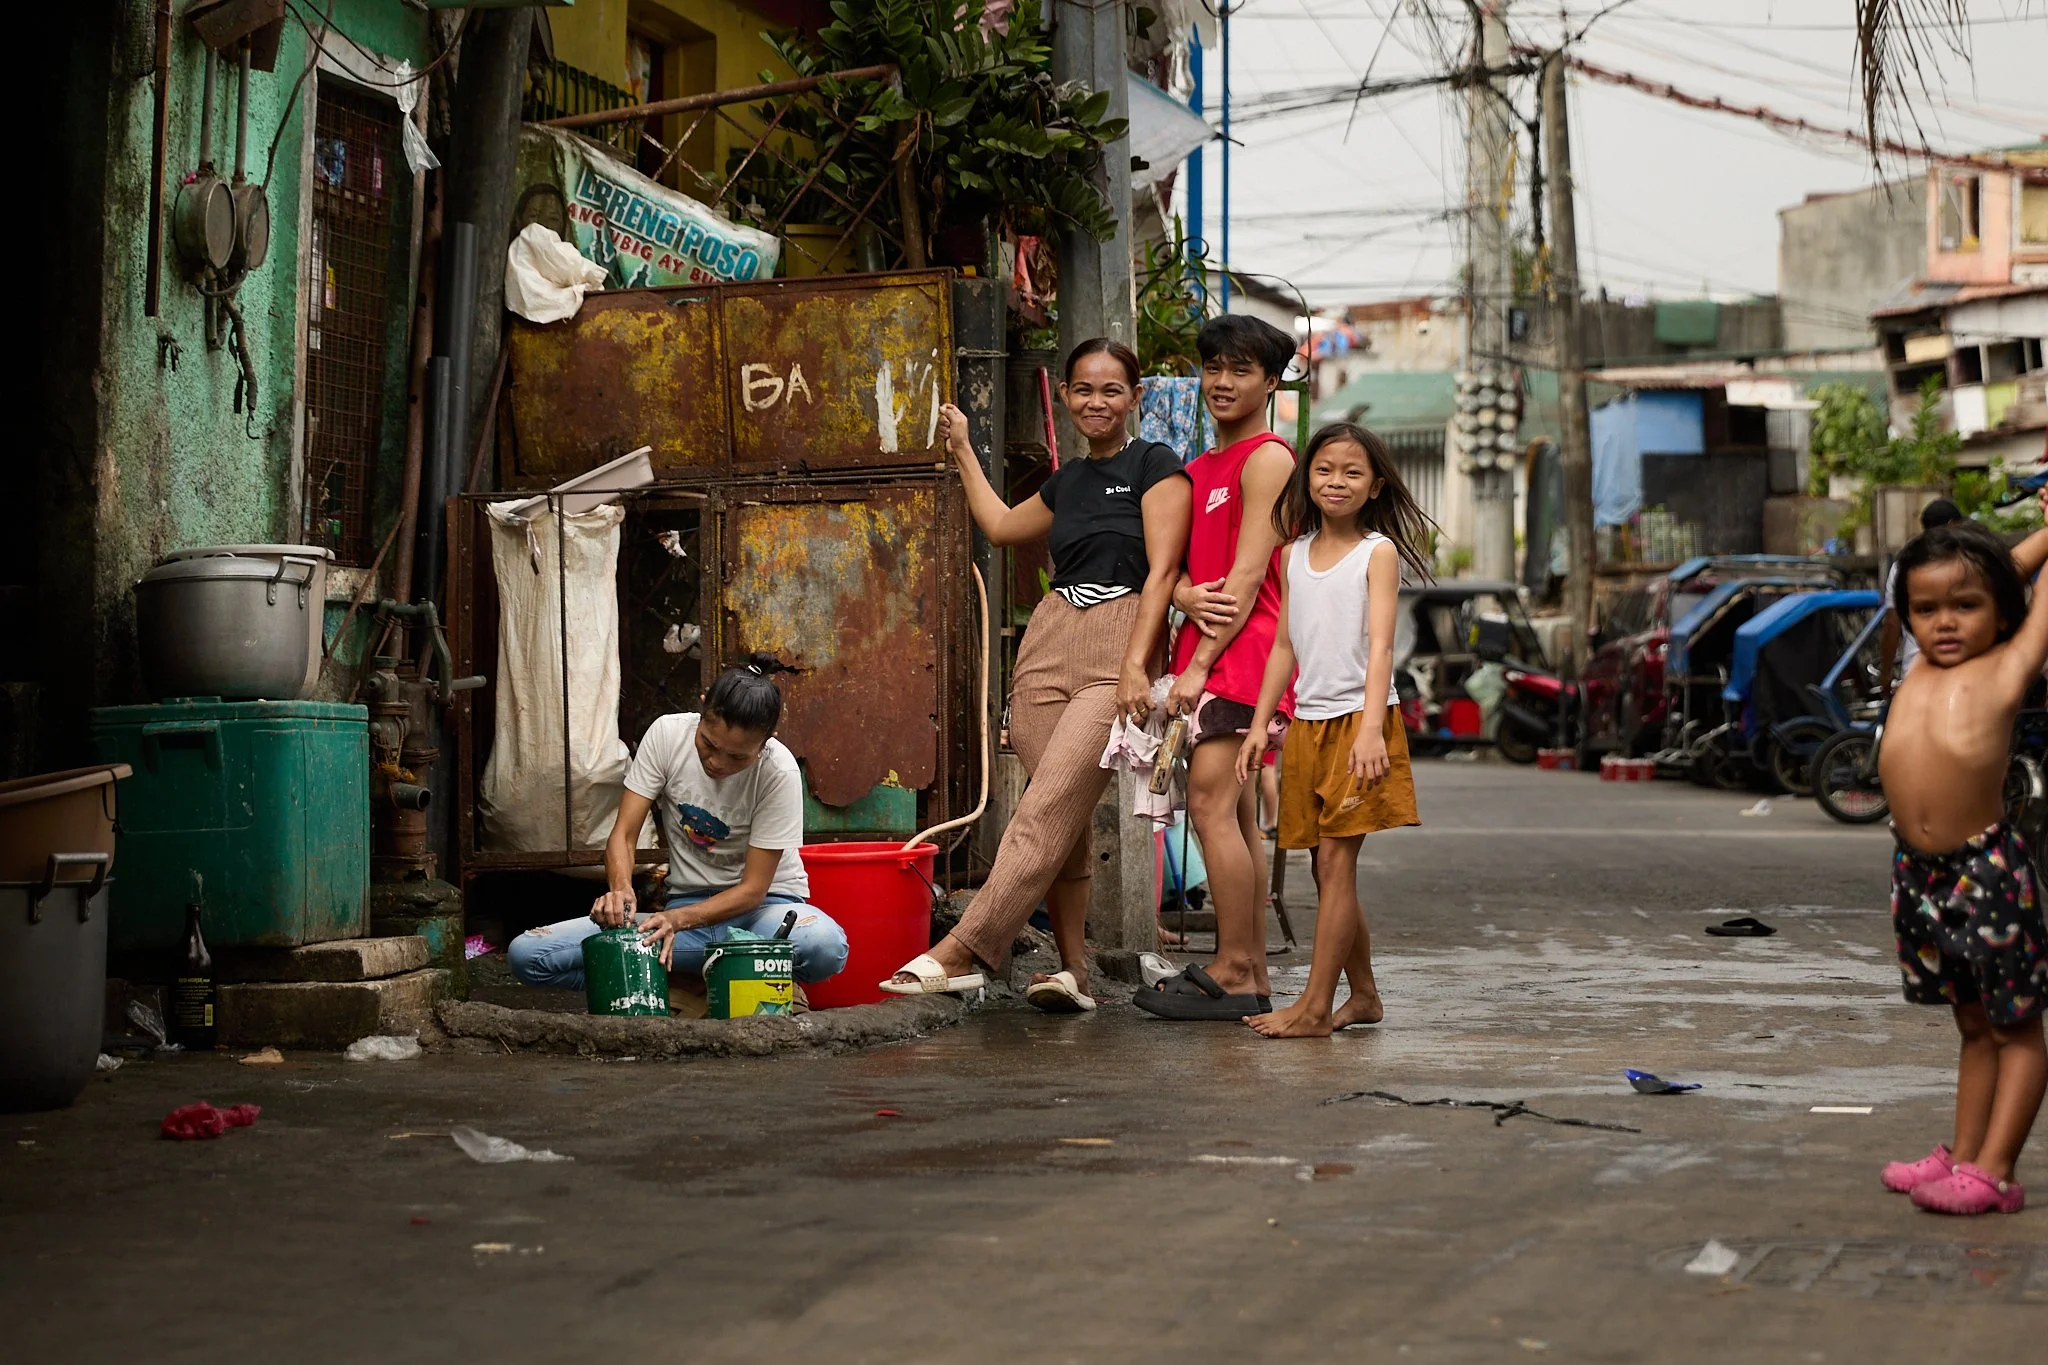
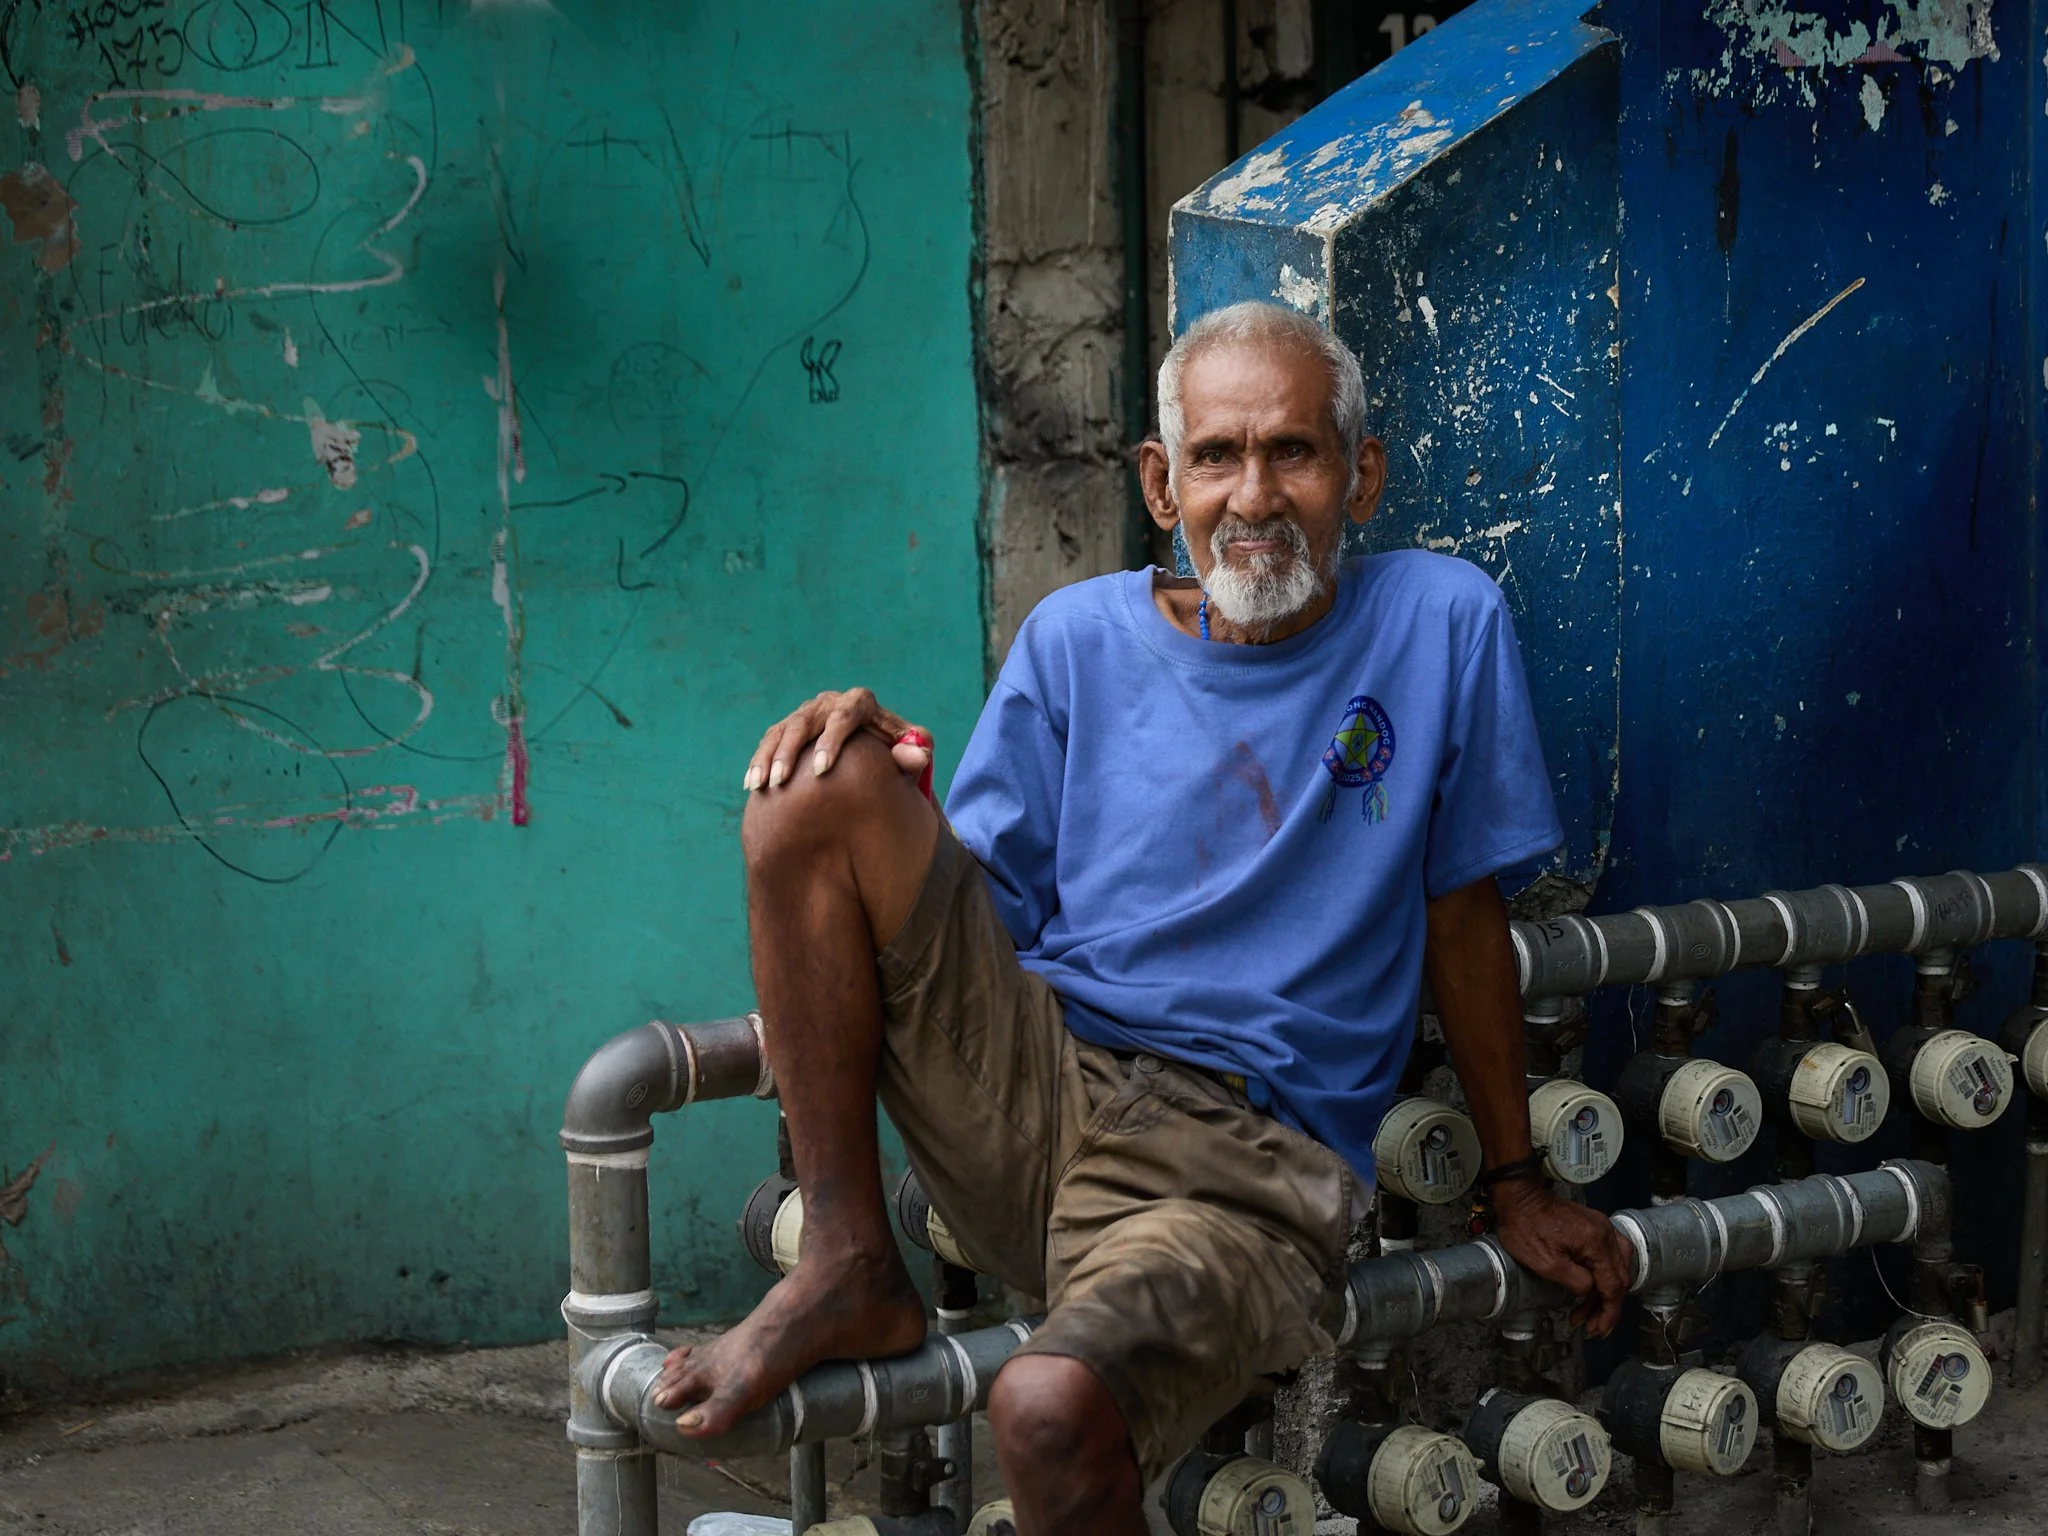
Environmental Portraits
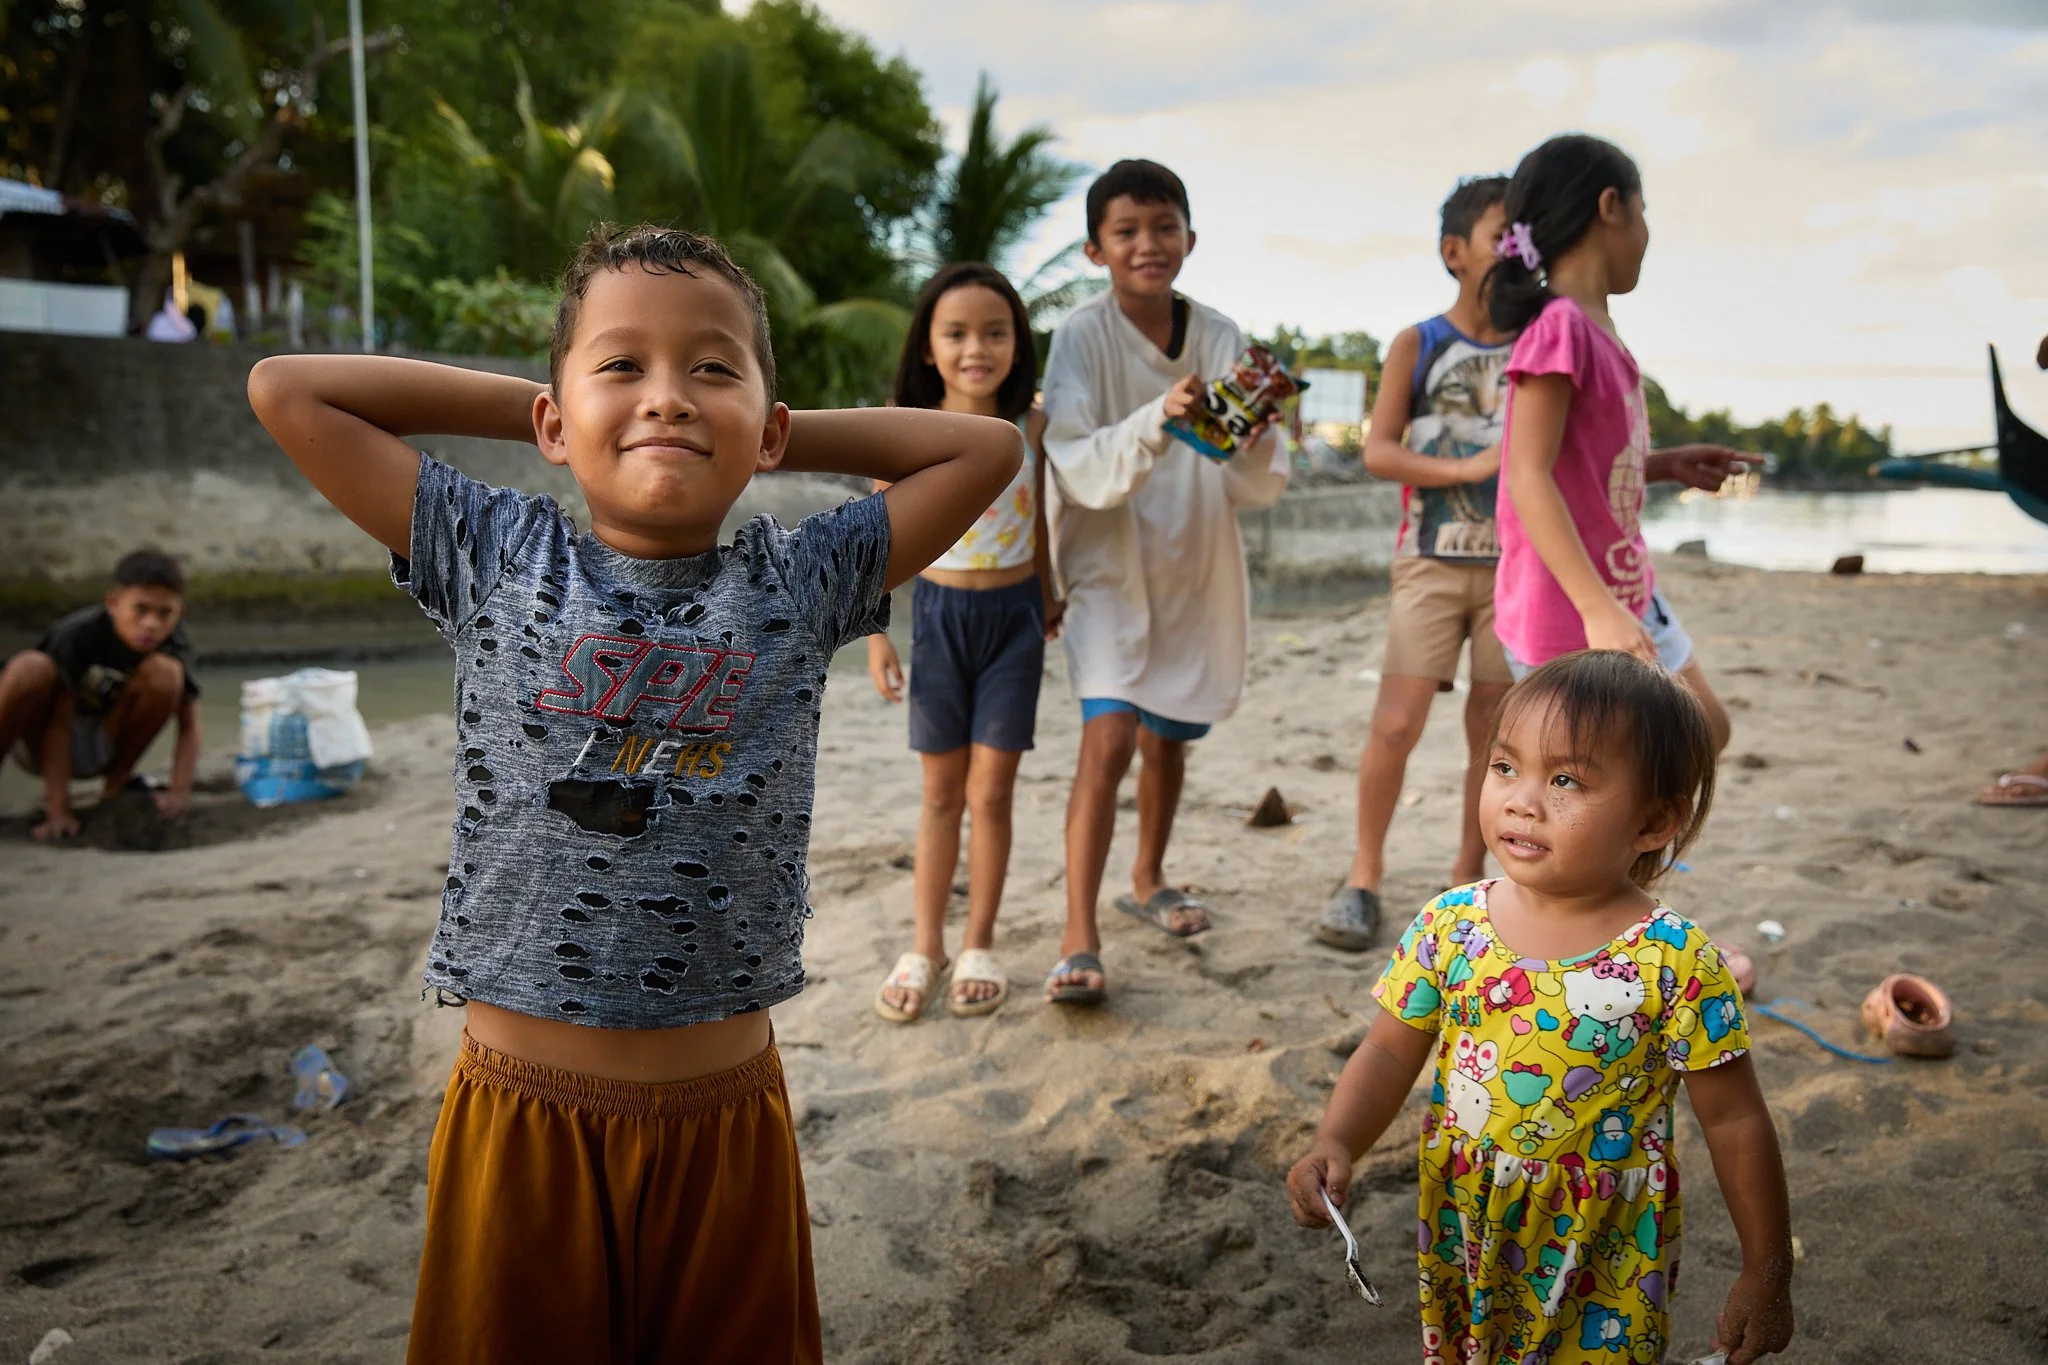
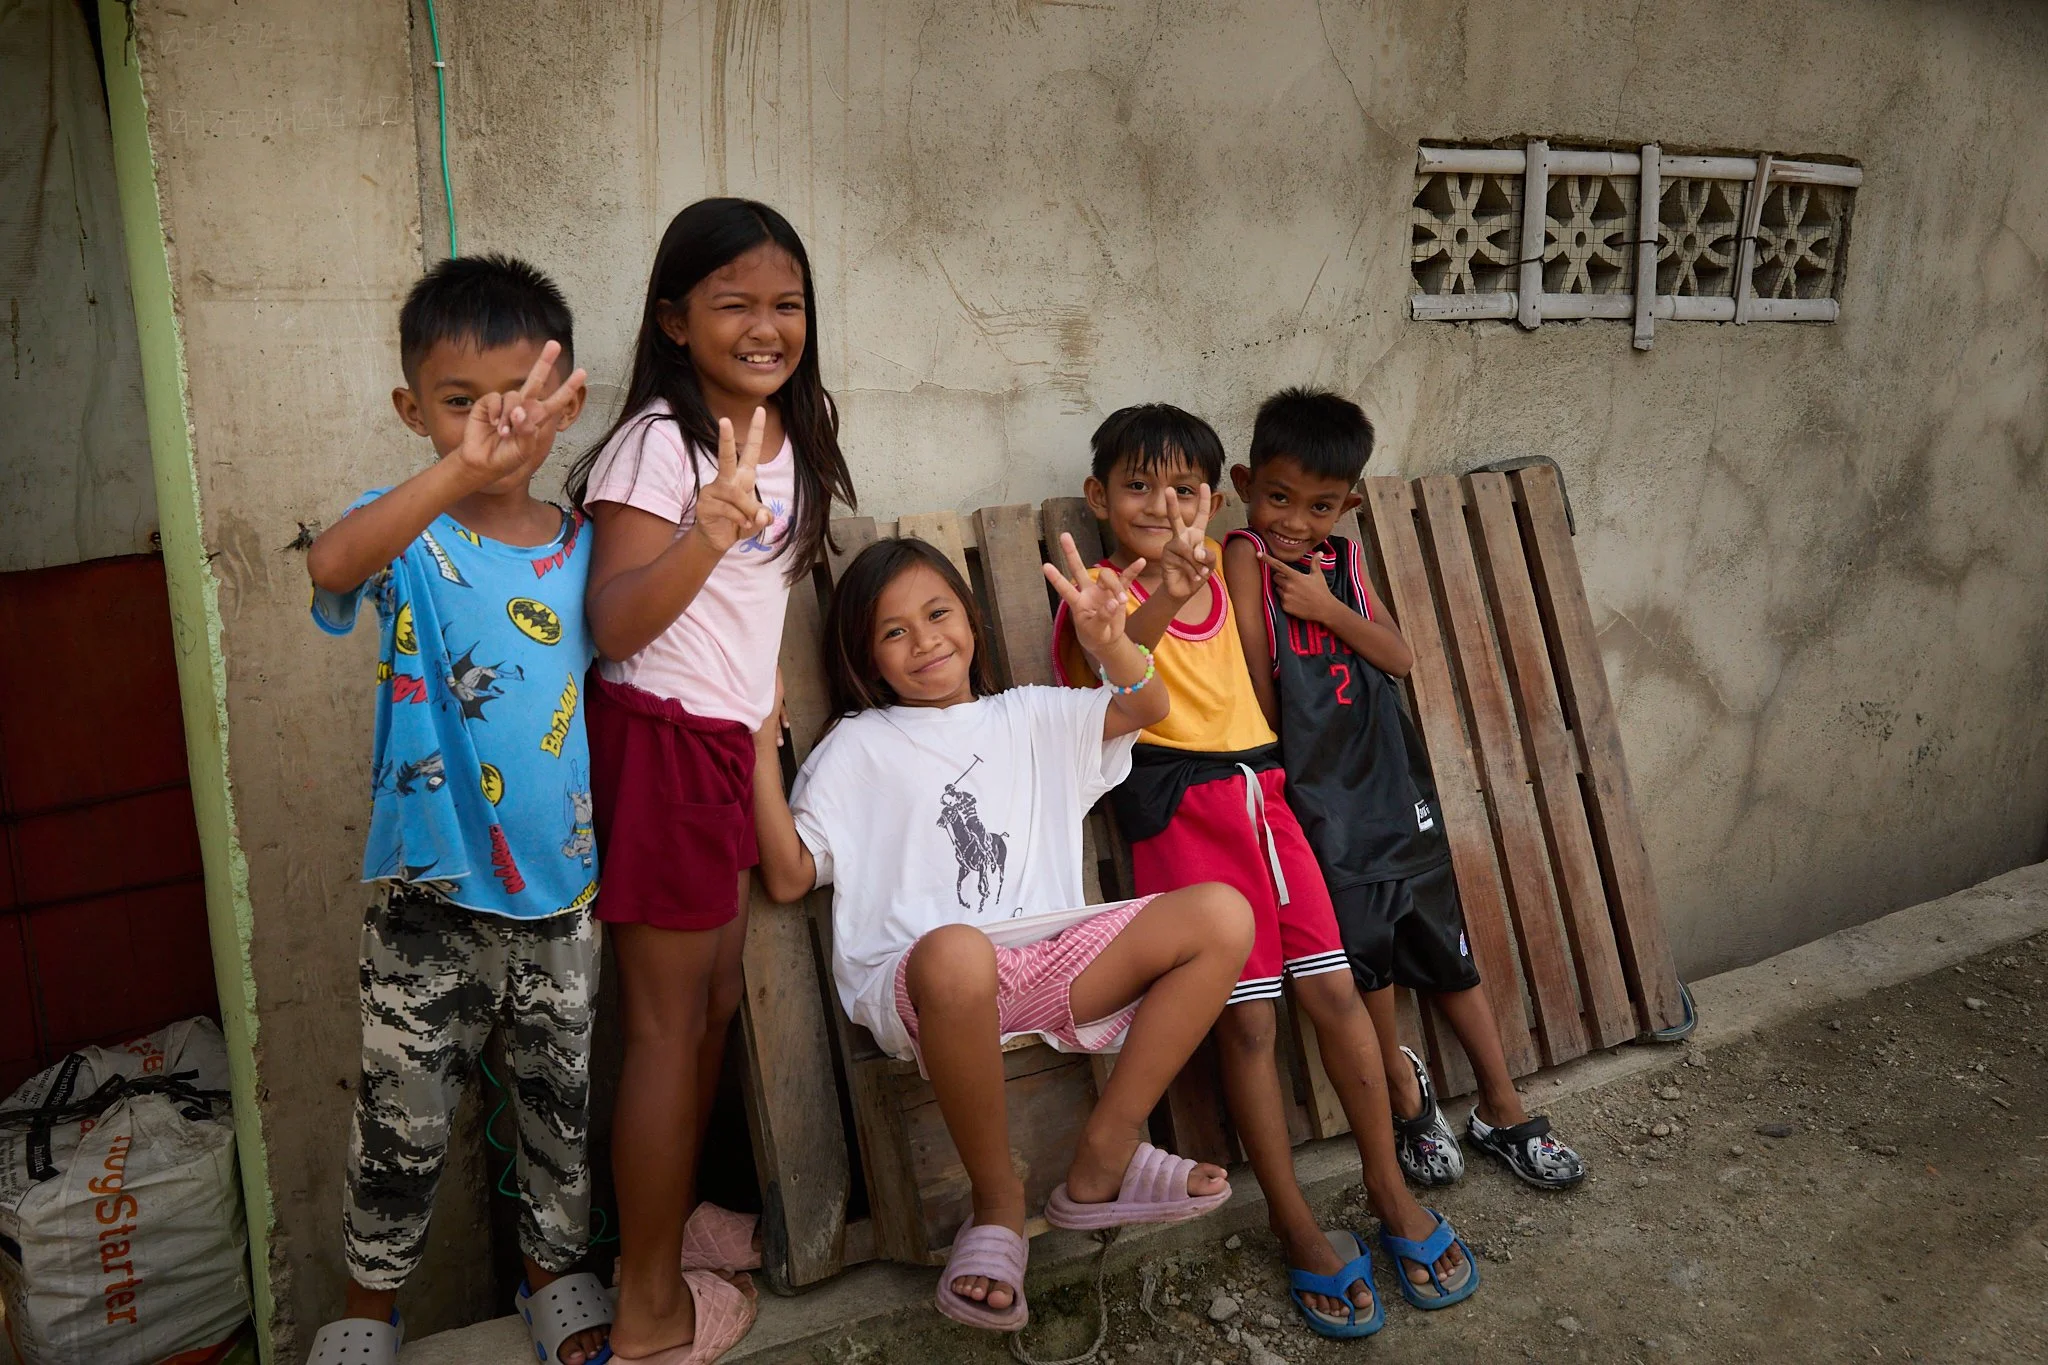
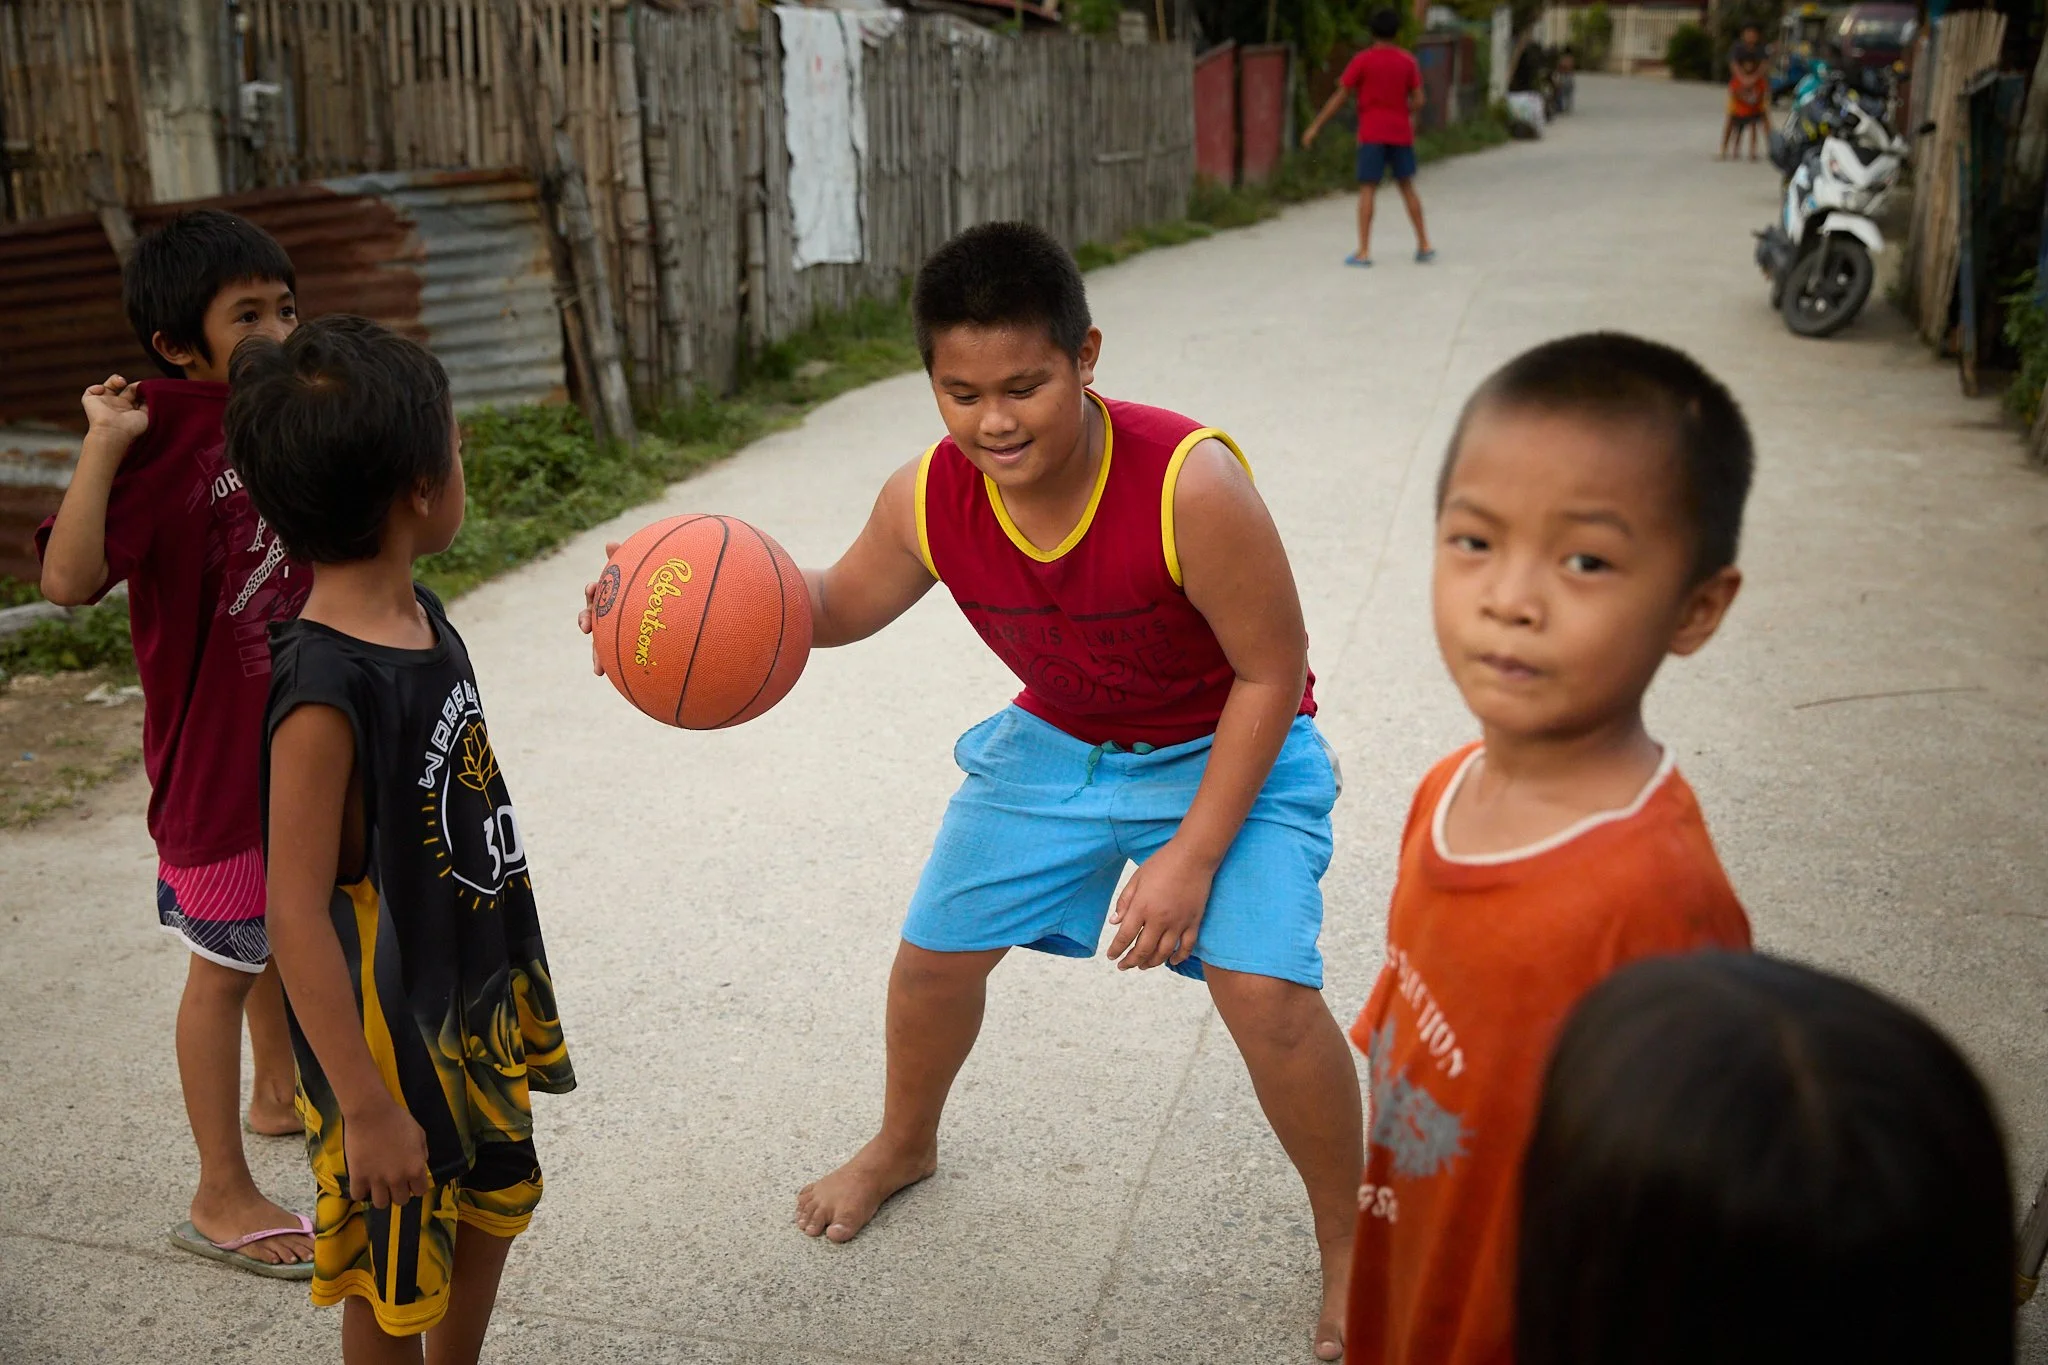
Fishermen repairing nets, shop owners, children playing, farmers, and local families. These portraits told stories about daily life and culture — some of the most powerful images from the trip.
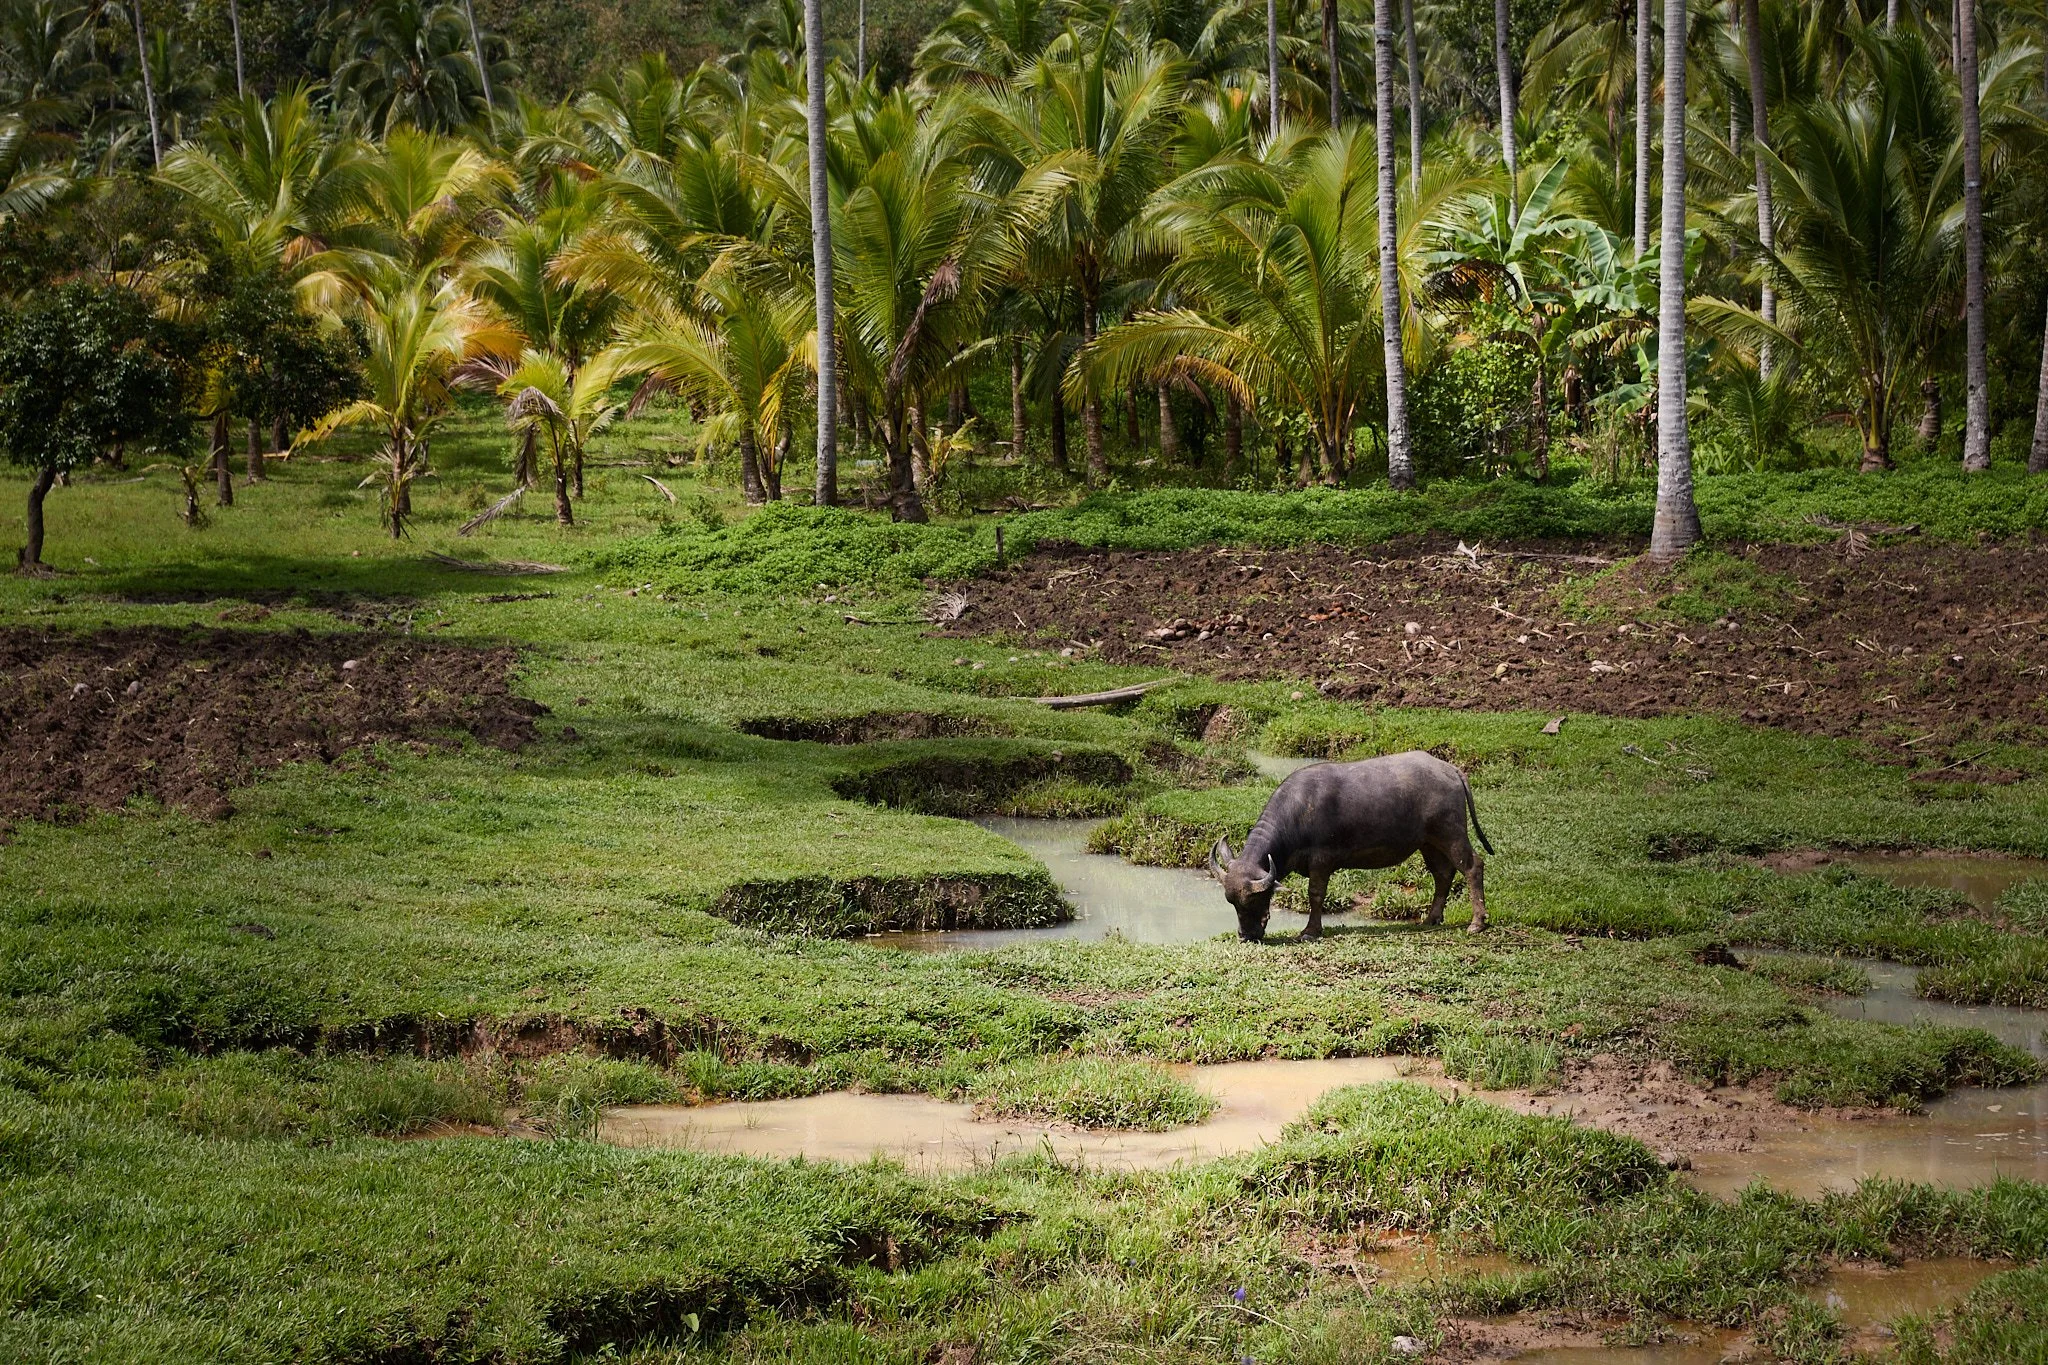
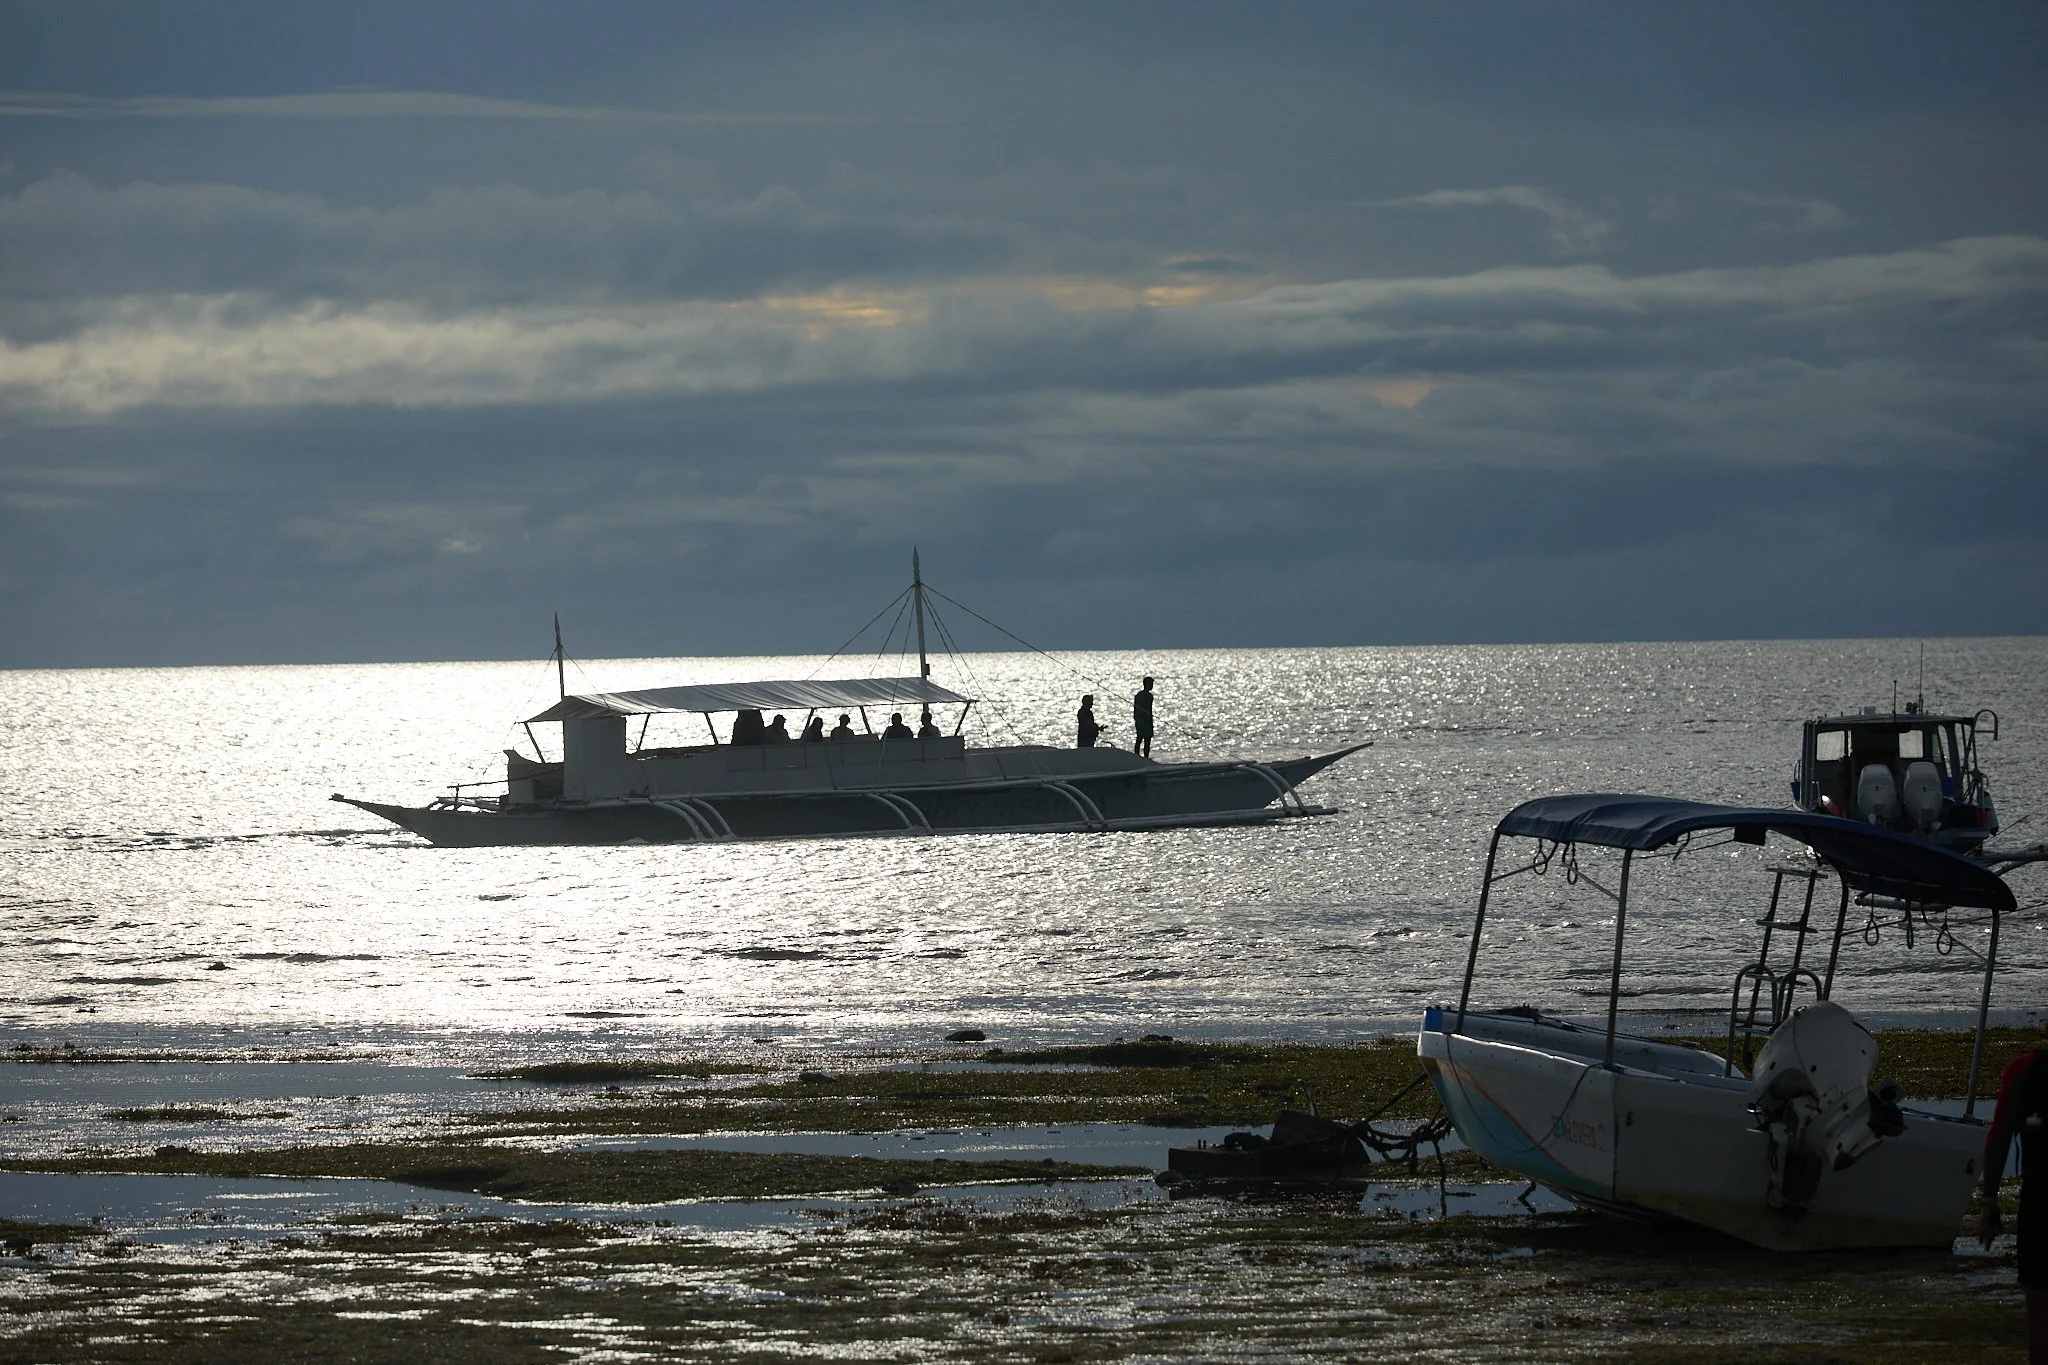
Landscapes & Seascapes
Turquoise water, volcanic terrain, coconut-lined beaches, waterfalls, and dramatic sunsets across multiple islands. The contrast between city intensity and island serenity made the portfolio incredibly diverse.
Cultural Storytelling
More than just single photos, we focused on creating visual narratives — sequences that documented people, environments, and emotion together.
Learning Photography on Location
This tour also functioned as an intensive hands-on photography workshop. Alfonso provided guidance throughout:
Composition and framing techniques
Working with natural light
Environmental portrait techniques
Storytelling through images
Travel photography workflow
Editing advice to keep images natural and authentic
Having real-time feedback while shooting in dynamic environments accelerated learning dramatically.
Short Philippines Photo Tour Itinerary (Overview)
Here’s a simplified version of the itinerary based on the tour structure:
Day 1 — Old Manila & Intramuros
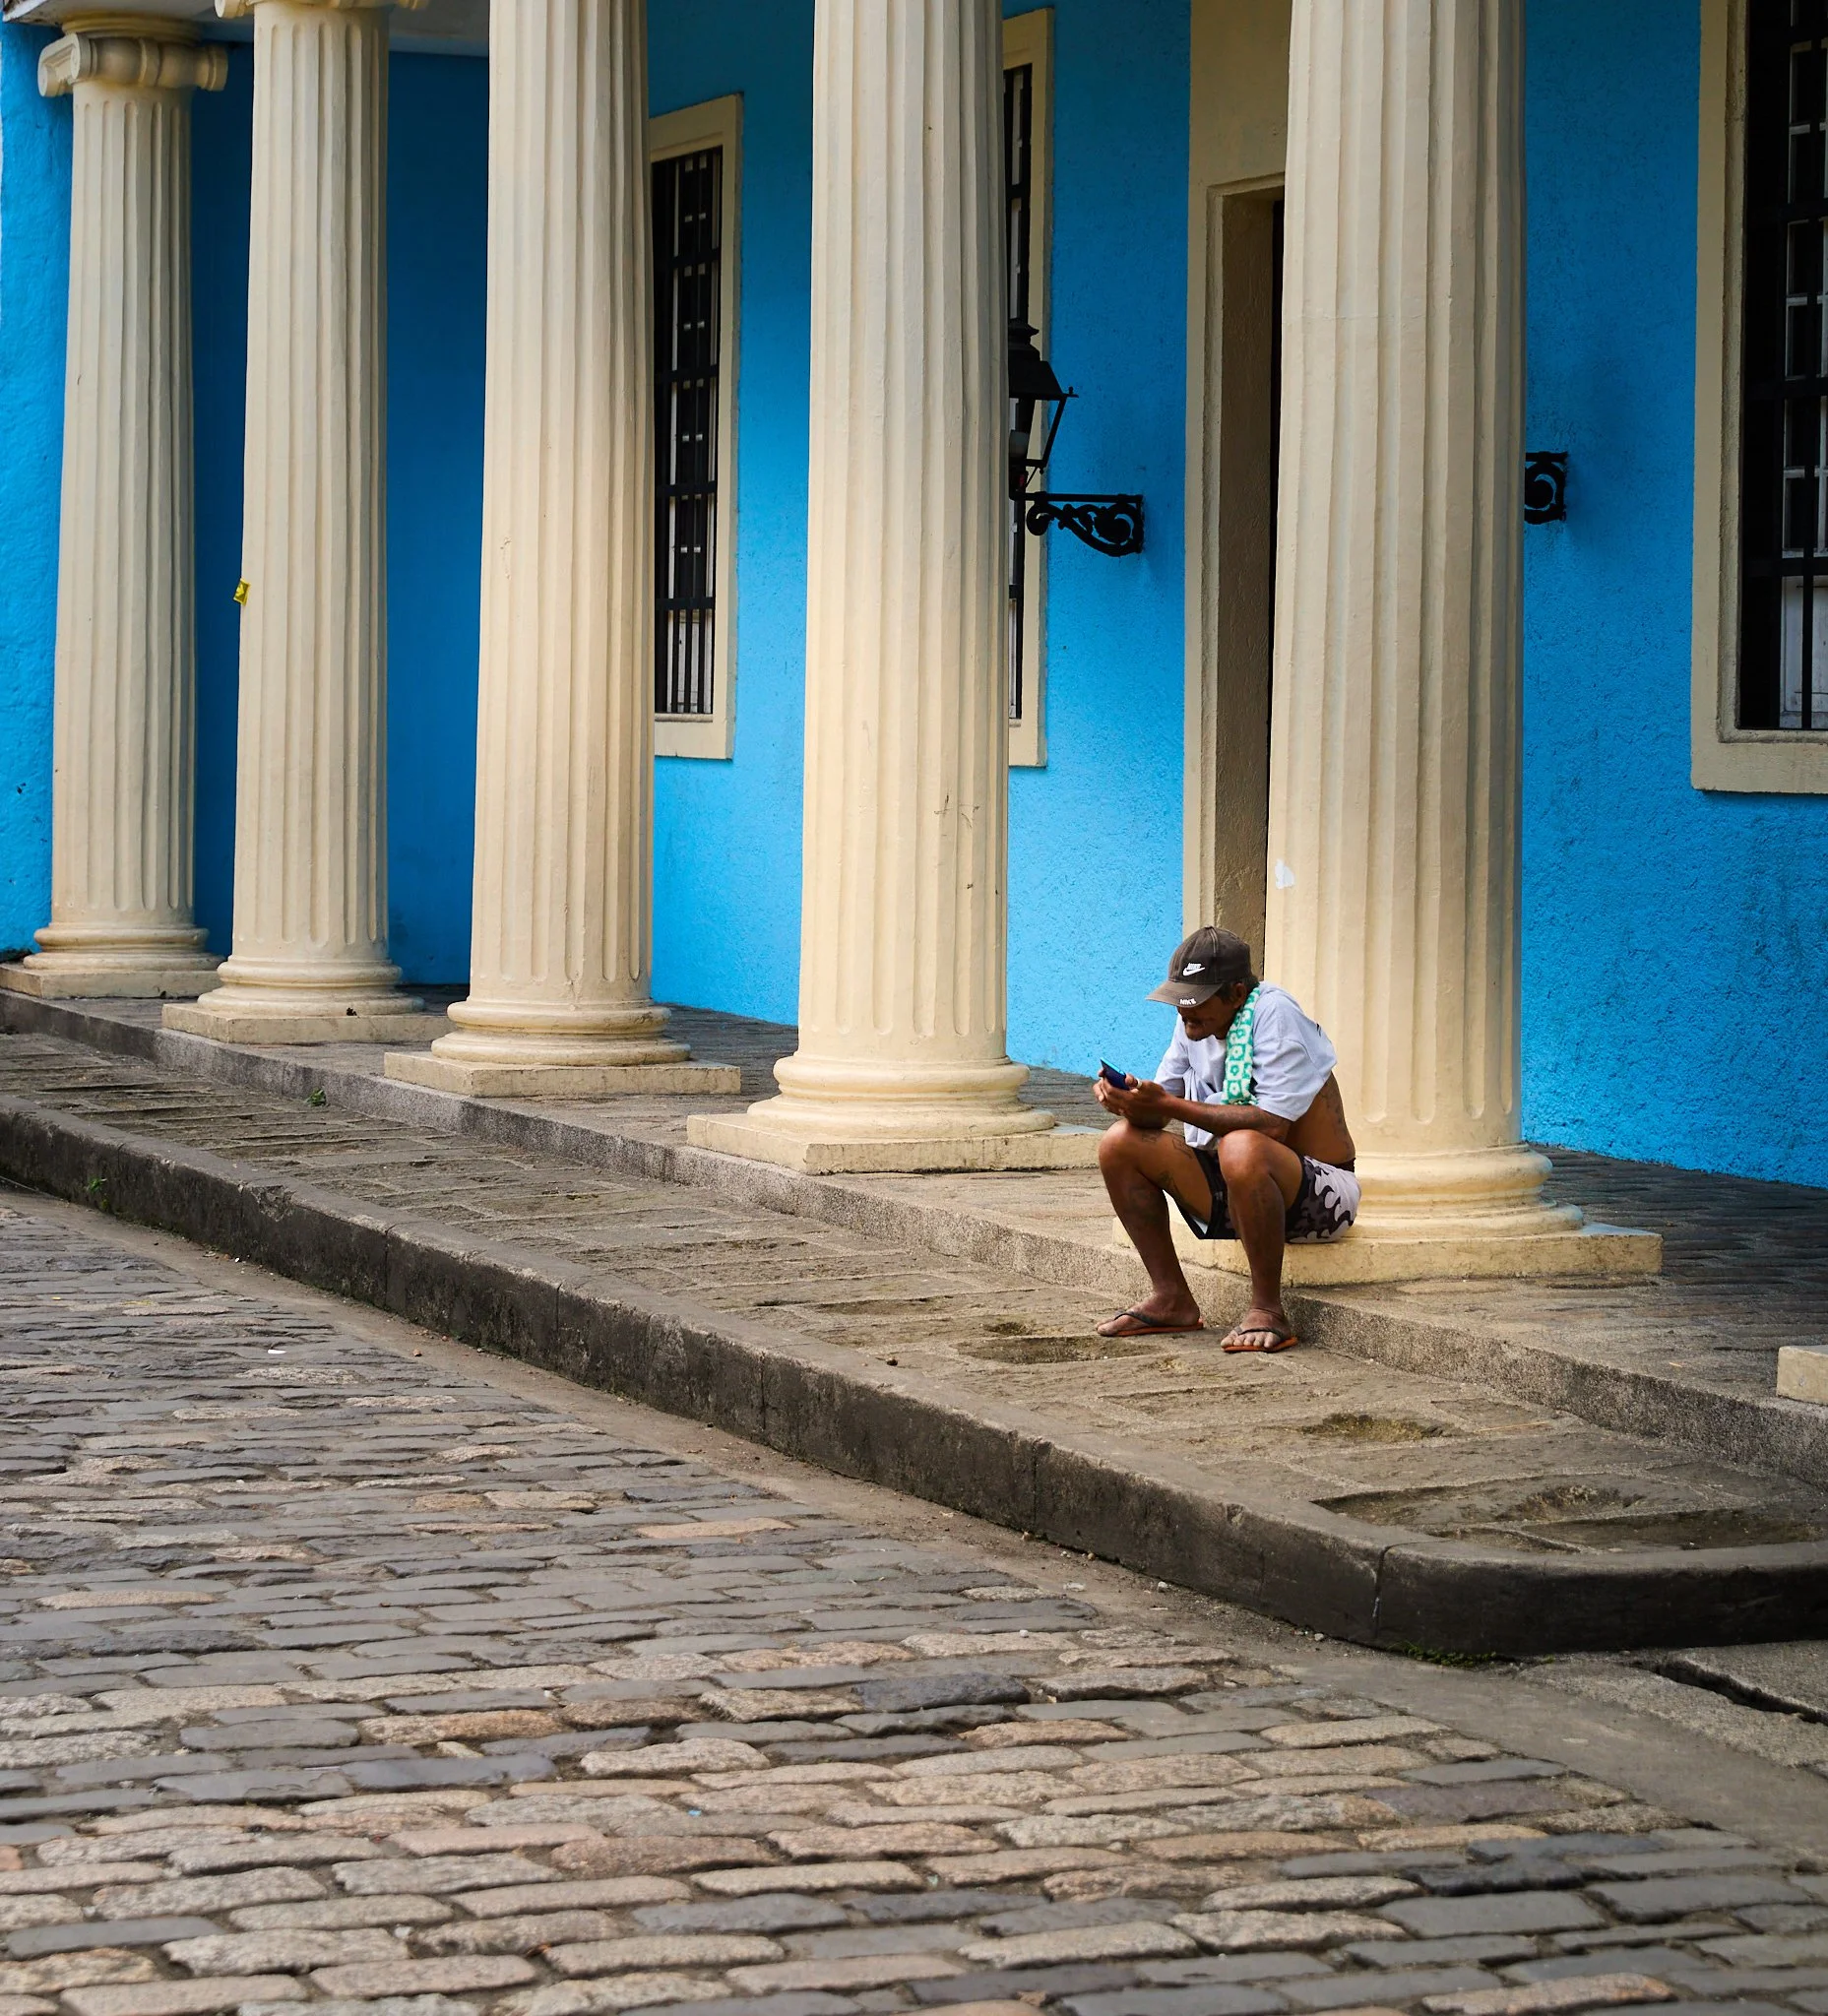
Street photography in historic districts, colonial architecture, and sunset along Manila Bay.
Day 2 — Flight to Bohol (Panglao Island)
Beach landscapes and sunset photography along coconut-lined coastlines.
Day 3 — Bohol Exploration
Village visits, city street portraits, and environmental storytelling photography.
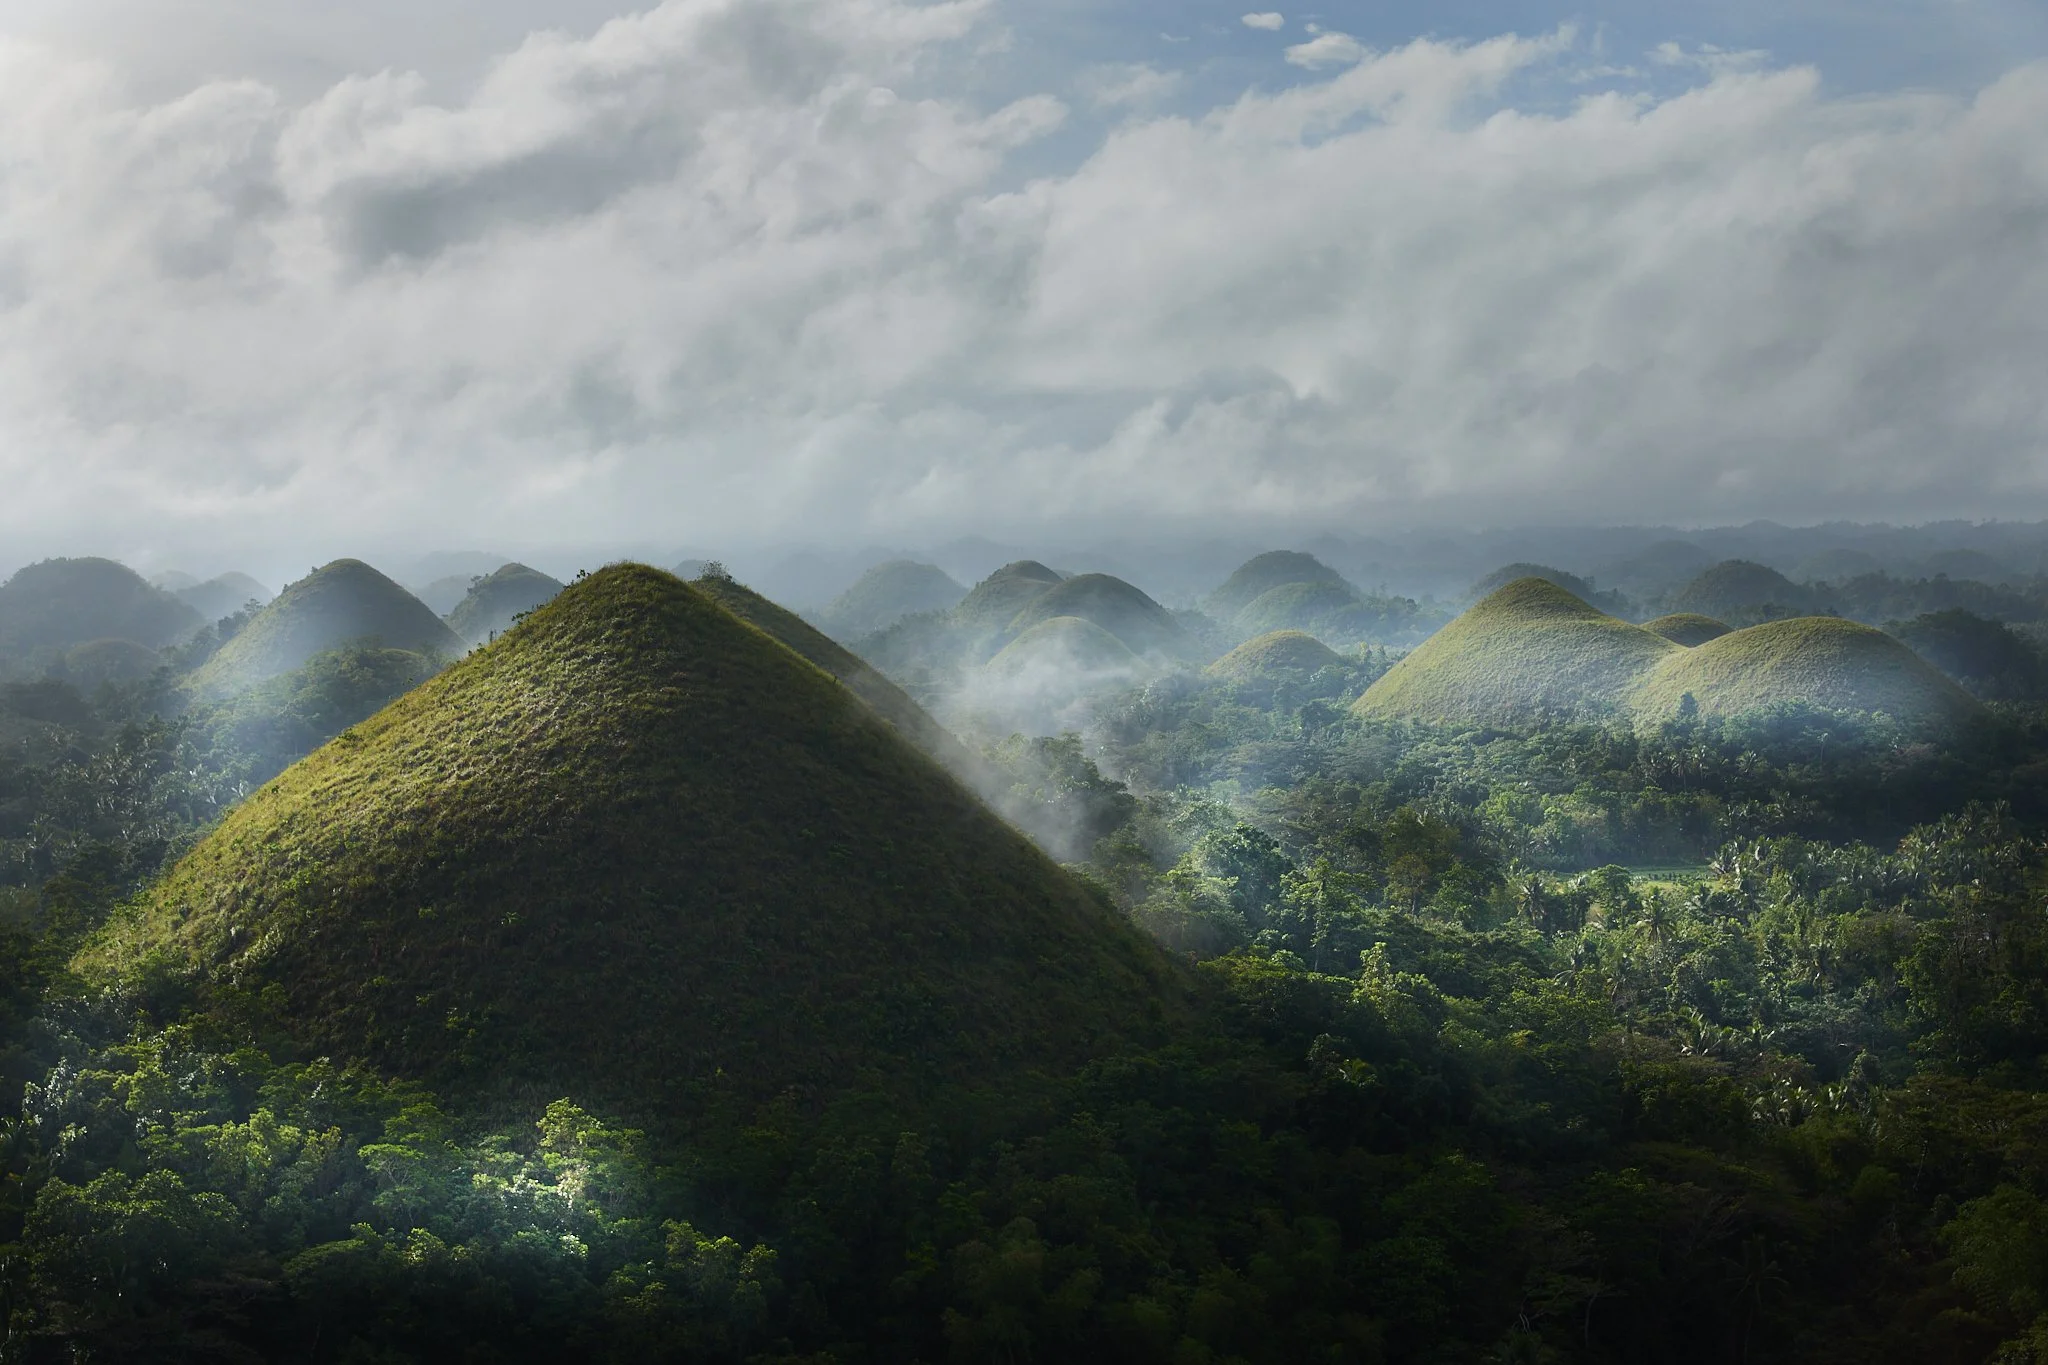
Day 4 — Chocolate Hills & Tarsier Wildlife
Iconic landscapes and wildlife photography opportunities.
Day 5 — Ferry to Siquijor Island
Beaches, waterfalls, mangroves, and relaxed island life photography.
Day 6–7 — Siquijor Photography Immersion
Sunrise seascapes, rural life, farmers, fishermen, and slow travel storytelling.
Day 8 — Negros Island
Hidden beaches, coastal cliffs, and local community portraits near Dumaguete.
Day 9 — Return to Manila
City skyline photography and night shooting in Makati.
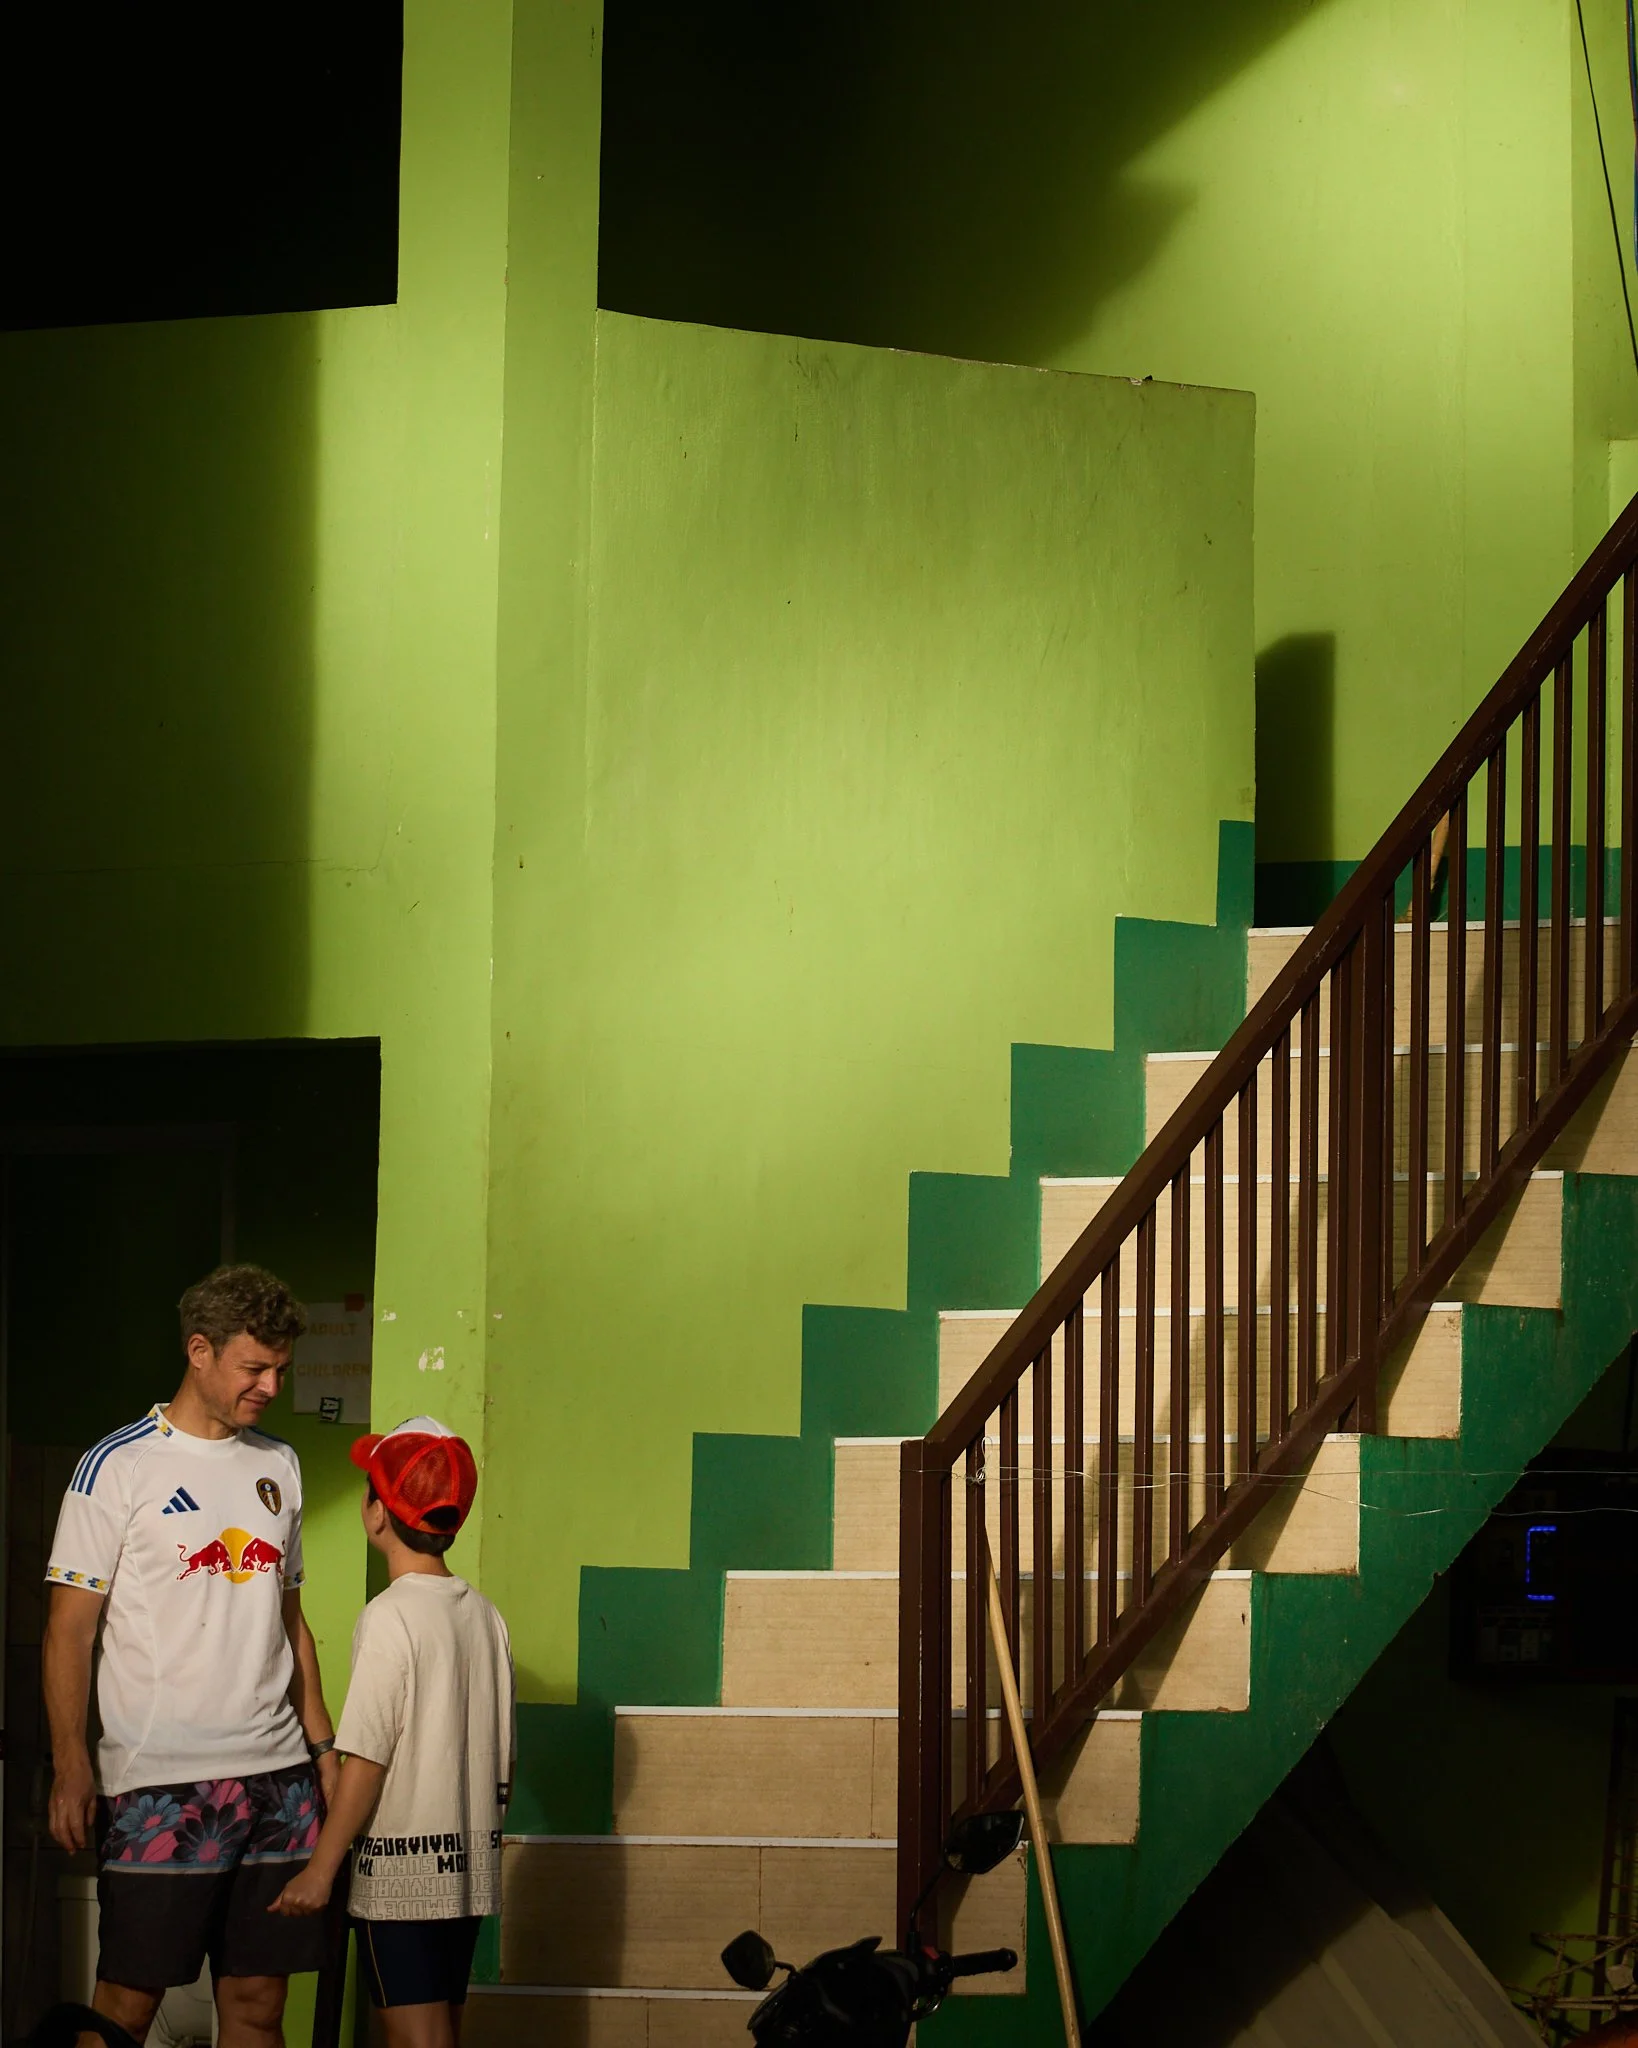
Day 10 — Community & Documentary Photography
Human-focused storytelling projects working with local communities and schools. ()
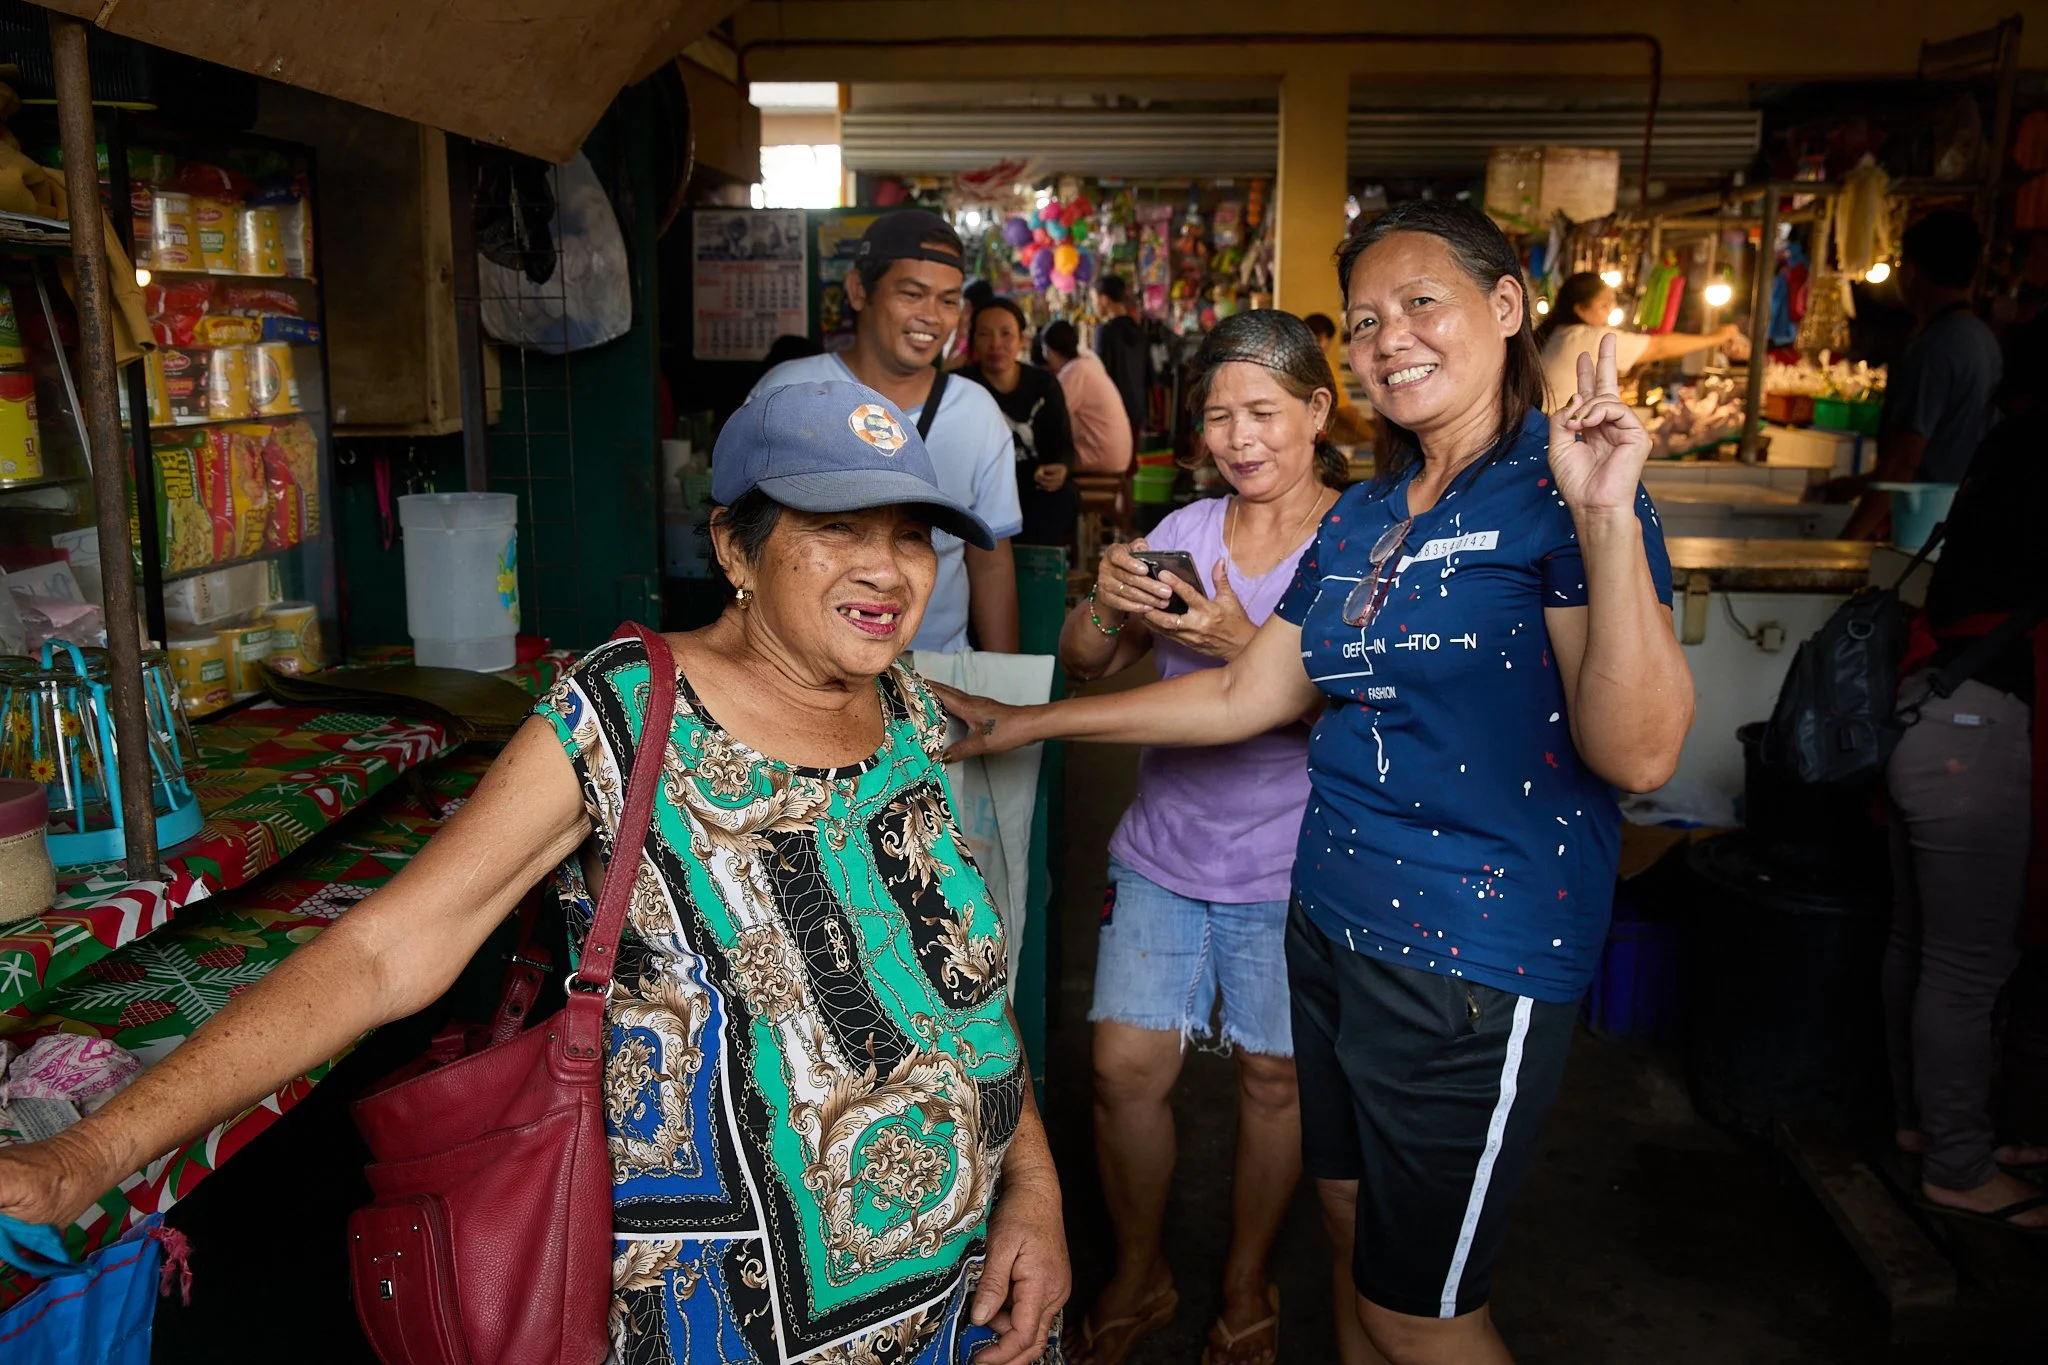
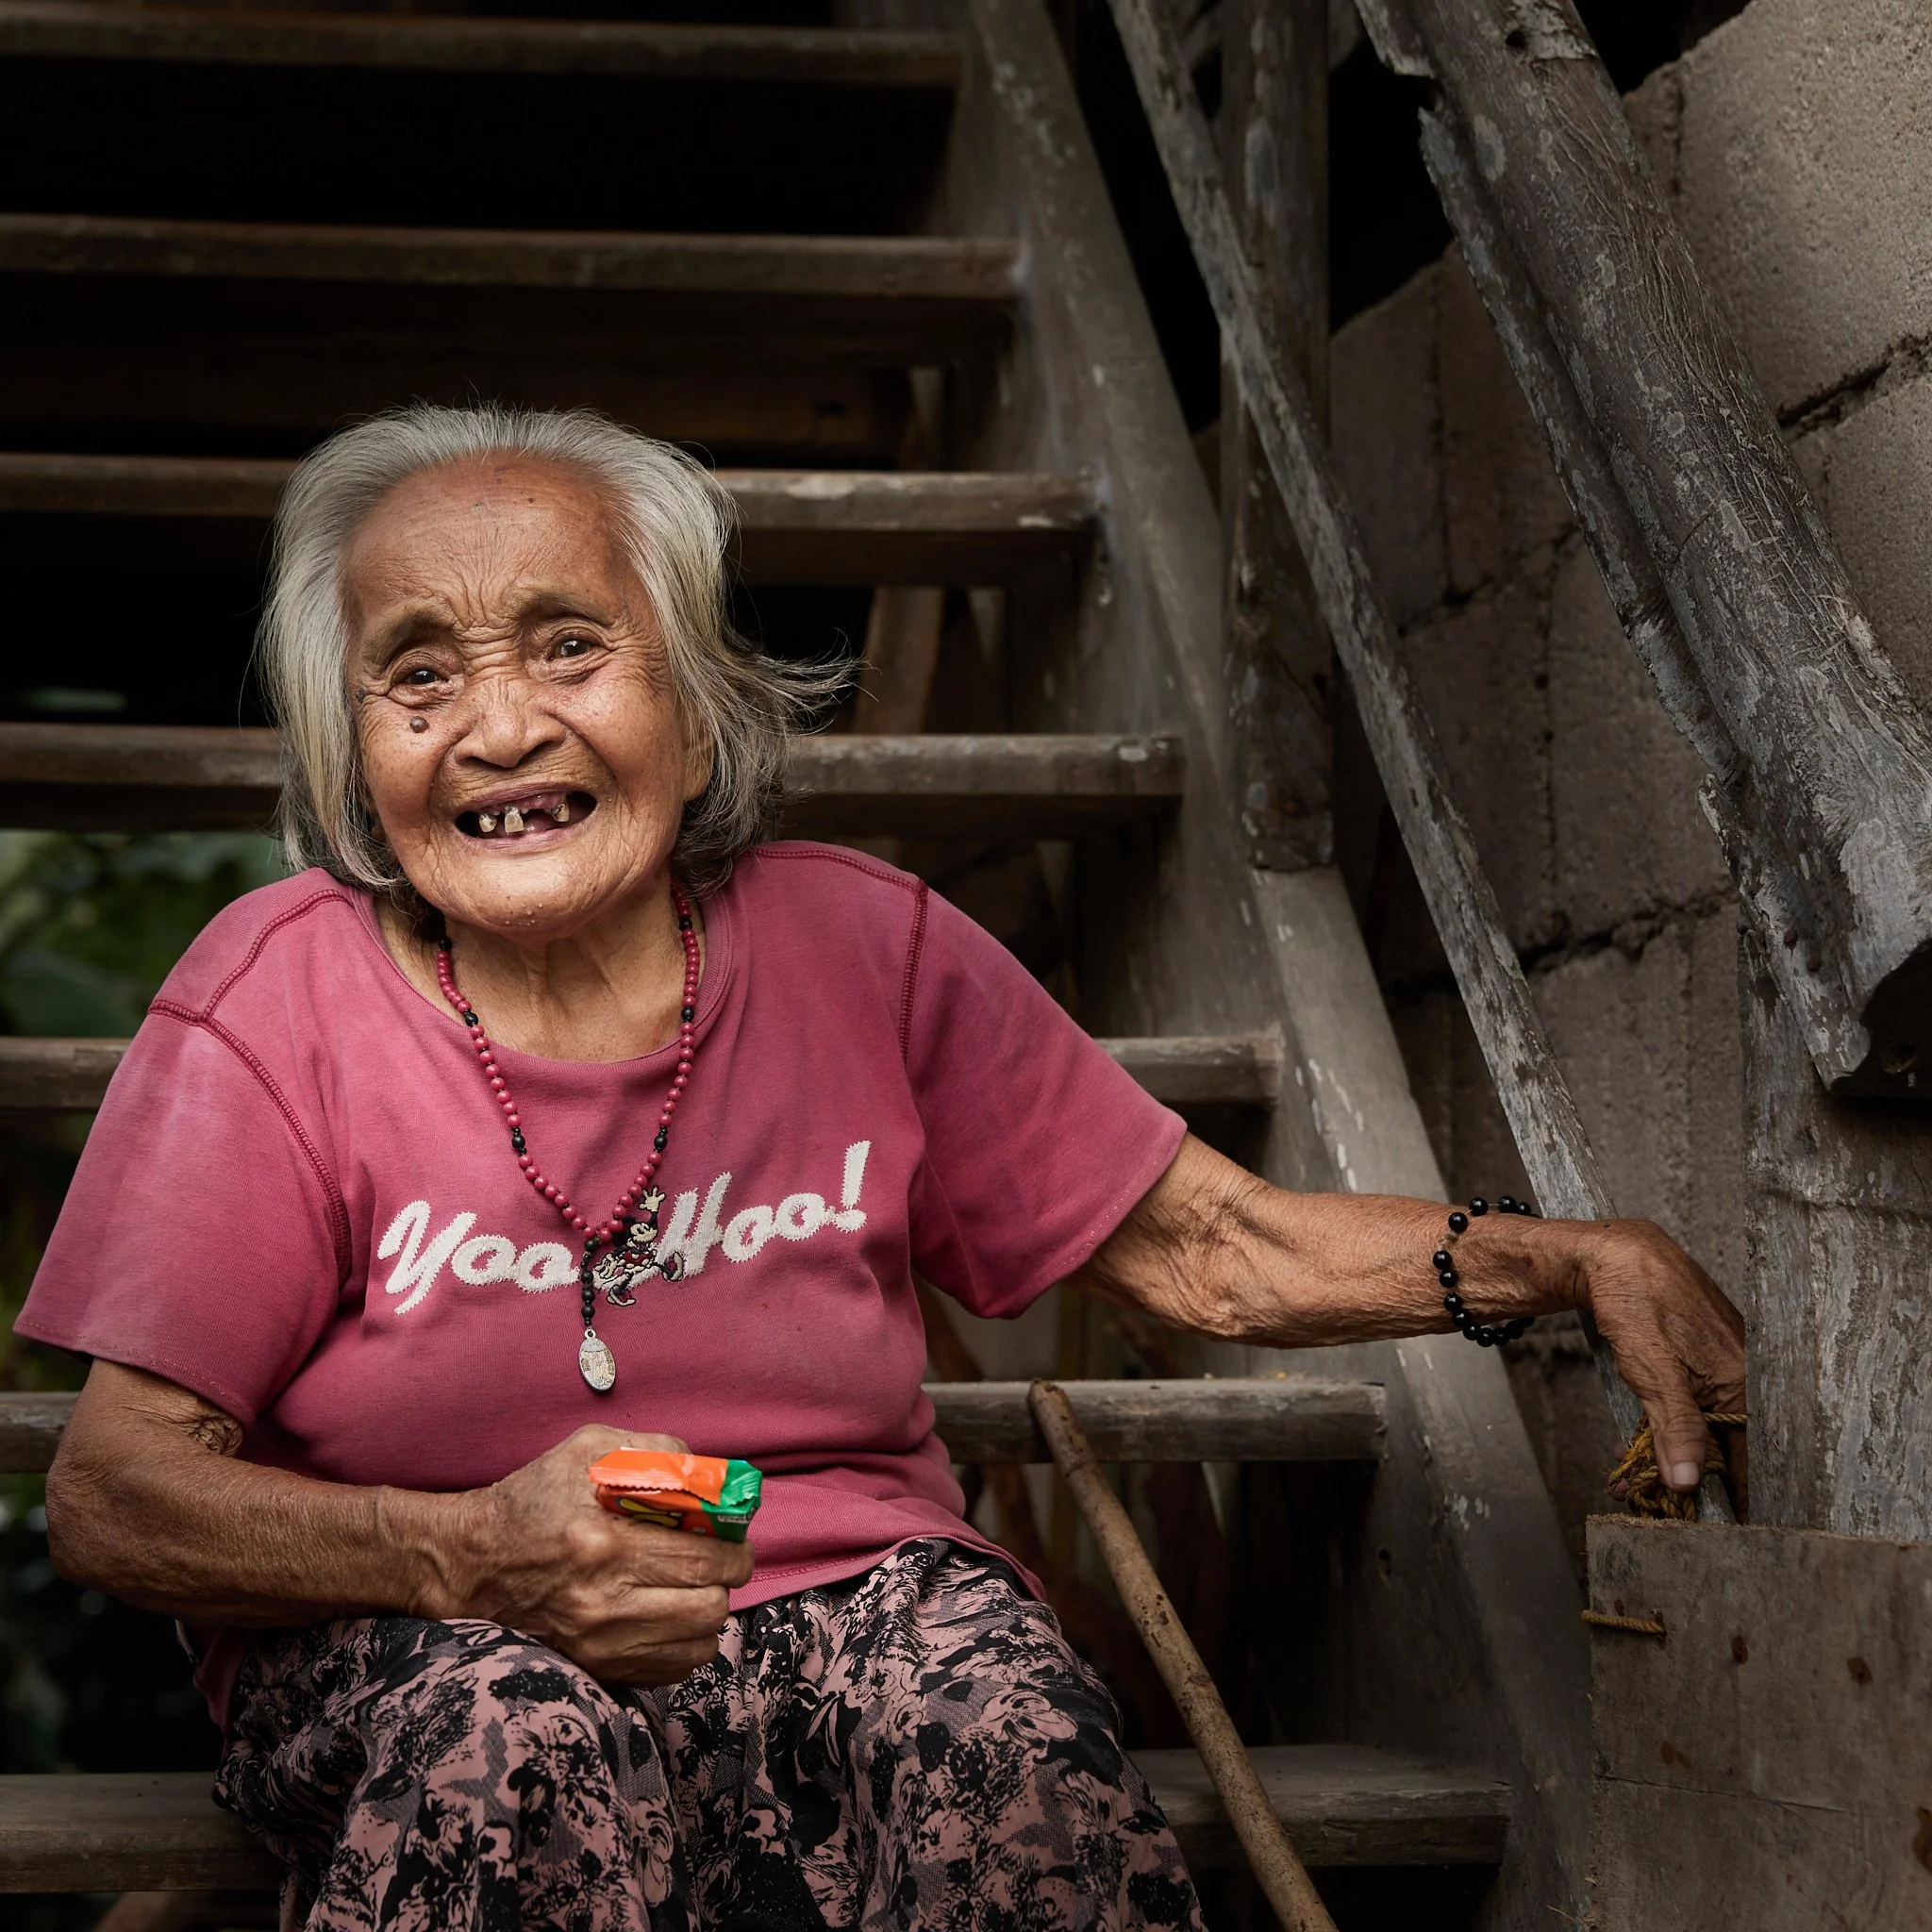
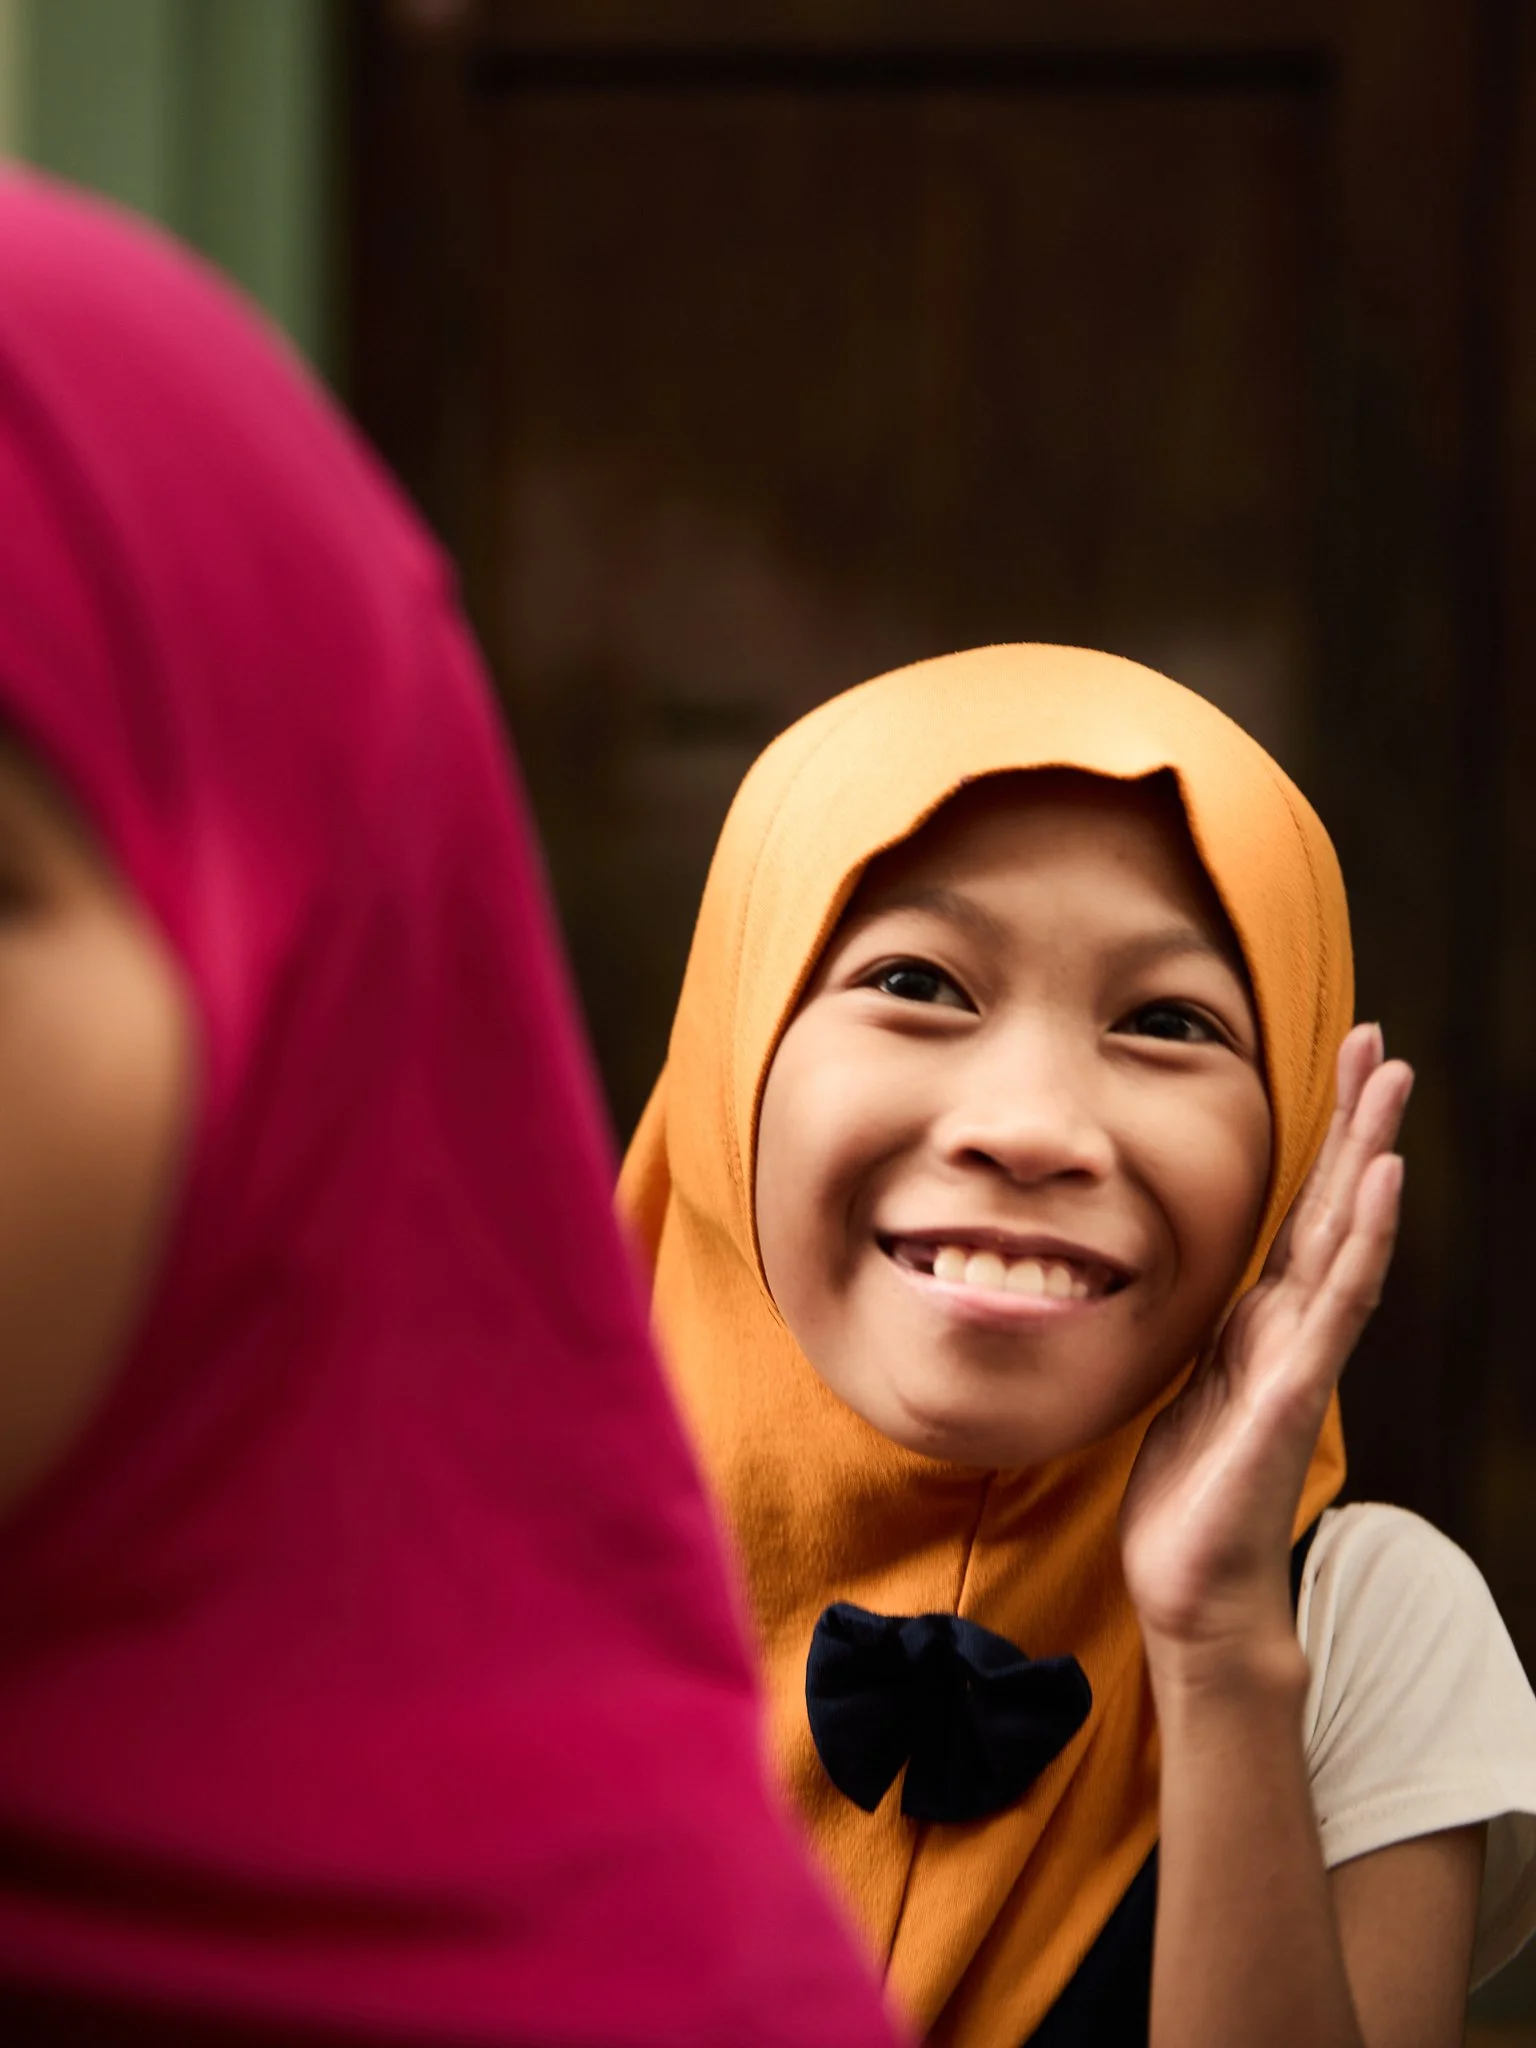
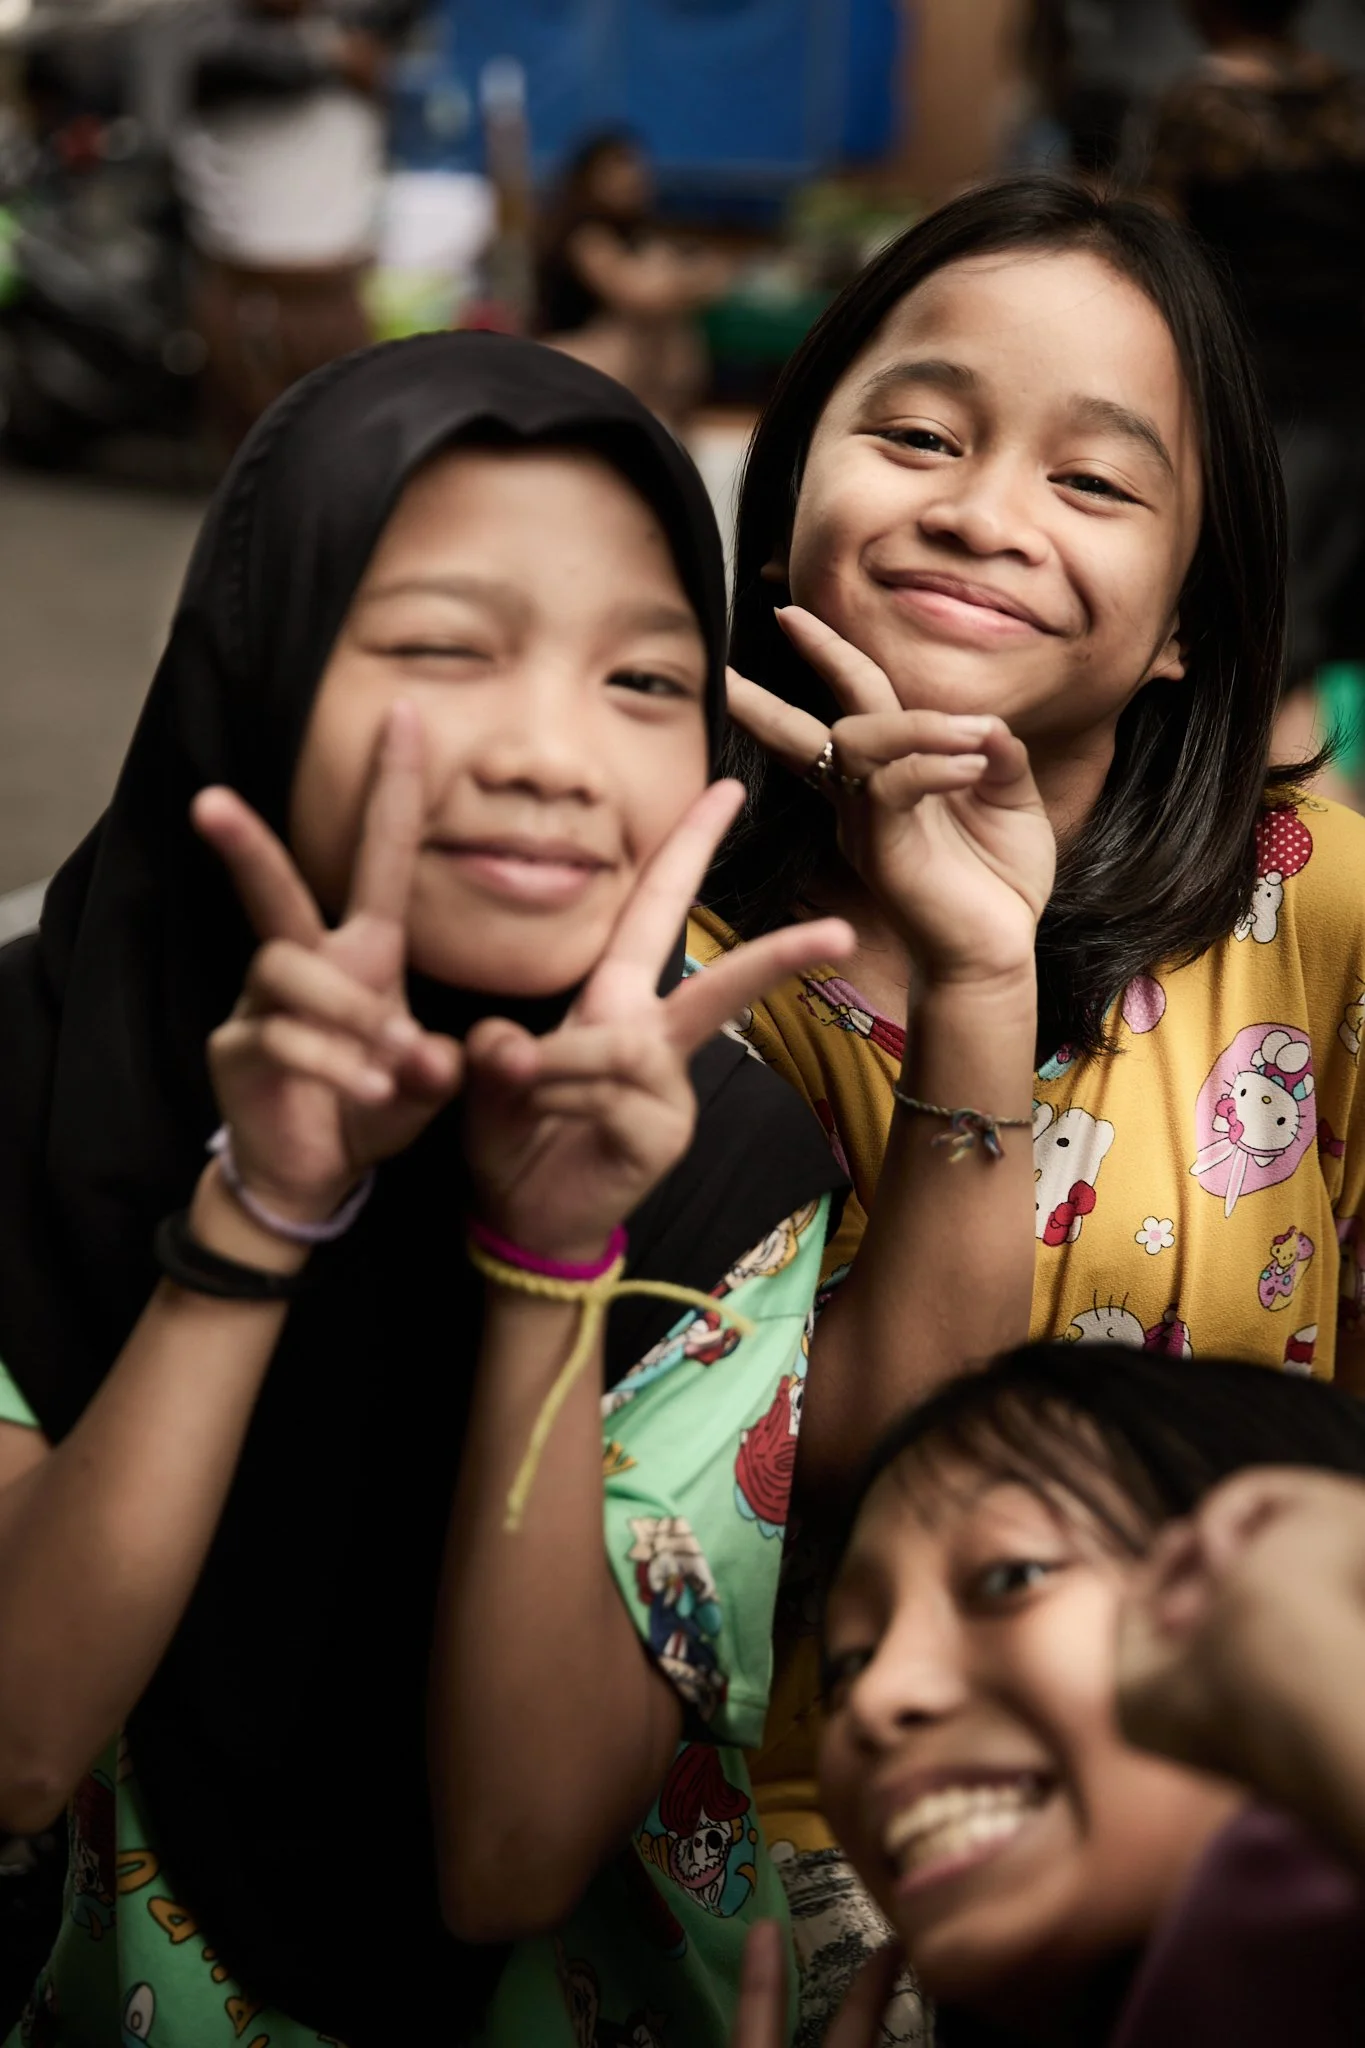
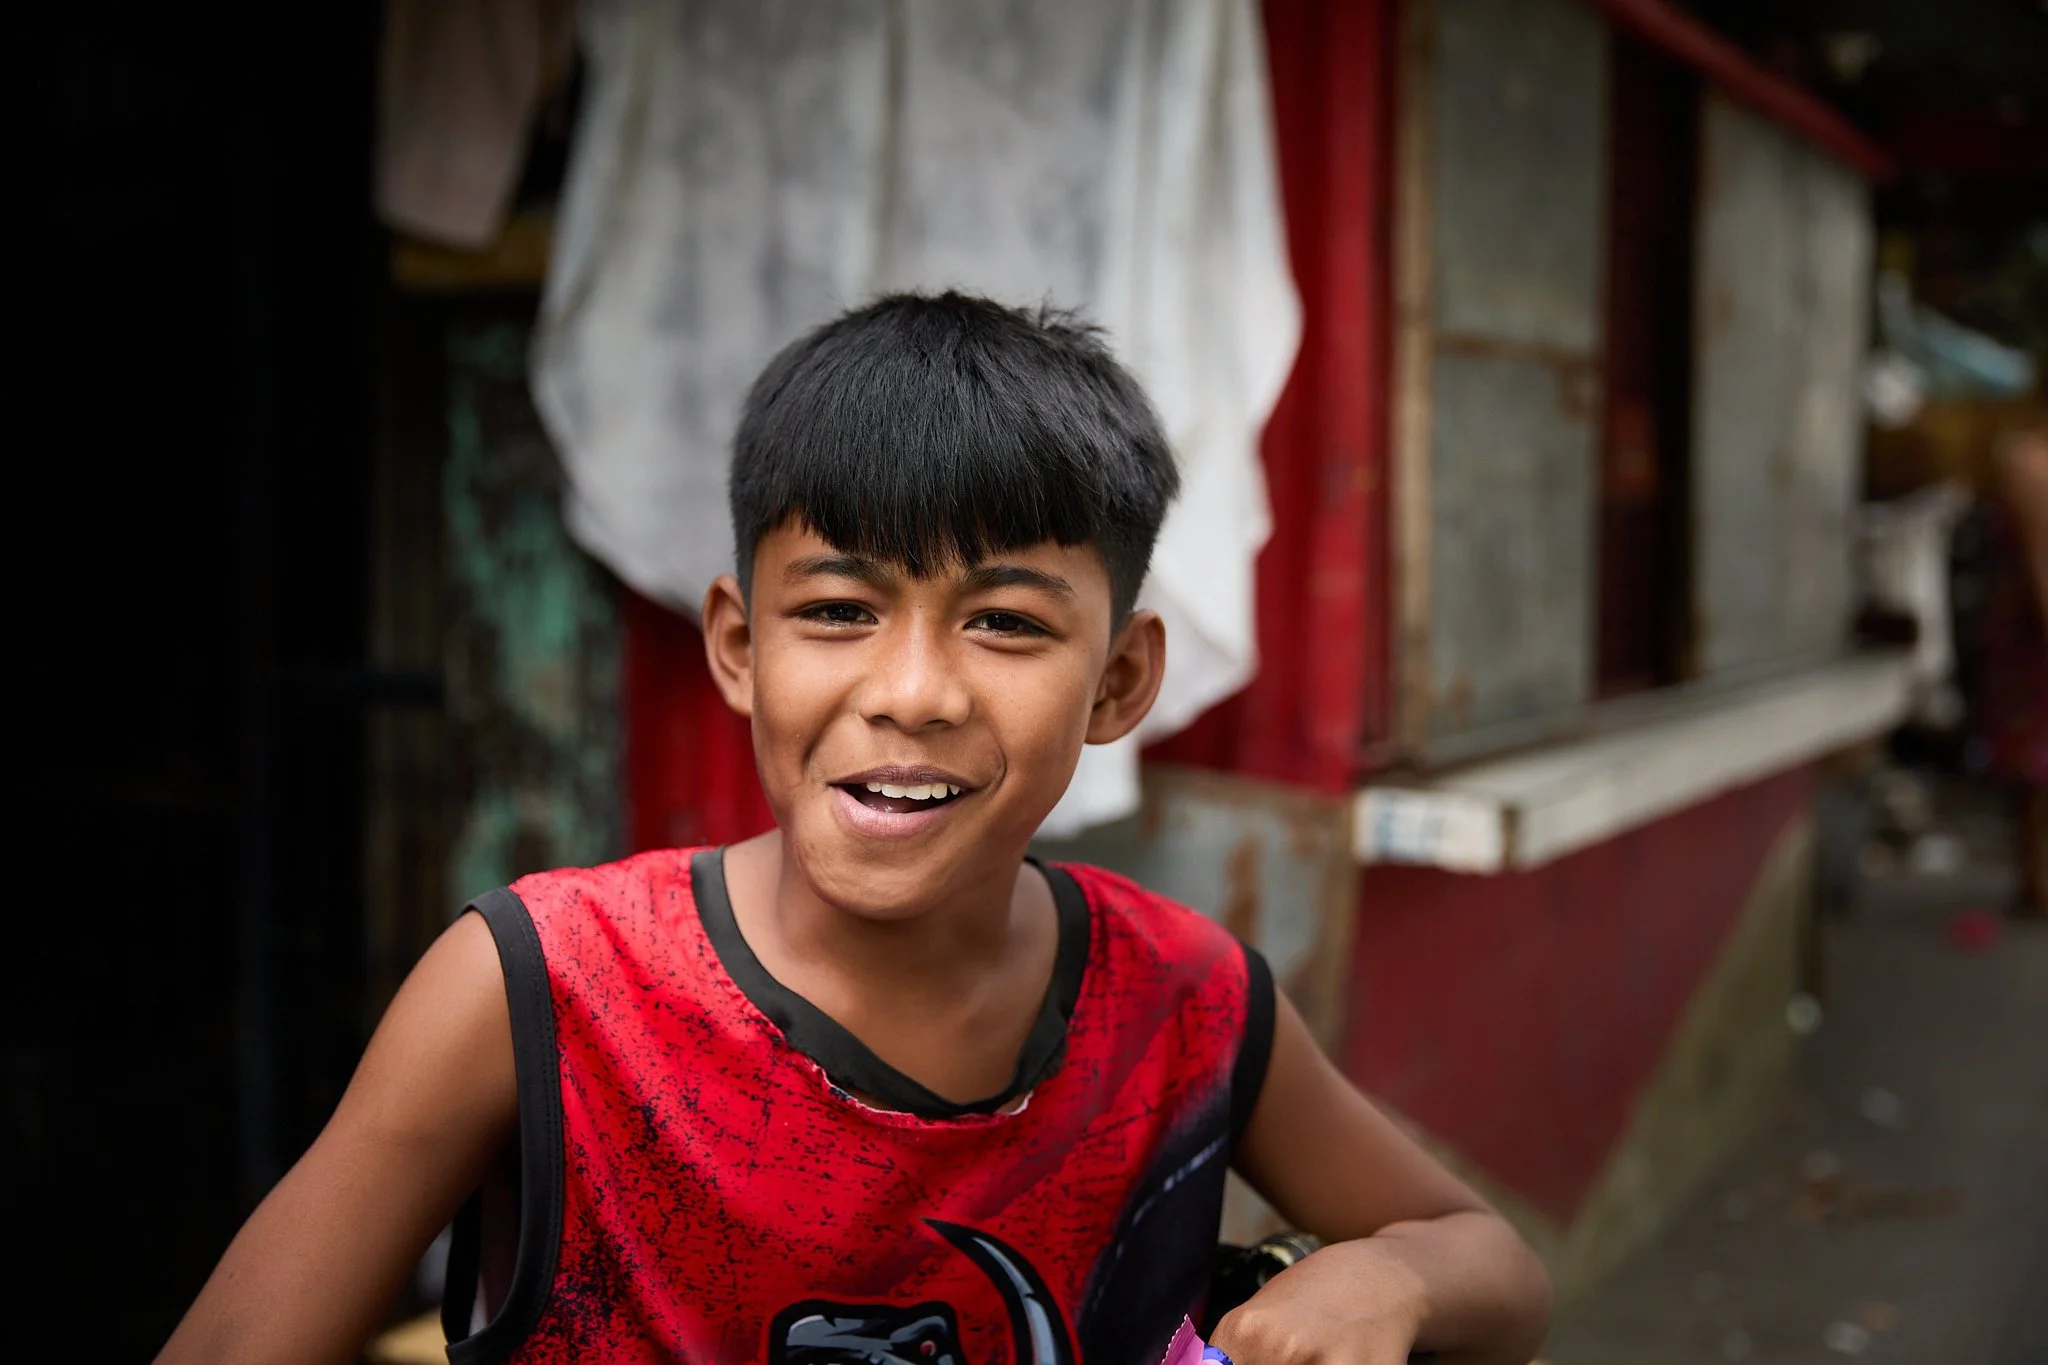
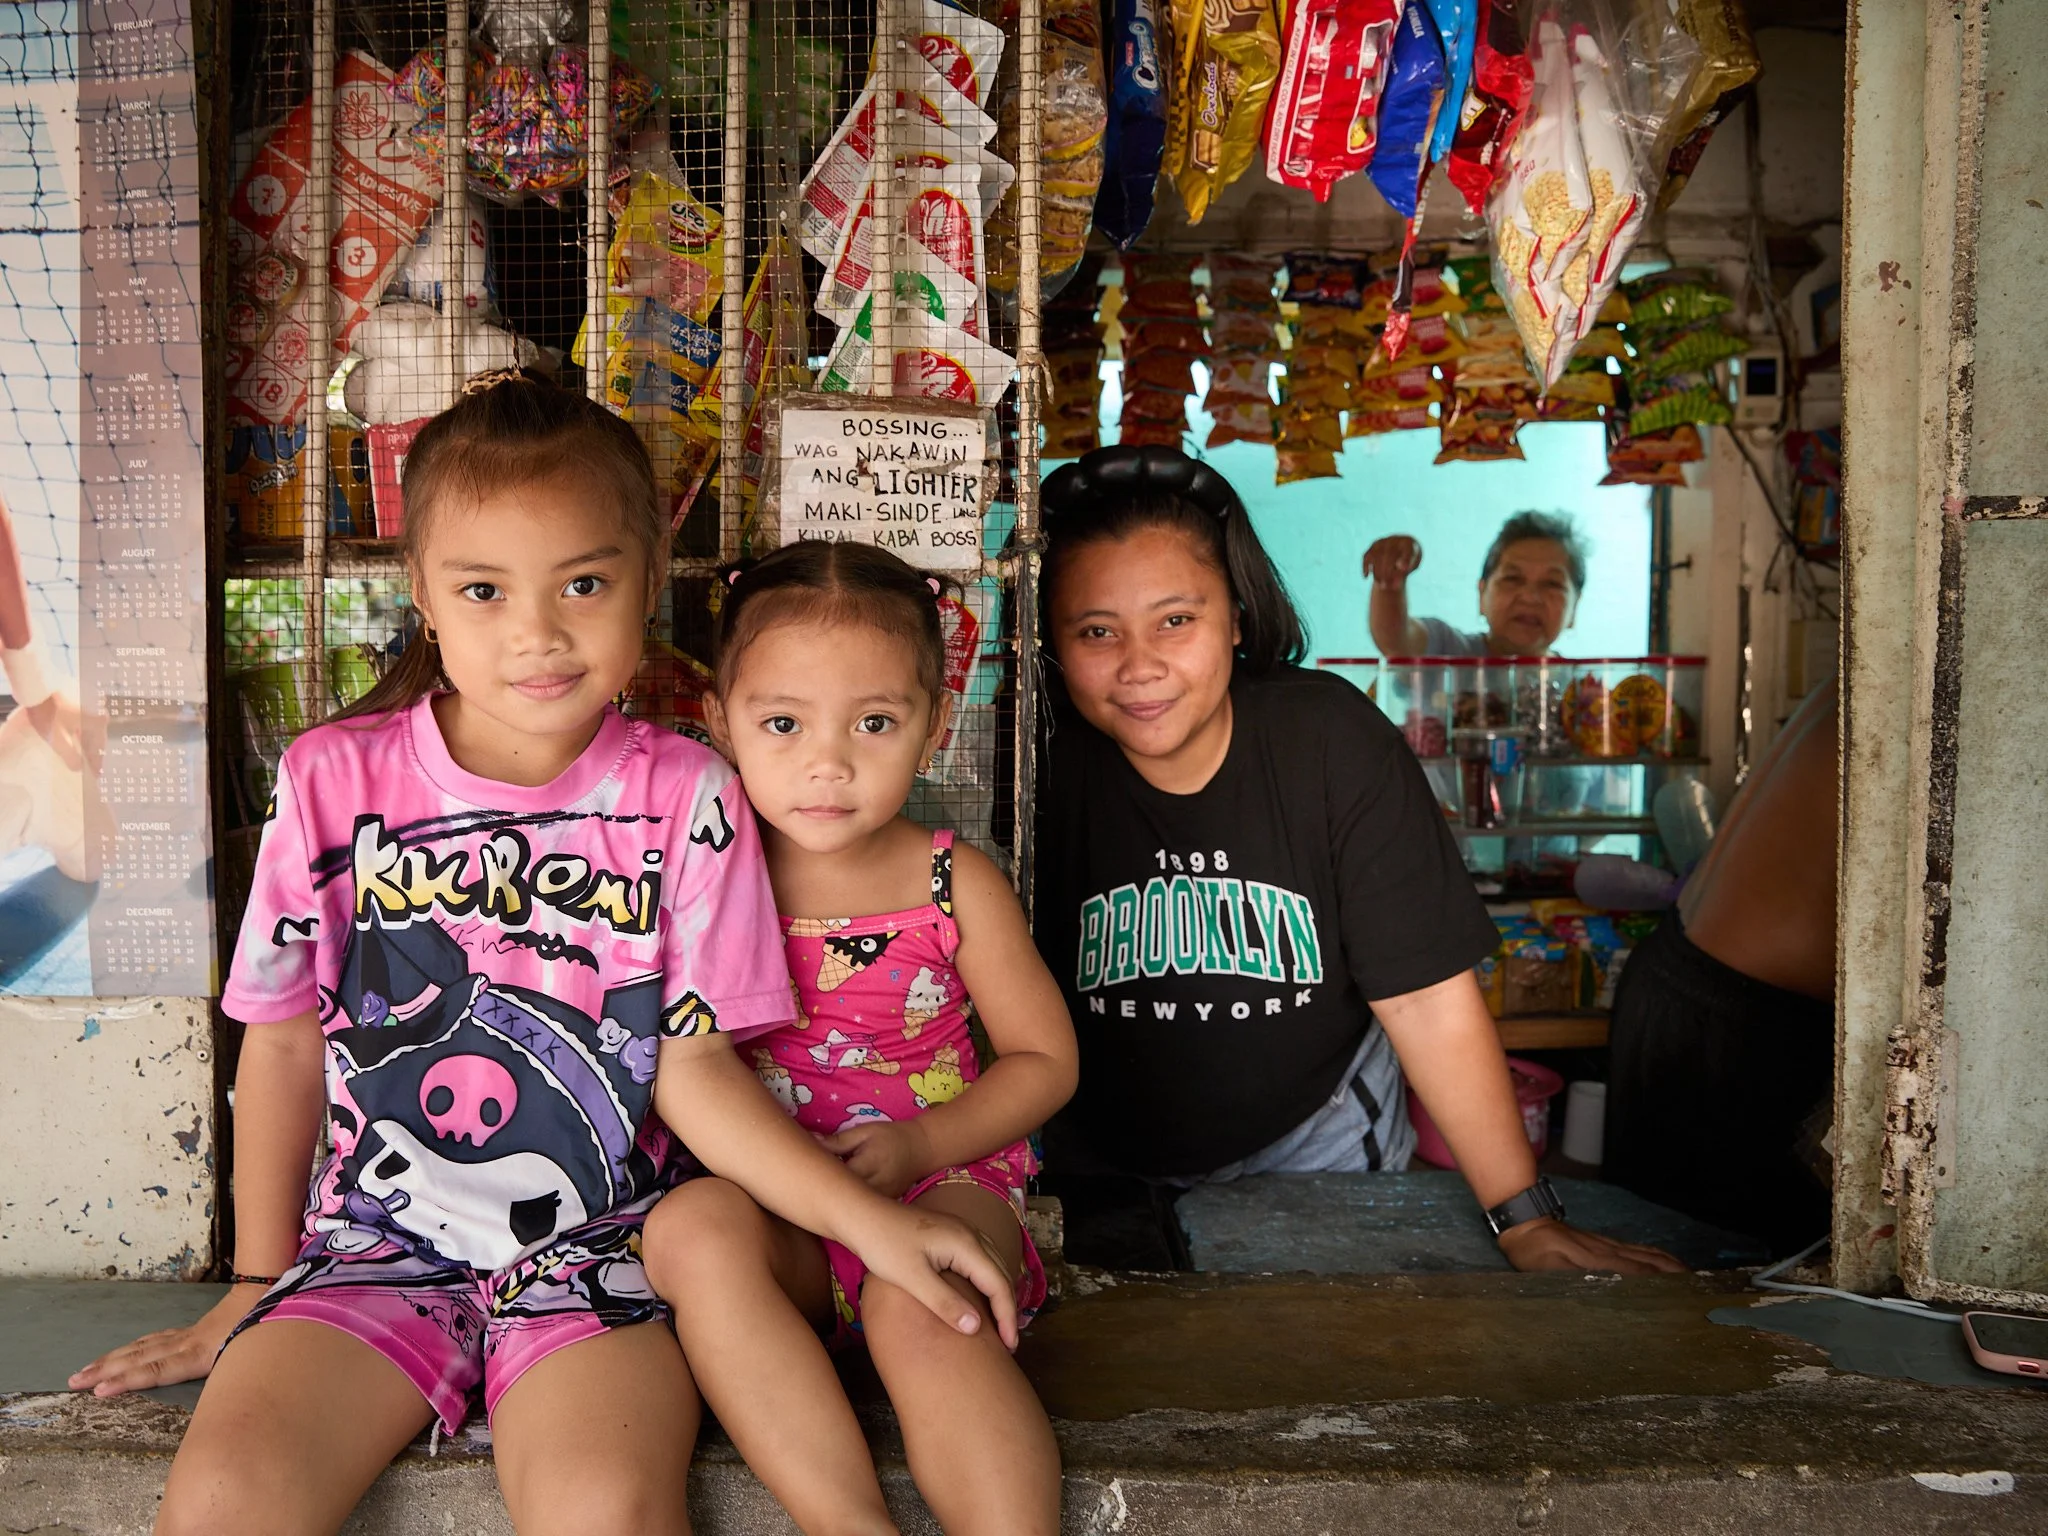
The Real Highlight — Filipino People
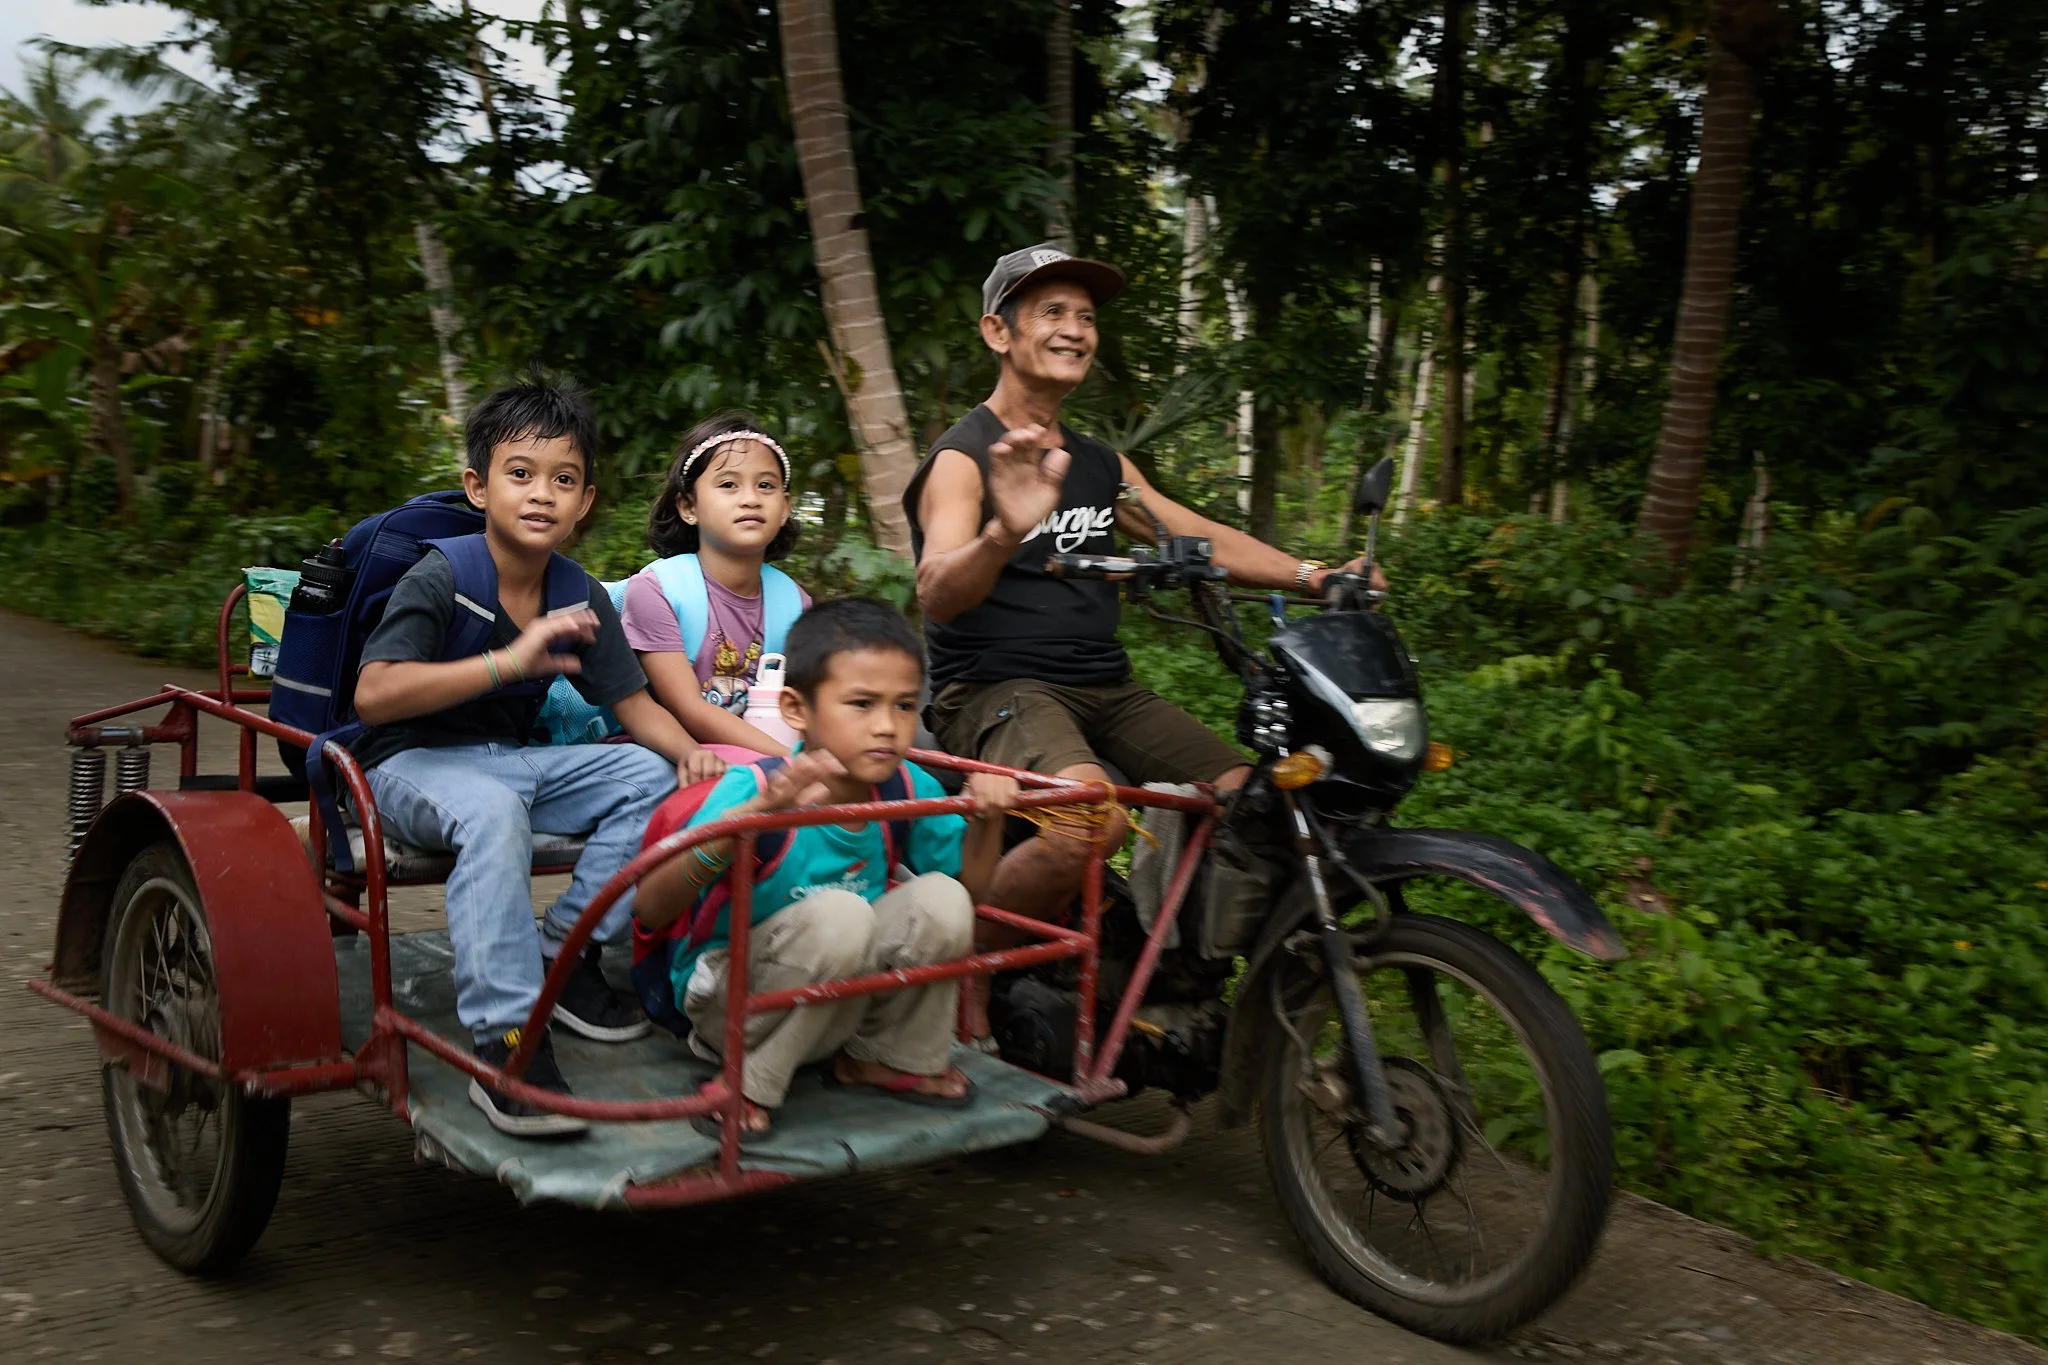
What stood out most wasn’t just the scenery — it was the people.
Despite economic challenges in some areas, the warmth, humour, and generosity were everywhere. Photography became a bridge between cultures. Smiles were constant. Conversations happened even when language barriers existed.
This is what makes the Philippines such a powerful destination for photographers.
Who This Tour Is Perfect For
Travel photographers
Street photographers
Portrait photographers
Landscape photographers
Intermediate to advanced shooters wanting real-world experience
Anyone wanting authentic cultural access, not just sightseeing
Small group sizes also meant plenty of individual guidance and creative freedom.
Travel Tips for the Philippines (What I Learned)
If you’re planning a trip like this, there are a few practical things that will make your life much easier.
Domestic Flights — 20kg Limit
Most domestic airlines only allow around 20kg checked baggage, which matters a lot if you’re travelling with camera gear.
Tip:
Pre-purchase extra baggage if needed
Carry expensive gear in cabin luggage
Weigh bags before leaving home
Get Your Philippines eTravel QR Code — FREE
Before arrival you need to register with the Philippine government eTravel system to generate your immigration QR code.
Important:
It’s free
There are scam websites charging money — avoid them
Complete it a few days before departure
Immigration will ask for the QR code on arrival.
Visa on Arrival
For Australians and many other nationalities:
Visa-free entry (typically 30 days)
Passport validity recommended 6 months
Return or onward ticket required
Always confirm before travel.
Budget — How Much Money to Bring
For a 10-day photography trip, a safe estimate is about $600 USD for:
Food
Water
Entry fees
Small purchases
Local transport
You can spend more or less depending on lifestyle, but that’s a solid baseline.
Transport — Grab App
Download Grab before you arrive.
It’s cheap, easy, and safer than negotiating taxis. Prices are fixed and usually very affordable compared to Western countries.
Cash & Payments
Cash is still widely used
ATMs available in cities and towns
Smaller islands may have limited access
Notify your bank before travelling
Use ATMs inside malls or banks where possible
Weather & Conditions
Expect:
Heat
Humidity
Sudden tropical rain
Sweat (lots of it)
Lightweight breathable clothing makes a huge difference.
SIM Cards & Internet
Buying a SIM at the airport is cheap and easy.
Good apps to install:
Grab
Google Maps
Google Translate
Airline apps
Health & Safety
Drink bottled water
Use insect repellent
Wear sunscreen daily
Travel insurance is essential
Comfortable walking shoes are a must
Medications & Health Kit to Take
It’s always better to be over-prepared when travelling, especially in tropical climates where heat, food changes, and insects can affect you.
Here’s what I’d recommend bringing:
Essentials
Personal prescription medications (with copies of prescriptions)
Paracetamol or ibuprofen (pain relief / fever)
Antihistamines (allergies or insect bites)
Anti-diarrhoea medication (very useful when travelling)
Oral rehydration salts or electrolyte tablets
Motion sickness tablets (for ferries and boat trips)
Cold & flu tablets
Tropical Travel Extras
Insect bite cream or antihistamine cream
Antiseptic wipes
Band-aids / blister patches
Small first aid kit
Hydration tablets (heat exhaustion prevention)
Optional but Helpful
Probiotics before and during travel
Sunscreen (reef-safe if swimming)
Hand sanitiser
Most medications are available in cities, but having your own saves time and hassle — especially on smaller islands.
Photographer Packing List
Here’s what worked well for me:
Camera Gear
Camera body (or two if you have them)
24–70mm or similar walk-around lens
70–200mm or telephoto
Wide lens for landscapes
Extra batteries
Multiple memory cards
Lightweight tripod
Lens cleaning cloths
Rain cover or dry bag
Travel Gear
Comfortable backpack
Power bank
Universal adapter
Microfibre towel
Electrolytes
Hat and sunscreen
Insect repellent
Reusable water bottle
Pack light — you move around a lot.
Best Lenses for This Trip
If you want to keep it simple:
24–70mm — perfect all-rounder for street and portraits
35mm or 50mm prime — great for natural storytelling
70–200mm — amazing for candid portraits and compression
16–35mm — landscapes and environmental scenes
Honestly, you could do the whole trip with just a 24–70mm.
Travel Mistakes to Avoid
A few lessons learned:
Overpacking camera gear
Not allowing for humidity and heat
Forgetting extra batteries
Not pre-booking baggage weight
Using random taxi drivers instead of Grab
Not carrying small cash notes
Trying to do too much — island time is slower
Relax into it.
Final Thoughts — More Than a Photography Trip
This experience wasn’t just about taking photos. It was about connection, perspective, and storytelling.
Having a guide who understands both photography and local culture completely changes what’s possible. The access, trust, and authenticity we experienced would have been almost impossible independently.
Below are some of the images captured during this incredible journey, along with a short video that shows the atmosphere and experience of the tour.
If you’re considering a photography adventure in Southeast Asia, a guided Philippines photography tour like this is something I highly recommend.