Mastering the Art of Natural Light in the Studio
A Guide to Using C Stands, Trace Paper, and Reflectors
Creating a natural light look in a studio setting can be a game-changer for photographers working with various subjects such as food, products, portraits, and drinks. With the right tools and techniques, you can achieve the warmth and authenticity of natural light while having complete control over your studio environment. In this guide, we'll explore how to use a C stand, a roll of trace paper, large reflectors, and just one light source to achieve that coveted natural light aesthetic.
Materials Needed:
- C Stand
- Roll of Trace Paper
- Large Reflectors
- Studio Lighting (Continuous light or strobe with a softbox)
1- Setting Up Your Studio:
Positioning the C Stand:
Start by setting up your C stand in the desired location. This will serve as the support for your trace paper diffuser.
Attaching the Trace Paper:
Unroll a section of trace paper and attach it to the C stand using clamps. This will act as a diffusion panel for your light source, softening and spreading the light for a more natural look.
2- Placing the Light Source:
Position your studio lighting behind the trace paper, ensuring that the light is evenly distributed across the entire surface. This will mimic the diffused and dispersed quality of natural light.
3- Adding Large Reflectors:
Strategically place large reflectors on either side of your subject to bounce and fill in additional light. This helps eliminate harsh shadows and enhances the natural feel of the scene.
4- Techniques for Different Subjects:
Food Photography:
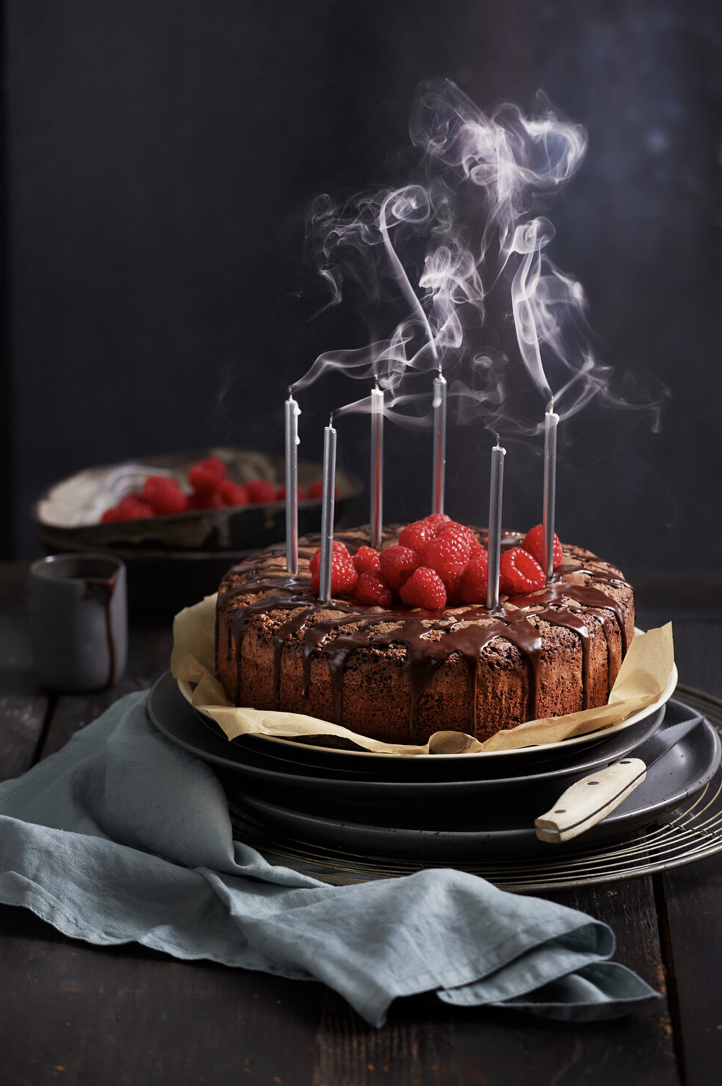


For food photography, experiment with the angle and intensity of the light to highlight textures and colors. Use reflectors to accentuate the natural highlights on the surface of the food.
Product Photography:
When shooting products, pay attention to the direction of the light to emphasize important features. Use reflectors to add dimension and create appealing highlights on the product surfaces.
Portrait Photography:
Achieve soft and flattering light for portraits by adjusting the distance and angle of the light source. The trace paper acts as a giant softbox, producing gentle and even illumination on your subjects.
Drinks Photography:
Enhance the transparency and vibrancy of liquids in drinks photography by fine-tuning the position of your light source. Reflectors can be used to add sparkle to glassware and highlight the beverage's textures.
Mastering the art of creating a natural light look in the studio requires a thoughtful combination of tools and techniques. By using a C stand, trace paper, large reflectors, and a single light source, you can replicate the warmth and authenticity of natural light while maintaining full control over your studio environment. Experiment with different setups to achieve the desired look for your specific photography needs, whether it's food, products, portraits, or drinks. With these simple yet effective methods, you'll be well on your way to producing stunning images that capture the essence of natural light.